

Learning how to light an apartment with no ceiling lights is one of the first real puzzles of renting an older, cheaper apartment. Many older buildings were wired with few overhead fixtures or none at all, so your brightest light might be one wall switch wired to an outlet — or nothing. The good news: you can fix it without an electrician, without hardwiring, and without risking your security deposit.
This guide is written for first-time renters on a tight budget, where drilling is limited and outlets are scarce. Instead of another generic lamp list, you’ll get a room-by-room system: how to fake overhead light with one floor lamp, which lamp types actually earn their floor space, and a lighting plan checklist the big renter blogs don’t offer. For more small-space guides, browse Decorating & Small Space Living.
To light an apartment with no ceiling lights, bounce light off the ceiling with one tall torchiere per main room, add a table or task lamp wherever you sit or work, and fill dead corners with plug-in sconces, LED strips, or battery puck lights. Use warm-white bulbs (around 2700K) and light-colored shades so light spreads instead of pooling.
Summary

Older rentals without overhead lighting are usually dark for three fixable reasons: too few light sources, all the light sitting at one height, and nothing aimed at the ceiling to spread it around. This guide walks through the fixes in the order that matters — surveying the apartment’s outlets and switches first, squeezing free daylight, faking overhead light with a single uplight per room, then building the three layers (ambient, task, accent) that make a place feel intentionally lit rather than patched together.
The second half covers the renter-specific details generic guides skip: plug-in sconces and swag pendants with no hardwiring, battery and rechargeable lights for outlet-free corners, LED strips that won’t cost you your deposit, a room-by-room plan with a printable-style checklist, how to work safely around old wiring and few outlets, and a budget-first buying order. Everything here is reversible, and anything that needs a screw or a ceiling hook is flagged so you can check your lease first.
1. Survey the Apartment First

The most useful lighting tool costs nothing: a walk-through of every room, once in daylight and once after dark. Note which way the windows face — north-facing rooms in older buildings can stay dim all day — and, more importantly, where the outlets actually are. Cheap older apartments sometimes have only one or two outlets per room, often all on the same wall, and that count decides how many lamps each room can hold before you need a power strip.
While you’re at it, run the switched-outlet test. Flip every wall switch and check which outlets turn on and off with it. Many apartments built without ceiling fixtures wired a wall switch to one outlet instead, so a floor lamp plugged in there switches on like an overhead light — a detail worth knowing before you buy anything. Finally, skim your lease for the rules that shape every decision below: what’s allowed on walls and ceilings, whether small nail or screw holes count as damage, and what “normal wear” covers at move-out.
2. Squeeze More From Daylight

Free light beats bought light, so start here. Older apartments often come with heavy blinds or grimy mini-blinds that eat daylight — swapping them for sheer or light-colored curtains (keep the originals stored to reinstall at move-out) can visibly brighten a room for very little money. Wash the inside of the windows too; years of dust on glass noticeably dims what comes through.
Then borrow light with a mirror. A large mirror leaned against the wall opposite the brightest window — leaning avoids holes entirely — bounces daylight deeper into the room and doubles the effect of your lamps after dark. Keep windowsills and the floor in front of windows clear of tall furniture so light travels. You can’t repaint a dark rental, but daylight plus one good mirror does a surprising amount of the work a lighter paint color would do.
3. Fake Overhead Light With Uplight
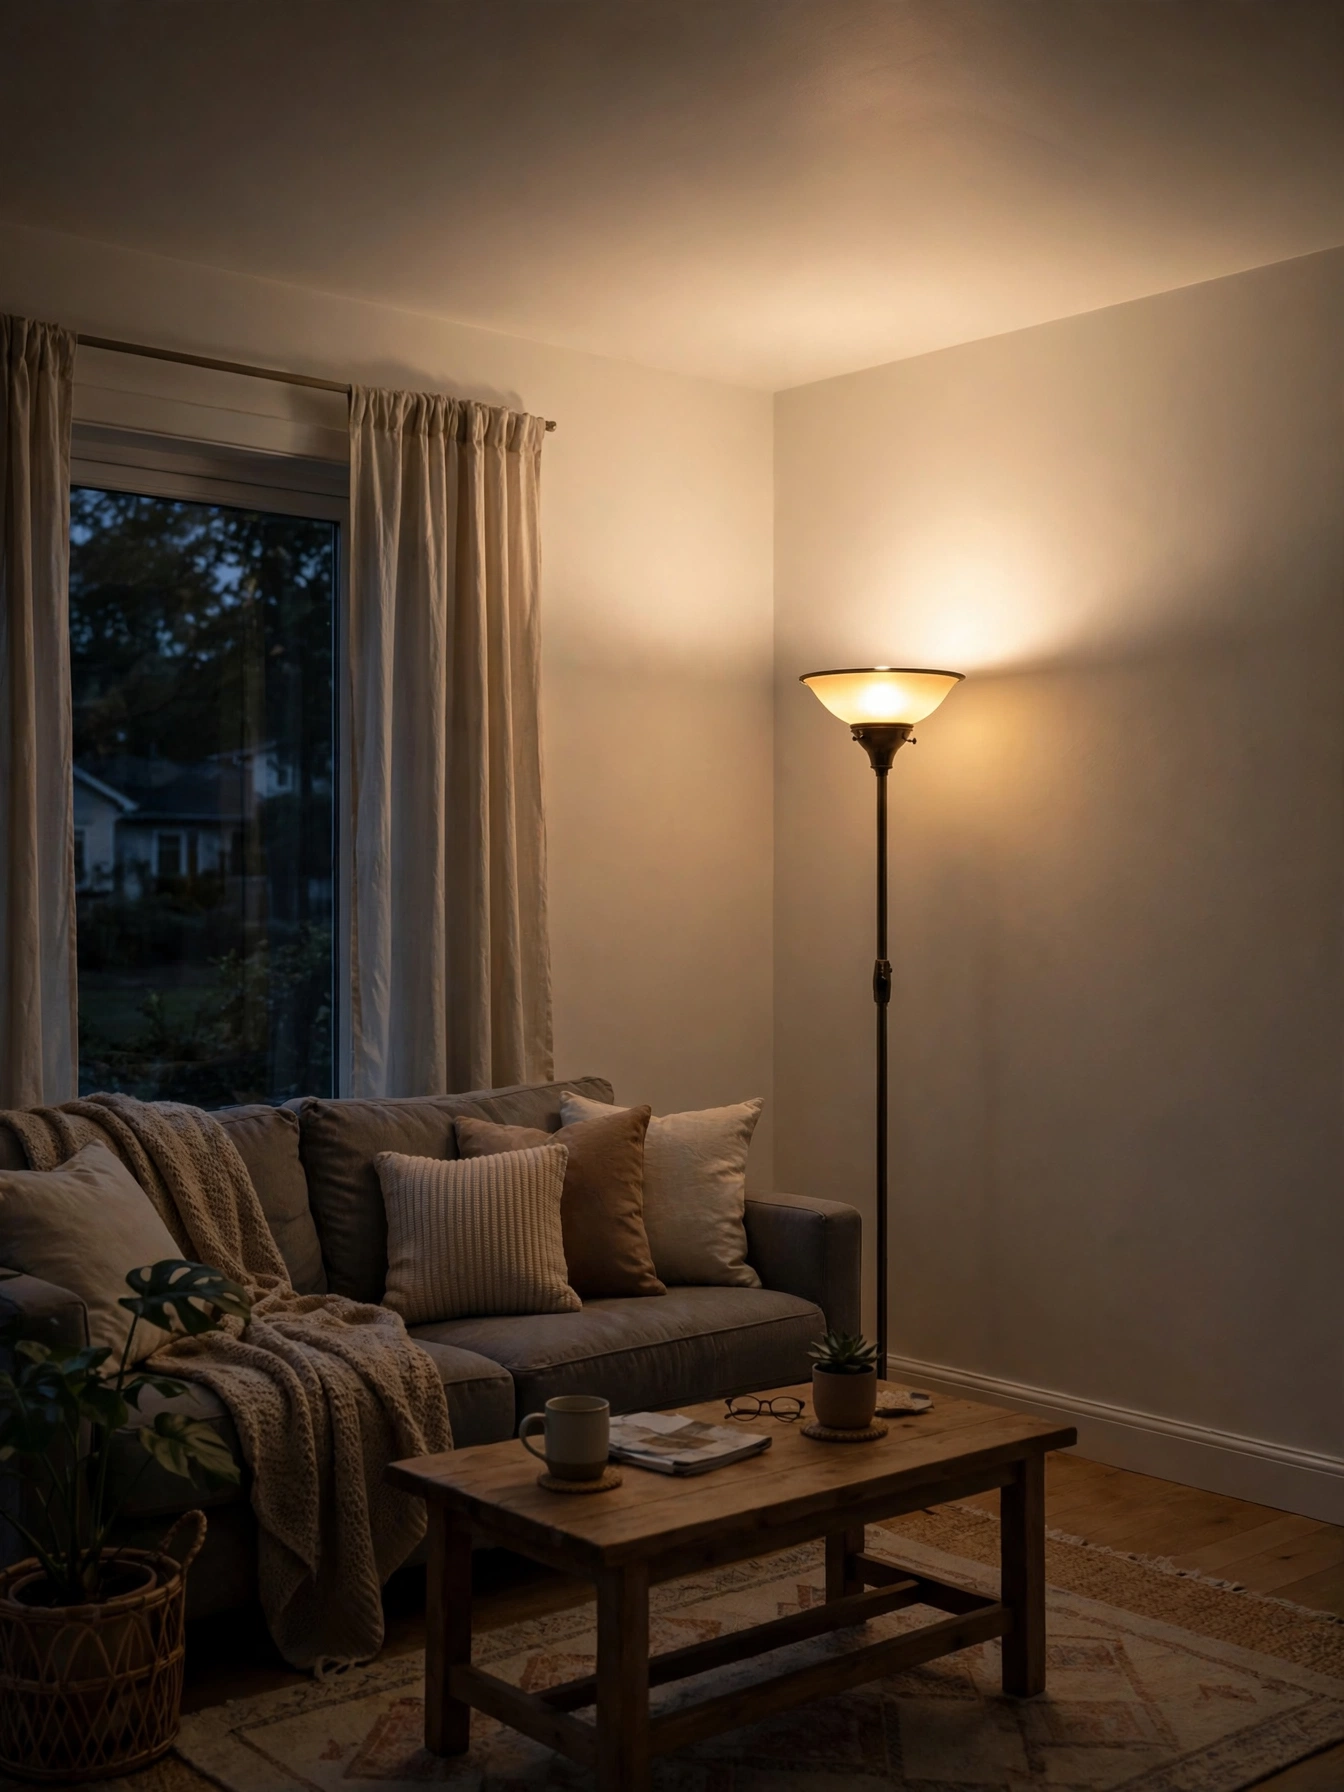
One move delivers most of the result: put a torchiere floor lamp — the tall kind with an upward-facing bowl shade — in a corner of each main room. Light aimed at a light-colored ceiling bounces back down as soft, diffuse general light, which is the closest you can get to a ceiling fixture without wiring one. A corner placement washes two walls at once, spreading the glow further than the same lamp sitting mid-wall.
This single lamp usually outperforms two or three small table lamps for general brightness, which matters on a renter’s budget. Pick a model with an open top (no lid trapping the light) and fit the brightest warm-white LED the socket’s printed wattage rating allows — never exceed that rating. If your ceilings are dark wood or very low, the bounce effect weakens; in that case aim the uplight at the palest nearby wall instead.
4. Think in Three Layers
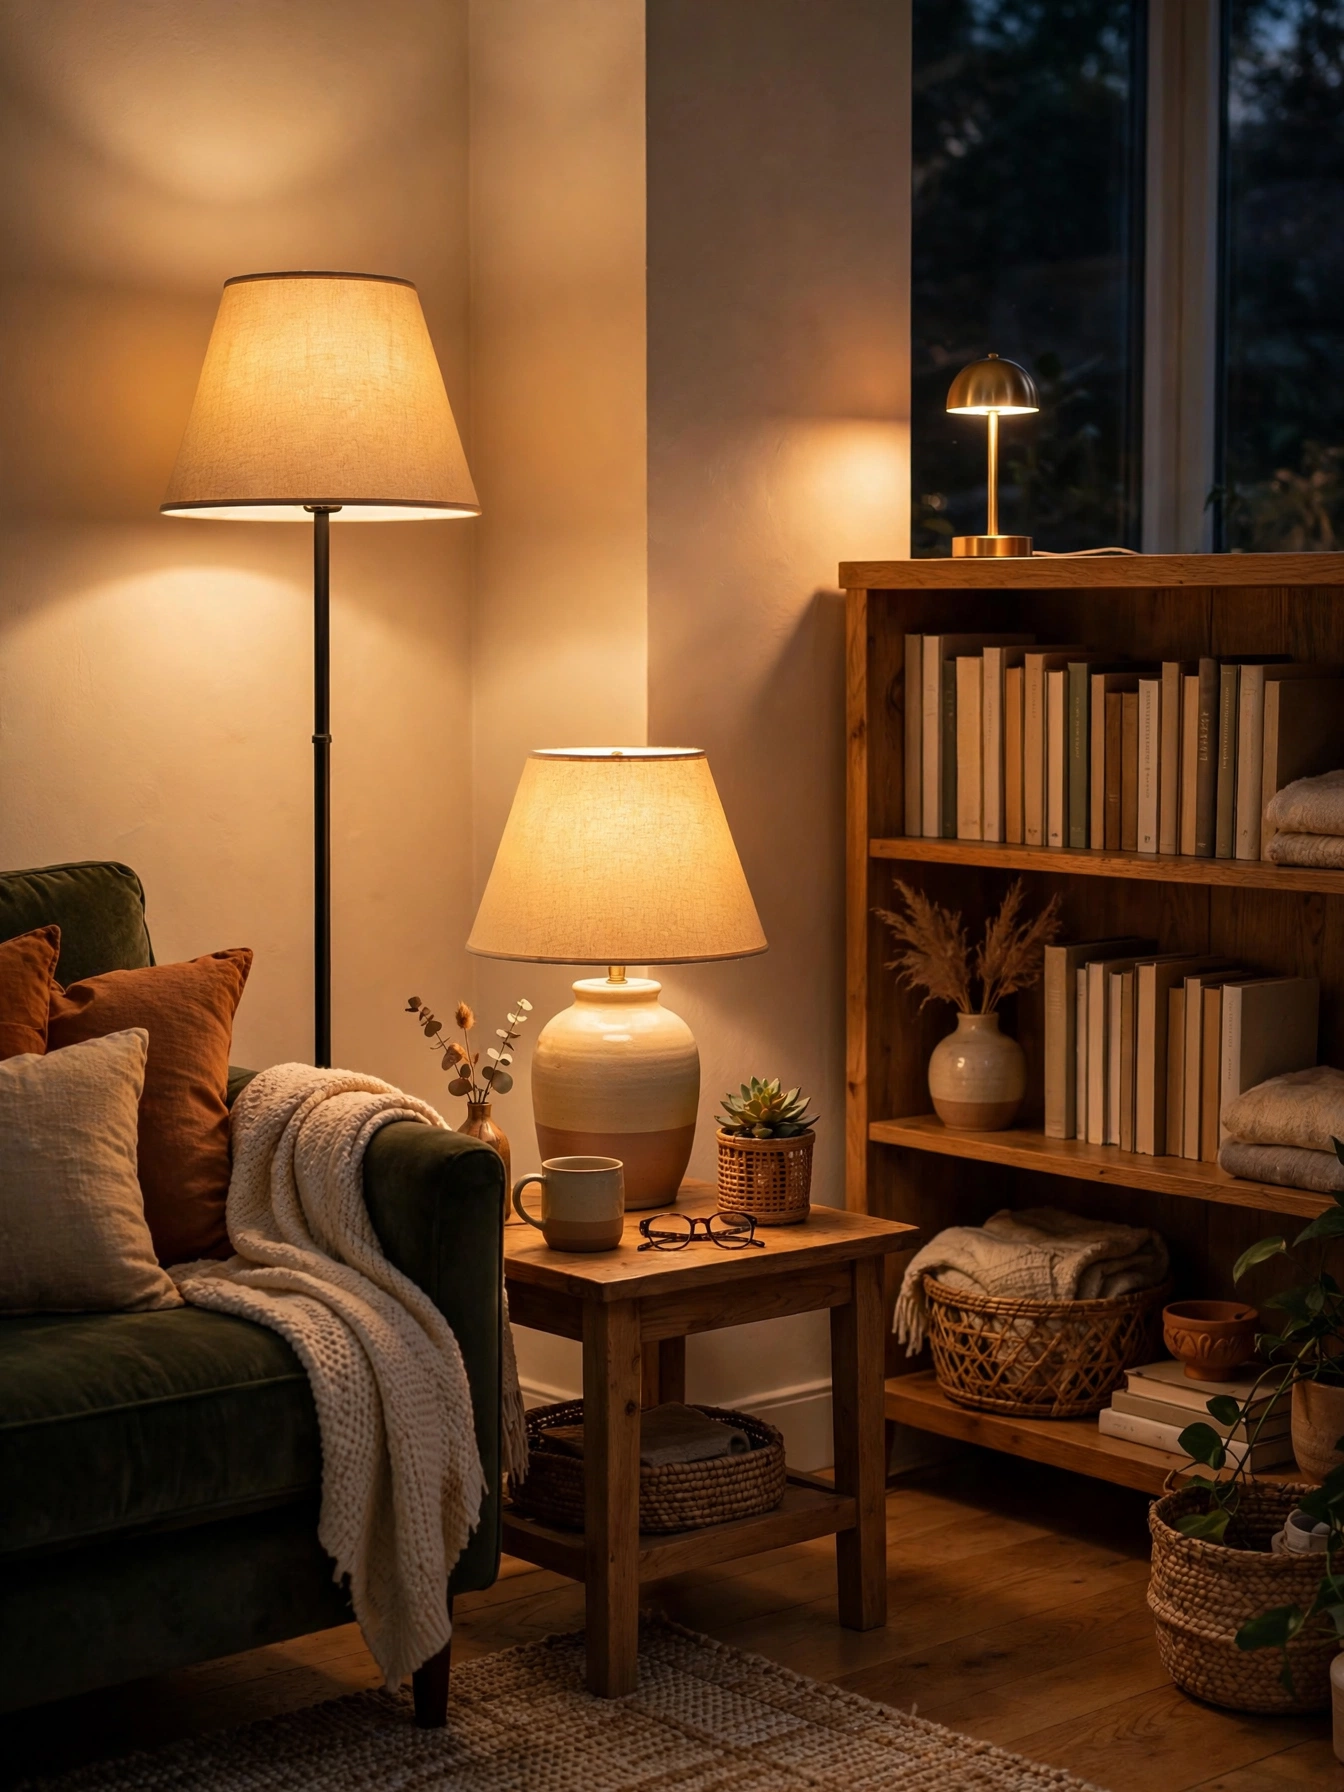
Rooms lit by a single bright lamp feel harsh: one hot pool of light, dark corners everywhere else. The fix is layering — three kinds of light at three different heights. Ambient is the general fill (your torchiere bounce). Task is focused light where you do things: reading, cooking, working. Accent is the low, decorative glow that gives a room depth: a strip behind the TV, a small lamp on a shelf.
Every room where you spend evenings deserves all three; a hallway or closet can survive on one. Plan the layers before shopping, because the classic renter mistake is buying three table lamps (three accents, zero task light) and wondering why the room still feels wrong. One uplight plus one task lamp plus one small accent is a complete room — that’s the formula the rest of this guide fills in.
5. Choose the Right Floor Lamps
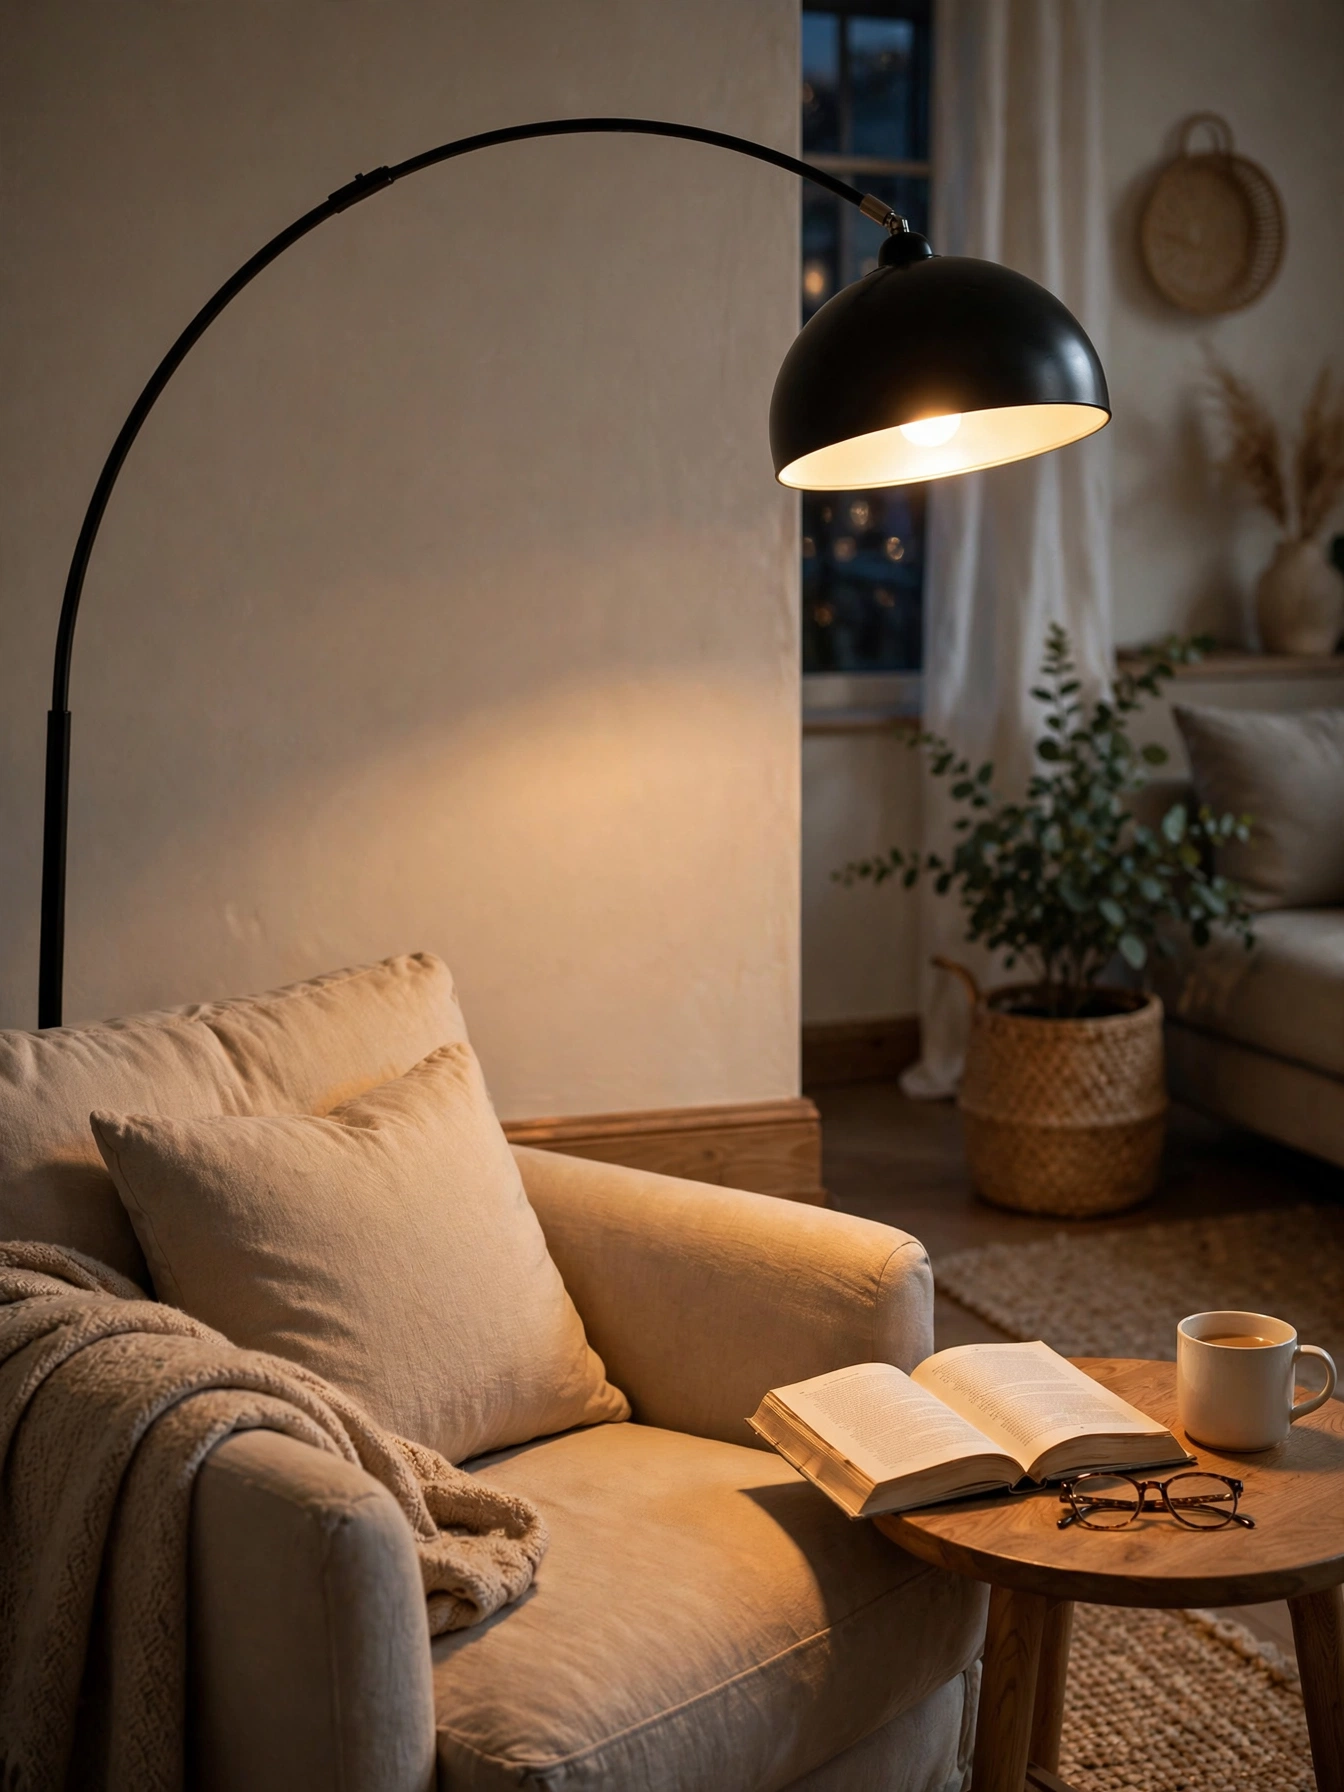
Not all floor lamps do the same job, and in a dark apartment each one should earn its floor space:
- Torchiere (uplight): the ambient workhorse from section 3. Corners of living rooms and bedrooms.
- Tree lamp (multi-head): three adjustable heads on one pole — aim one up for ambient, one at your chair for task, one at the wall for accent. One outlet, one purchase, three layers: the best value in a dark apartment.
- Arc lamp: a dramatic curve that throws light over a sofa or coffee table from behind. Needs floor space behind furniture and a heavy base; measure first in a small room.
- Tripod or drum lamp: softer downward light for a reading corner or beside the bed.
Buy renter-smart. Thrift stores, estate sales, and secondhand marketplaces are full of solid floor lamps for a fraction of retail — plug it in before paying, check the socket and cord for damage, and plan on a new shade if the old one is stained. Whatever lamp you bring home, the cheapest upgrade in this entire guide is the bulb: swap whatever’s inside for a warm-white LED (around 2700K), the brightest the fixture’s rating allows. A single bulb swap can make a thrifted lamp outperform a new one.
6. Mount Plug-In Sconces, No Wiring

Plug-in wall sconces give you the look of built-in lighting with zero electrical work: mount the fixture, plug the cord into an outlet, and cover the cord with a slim cord channel. They shine in the spots floor lamps can’t reach — flanking a sofa, on either side of the bed (which frees both nightstands), or down a hallway. Choose shades that throw light upward or outward rather than straight down so the glow spreads.
Mounting is the only part your lease cares about. Many sconces can hang on adhesive strips rated for their weight — see Do Command Strips Damage Walls? for what actually happens at removal — and light fabric-shade models are well within those ratings. If your lease allows small holes, two tiny screws plus a dab of spackle at move-out is the sturdier option. Either way, get any wall mounting approved in writing if your lease is strict; a photo of the planned spot sent to the landlord takes two minutes and protects your deposit.
7. Swag a Pendant Over the Table
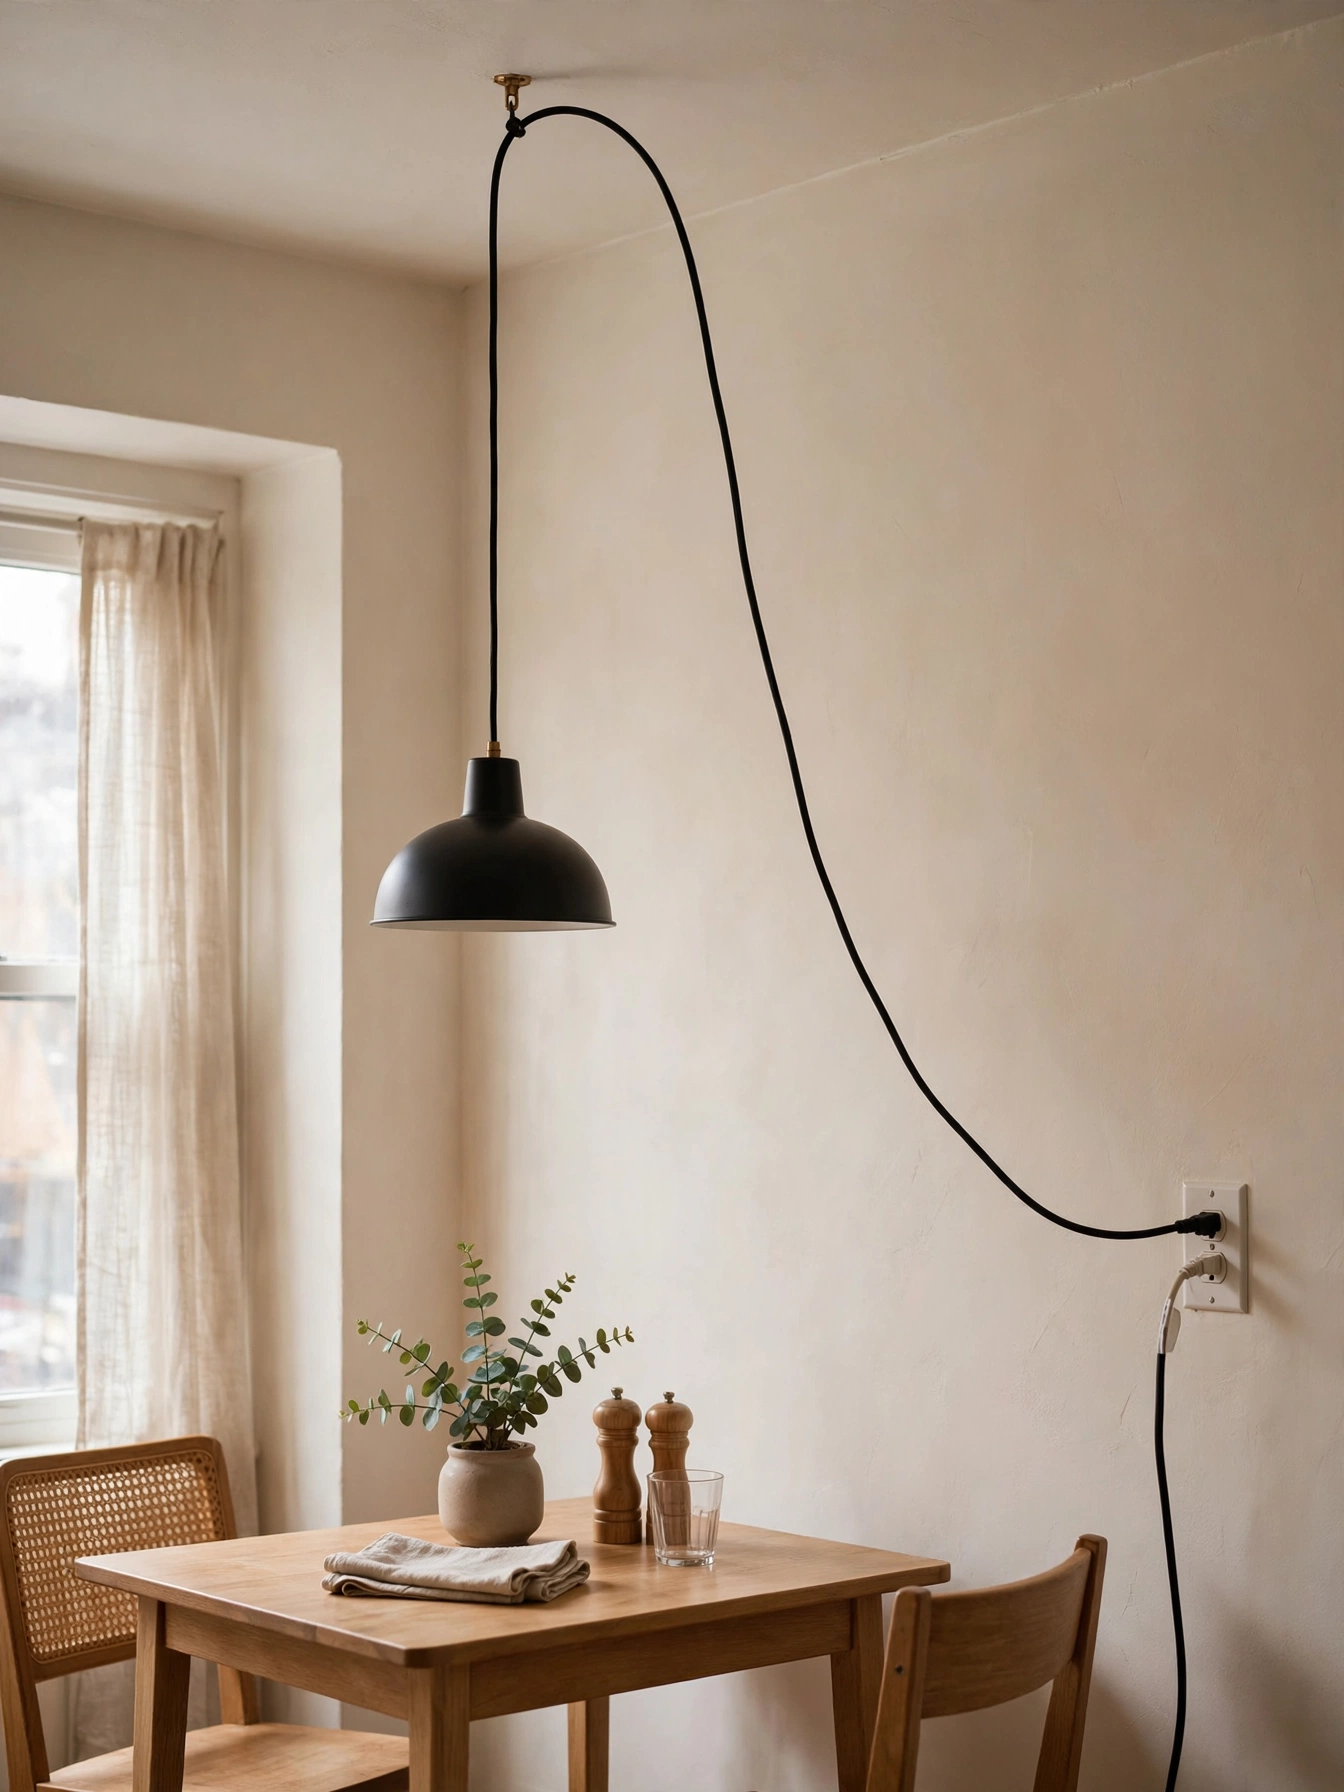
Dining tables suffer most without overhead light — eating and working under a side lamp gets old fast. A plug-in pendant with a swag kit solves it: screw one small hook into the ceiling above the table and one on the wall above the nearest outlet, drape the cord in a loose swag between them, and hang the shade over the table. It reads as a real dining fixture for the cost of a pendant cord kit and a shade.
Two cautions. First, ceiling holes are the mounting most likely to annoy a landlord, so confirm your lease allows them; the holes are tiny and spackle over invisibly at move-out, but permission first. Second, hang the shade’s bottom roughly 30 inches above the tabletop — low enough to pool light where you eat, high enough to see across. For a zero-hole version, an adhesive ceiling hook can hold a very light paper shade; check the hook’s weight rating and treat it as temporary, since heat and humidity weaken adhesive over time.
8. Go Battery Where Outlets Can’t

Some spots will never have an outlet nearby: closets, windowless hallways, the inside of a deep cabinet, above a dark entryway. That’s where battery-operated lights earn their keep. Stick-on battery ceiling lights — the round fixtures with a remote — press on with adhesive and give a closet or hallway genuine overhead-style light. Battery puck lights under kitchen cabinets brighten counters without a single cord. Rechargeable USB table lamps work for side tables stranded far from any outlet.
Go in clear-eyed about the tradeoffs. Batteries need replacing or recharging, which is an ongoing cost and chore — rechargeables pay for themselves quickly if the light gets daily use. Light output is modest: these are accent and closet lights, not living-room lights. And keep spare batteries or a charging routine, because a dead closet light at 6 a.m. is worse than none. Use battery lights to erase the dark corners; let plugged-in lamps do the heavy lifting.
9. Line Shelves With LED Strips
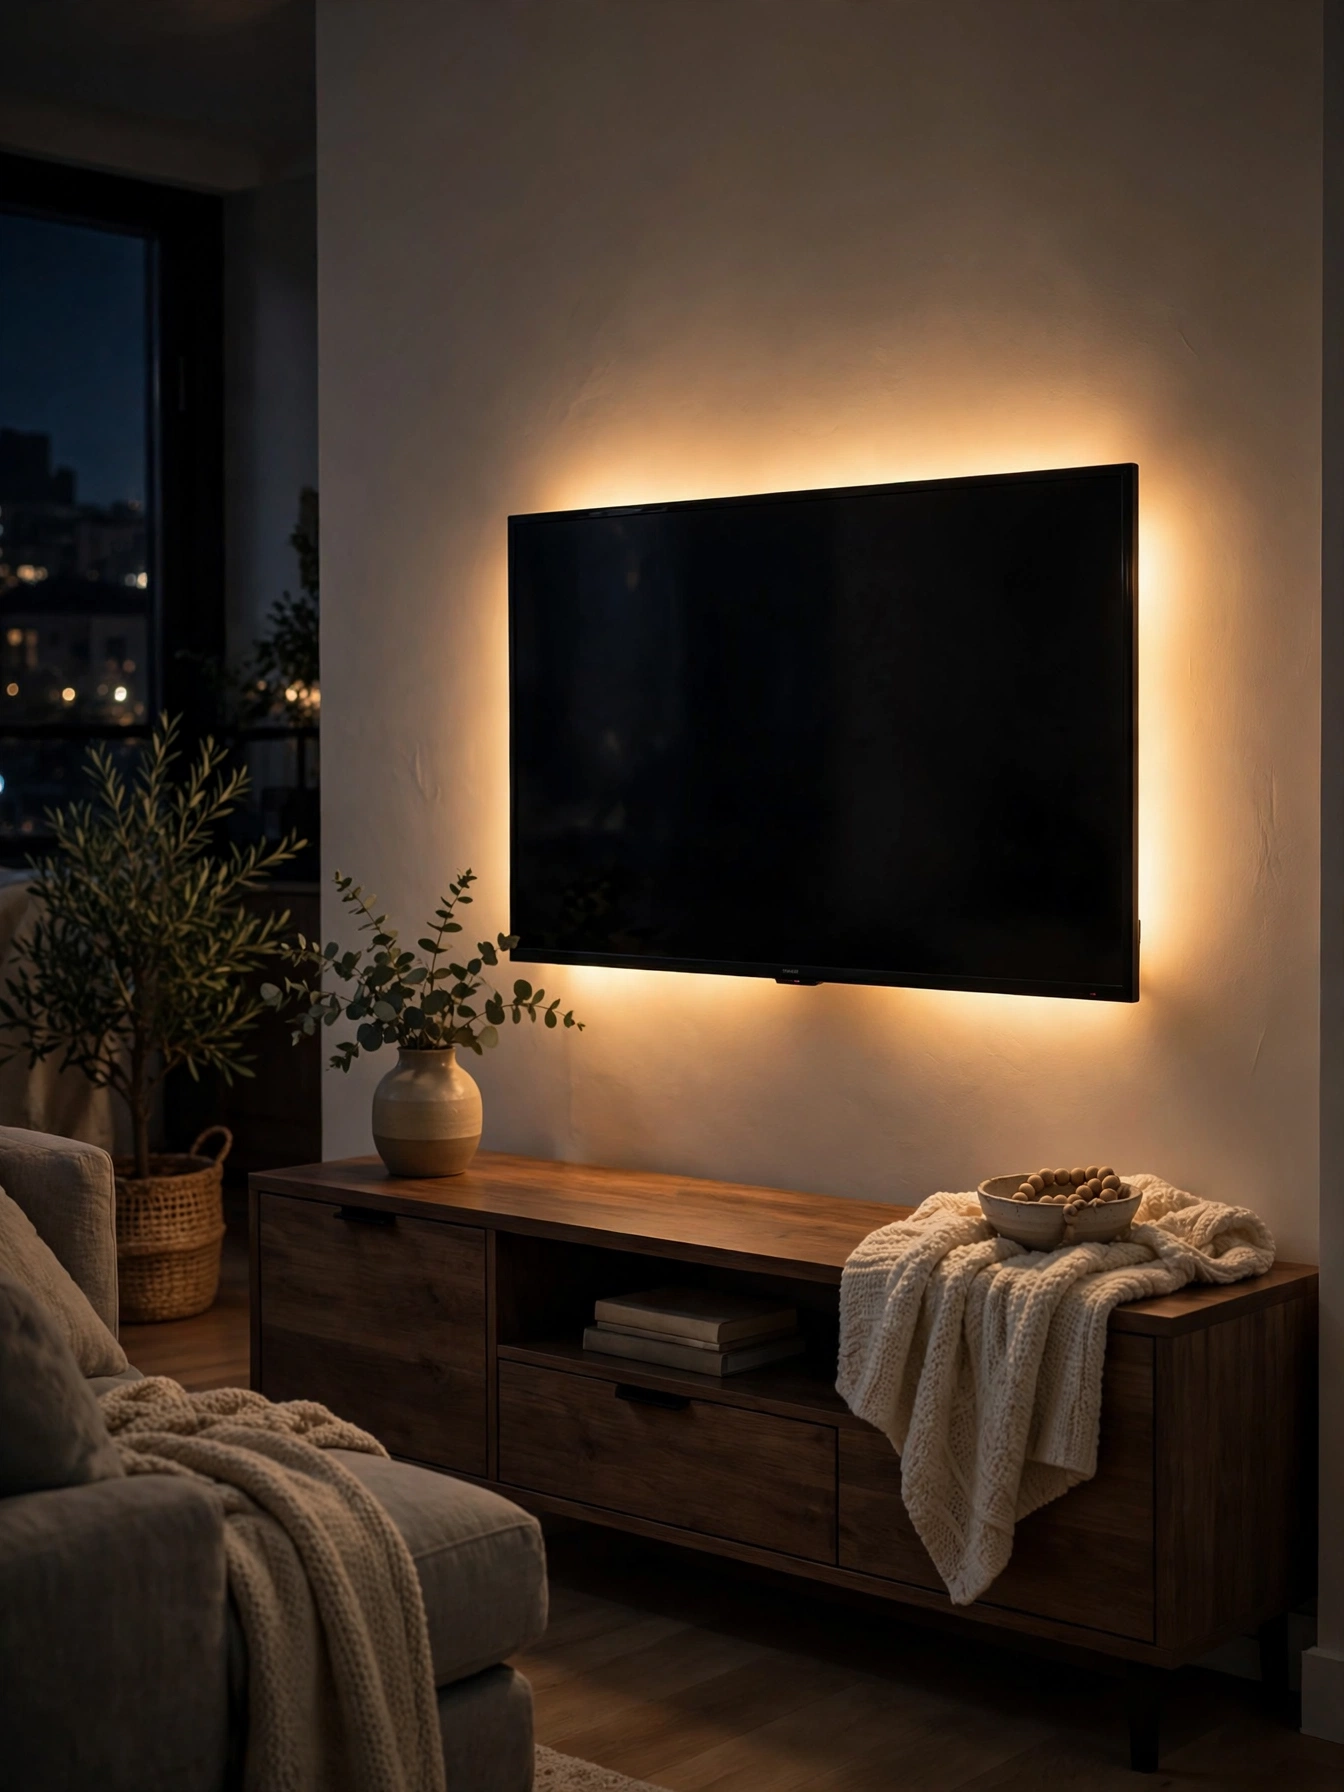
Warm-white LED strips are the cheapest way to make a rental look intentionally designed. Run them behind the TV, along the top of a bookshelf, under wall shelves, or under kitchen cabinets: the diodes stay hidden while the glow washes the wall, adding the accent layer that makes a room feel finished. Plug-in kits with a remote dimmer need no wiring and cost little.
The deposit question is the adhesive. Strip backing can pull paint off on removal, especially on older paint — so mount strips on the furniture or shelf itself rather than directly on the wall wherever possible; when the strip comes down with the furniture, the wall never knows. If wall mounting is unavoidable, test a small piece in a hidden spot first. Stick to warm white (around 2700K–3000K) for living areas — cool white reads harsh and clinical at night — and never run strips where you’ll stare directly at the diodes. Hide the source, show the glow.
10. Light Each Room on Purpose

Generic advice says “add lamps.” A plan says which lamp, where, per room:
Living Room
One torchiere in a corner for ambient bounce, one task lamp (arc, tree, or table lamp) by the main seat, and one accent — an LED strip behind the TV or a plug-in sconce. That’s three layers, three heights, and usually all a living room needs.
Bedroom
A lamp on each nightstand, or one nightstand lamp plus a plug-in sconce on the other side to keep surfaces clear. Add a torchiere in a dark corner if the room is large. Keep bedroom bulbs warm and dimmable if you can — bright cool light at midnight works against winding down.
Kitchen
Older kitchens often have one dim fixture doing all the work. Supplement it, don’t fight it: battery puck lights or an LED strip under the cabinets over the main counter, and the brightest warm-white bulb the existing fixture’s rating allows.
Bathroom
Most bathrooms have at least a vanity fixture. If yours is dim or missing, a plug-in sconce near the mirror or a battery bar light fills in — and keep any plugged-in light well away from water sources and splashes.
Hallway and Entry
One light is enough: a battery-operated ceiling light, a plug-in sconce, or a motion-sensor battery light so you’re never fumbling in the dark. Hallways are pure function — don’t spend ambient-layer money here.
Room-by-Room Lighting Plan Checklist
Copy this into your notes app and check items off as you shop — it doubles as your buying list so you don’t come home with three table lamps and no task light.
Living room
- ☐ 1 torchiere (uplight) in a corner for ceiling bounce
- ☐ 1 task lamp by the main seat (arc, tree, or table lamp)
- ☐ 1 accent: LED strip behind TV/shelf OR plug-in sconce
- ☐ Bulbs swapped to warm white (~2700K)
Bedroom
- ☐ 1 lamp per nightstand (or 1 lamp + 1 plug-in sconce)
- ☐ Optional torchiere in a dark corner
- ☐ Warm, dimmable bulbs
Kitchen
- ☐ Under-cabinet pucks or LED strip over the main counter
- ☐ Brightest warm-white bulb the existing fixture allows
Bathroom
- ☐ Plug-in sconce or battery bar light near the mirror (if existing light is dim)
- ☐ Light kept away from water sources
Hallway / Entry
- ☐ 1 battery ceiling light, plug-in sconce, or motion-sensor light
Whole apartment
- ☐ Switched outlet located and labeled
- ☐ Cord covers bought for visible runs
- ☐ Lease rules on wall/ceiling mounting confirmed in writing
- ☐ Spare bulbs and spackle on hand for move-out
11. Respect Old Wiring
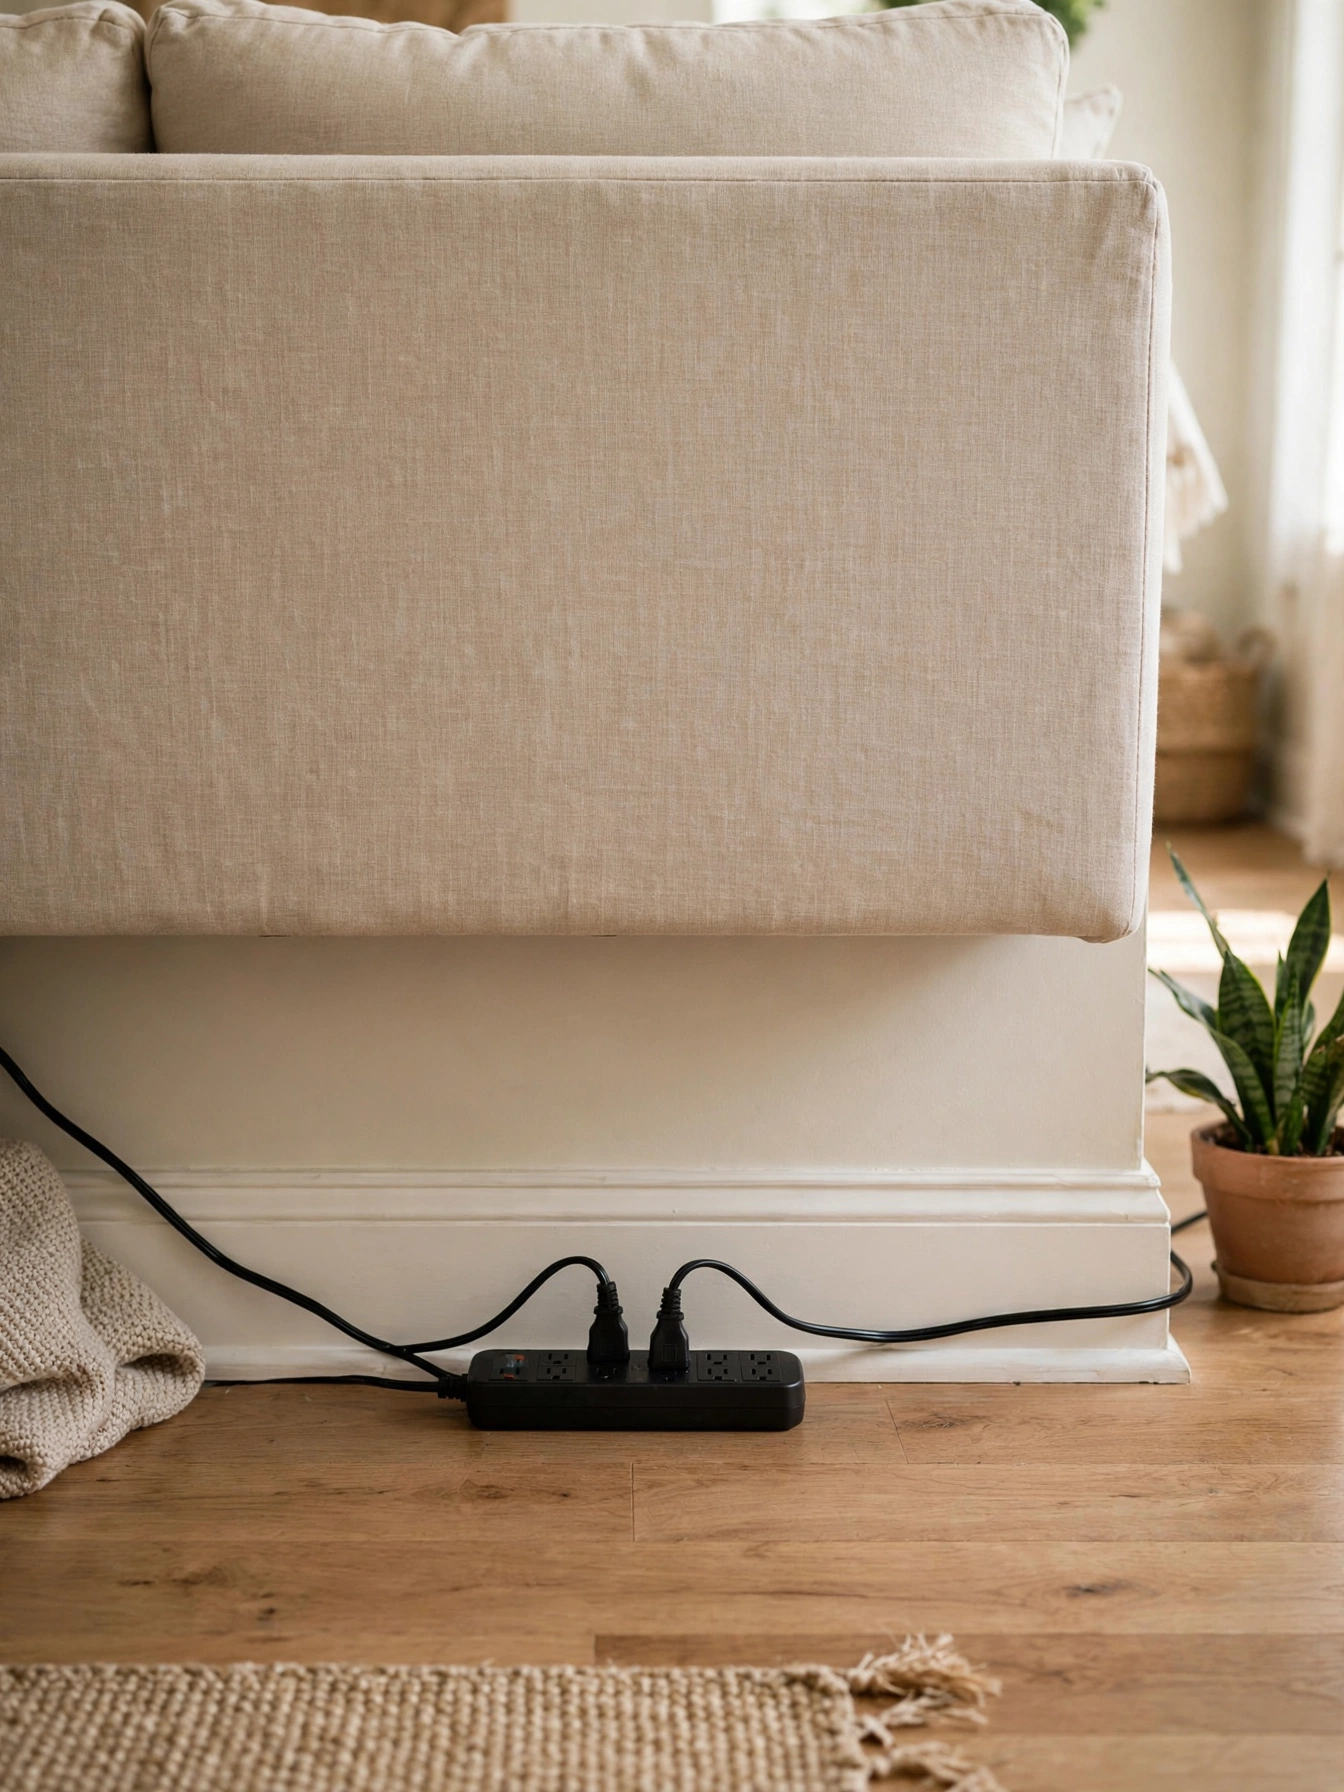
Older apartments were wired when a room needed one outlet, not six — so treat the electrical system with a little humility. Lamps are low-draw and generally undemanding, which works in your favor; the breaker-trippers in old buildings are space heaters and hair dryers, not LEDs. Still, a few habits keep things uneventful: plug grouped lamps into a surge protector rather than a bare power strip, never daisy-chain strips together, and don’t run extension cords under rugs or through doorways as permanent wiring.
Check the maximum wattage printed on each lamp’s socket and stay under it — modern LED bulbs draw a fraction of that, which is one more reason the bulb swap in section 5 matters. If a plug ever feels hot, or an outlet sparks, smells, or trips the breaker repeatedly, stop using it and notify your landlord in writing; faulty wiring is their repair responsibility, not a DIY project. These steps reduce risk, but they don’t make any setup guaranteed safe — when something seems off, the landlord and, if needed, an electrician are the right call.
12. Light It on a Renter’s Budget

You don’t need to buy everything at once. Work in this order and each purchase earns its keep:
- Bulbs first. A warm-white LED swap in every fixture and lamp you own is the cheapest transformation in this guide.
- One torchiere. The ceiling-bounce trick from section 3 is the single highest-impact purchase.
- Thrift the rest. Floor and table lamps are among the safest secondhand buys — test before paying, skip anything with a frayed cord or cracked socket, and budget for a new shade.
- Strips and pucks. The accent layer, cheapest per unit of coziness.
- Sconces and pendants last. The most “finished” look, and the only step that may need landlord sign-off.
Editor fact-check note: typical price bands below were observed October 2026 — verify current prices before publishing. Roughly: basic torchiere $25–$60 new / $5–$15 thrifted; plug-in sconce $20–$50; LED strip kit $15–$30; puck lights $10–$20; surge protector $15–$25. Shop thrift stores, secondhand marketplaces, and discount retailers first — and for a full budget-decorating framework, see Decorate Apartment on a Budget.
Frequently Asked Questions
Can I install a real ceiling light in a rental apartment?
Only with your landlord’s written permission, and the work itself should be done by a licensed electrician — not a DIY project, especially in older buildings with aging wiring. For most renters the plug-in route (torchieres, swag pendants, plug-in sconces) gets most of the result with none of the lease risk. If you plan to stay for years and the landlord agrees, get the agreement in writing before anyone touches a wire.
Do battery-operated ceiling lights actually give enough light?
Enough for a closet, hallway, or entryway — not enough to light a living room. They’re accent and utility lights: press-on, remote-controlled, genuinely useful where no outlet exists. For daily-use spots, rechargeable models beat disposable-battery ones on ongoing cost. Pair them with plugged-in lamps for the rooms where you actually live.
What’s the best floor lamp for a dark apartment?
A tree-style multi-head lamp is the best single purchase: one outlet and one footprint delivering ambient, task, and accent light via adjustable heads. Runner-up is a torchiere for pure ceiling-bounce ambient light. Arc lamps look dramatic over a sofa but need floor space behind furniture — measure your small room before committing.
How do I hide lamp cords without damaging the walls?
Run cords behind furniture wherever the layout allows, then cover visible runs with slim adhesive cord channels (the kind that peel off at move-out). Adhesive cable clips keep cords tight along baseboards. Avoid nailing cord staples into trim in a rental — every hole is a deposit negotiation later.
Are plug-in wall sconces really renter-friendly?
Yes — the “plug-in” part means no electrical work at all, which is what makes them renter-friendly. The only lease question is mounting: adhesive strips handle light fabric-shade models with no holes, and small screw holes spackle over at move-out if your lease allows them. Confirm in writing with your landlord if your lease is strict about wall mounting.
How many lamps does a living room with no ceiling lights need?
Three light sources is the practical minimum: one ambient (a torchiere bouncing off the ceiling), one task (a lamp by your main seat), and one accent (an LED strip, sconce, or shelf lamp). Place them at three different heights — floor, table, and wall or shelf — so the light feels layered instead of coming from a single hot spot.
Will LED strip adhesive damage my walls or cost me my deposit?
It can — strip adhesive is notorious for pulling paint, especially older paint, on removal. Protect yourself by mounting strips on furniture or shelving rather than directly on walls, and test a small piece in a hidden spot before committing. Removable mounting putty or clips are safer alternatives for direct-to-wall runs.
Conclusion
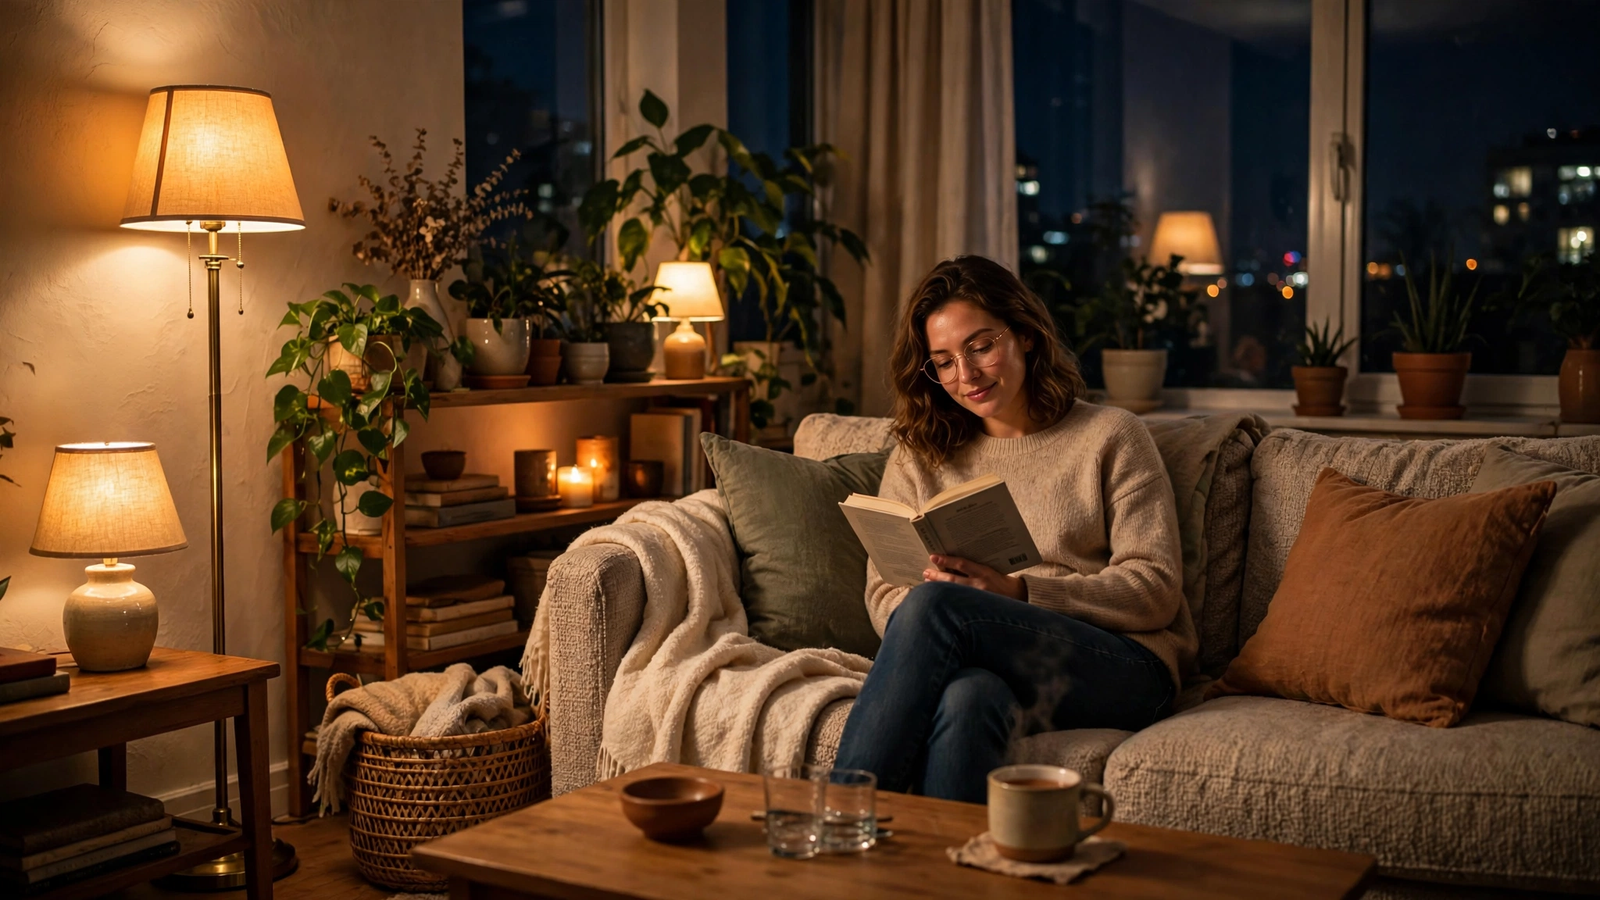
A dark rental isn’t a lighting failure — it’s a wiring era. Once you know how to light an apartment with no ceiling lights the renter way — one uplight per room faking the overhead, three layers at three heights, plug-in and battery solutions where outlets can’t reach — the apartment stops feeling like a cave and starts feeling chosen. Work the checklist room by room, buy in budget order, and keep every mounting reversible. If this saved you from buying the wrong lamp, save it or share it with the next first-time renter staring at a switch that controls nothing.

Maren started MyFirstLease after a rough first lease taught him everything the internet didn’t. He covers the logistical side of renting — move-in checklists, utilities, and the unglamorous first-week stuff nobody explains — and oversees everything published on the site.