Learning how to decorate a rental apartment kitchen without renovating is mostly a matter of choosing changes you can undo. You cannot rip out cabinets or retile a backsplash in a place you do not own, but you can swap hardware, add warm light, layer in color, and style what is already there — and take nearly all of it with you when you move.
This guide is written for a first-time renter on a tight budget who is stuck with a dated kitchen and a deposit to protect. Every idea below is fully reversible, needs no drilling and no permanent changes, and is ordered by impact, so you can stop as soon as the room feels finished. For more ideas in the same spirit, browse Decorating & Small Space Living.
Quick answer: To decorate a rental apartment kitchen without renovating, start by photographing the kitchen as-is, then make reversible swaps in this order: new cabinet hardware, warm under-cabinet lighting, a peel-and-stick backsplash, styled counters and open shelves, freestanding storage, and textiles like a washable rug and café curtains. Keep every original part in a labeled box so you can restore the kitchen before move-out.
Summary
A rental kitchen refresh works best when you treat it as styling, not construction. The biggest visual wins come from the things your eye touches most often: the cabinet knobs you grab a dozen times a day, the light over the counter where you chop and wash up, and the blank wall between the counter and the upper cabinets. Change those three and the room reads as intentional instead of builder-grade.
This article walks through seven reversible moves in the order that gives the most change for the least money, with planning-range costs for each, the mistakes that cost renters their deposits, and a short move-out checklist so everything goes back exactly the way you found it. Nothing here requires a drill, a paintbrush, or your landlord’s permission — though one section explains when a quick written OK is still worth getting.
1. Photograph Everything and Pick One Palette

Before you buy a single thing, photograph the whole kitchen in good daylight: every cabinet door, the counters, the backsplash, the faucet, the floor, and the inside of any cabinet you plan to touch. Save the photos in a dated folder on your phone. These pictures are your before-and-after record and your proof of the kitchen’s original condition if there is ever a deposit dispute.
Next, pick one small palette and let it govern every purchase: one metal finish, one wood tone, and one soft color. Brushed nickel, light oak, and sage green is one combination that calms a dated kitchen; matte black, warm walnut, and cream is another. The palette is what makes seven separate purchases look like one plan instead of a pile of random finds.
Check your lease before you start, too. Most leases ban painting, drilling, and adhesive that damages paint, but many allow removable hardware swaps and peel-and-stick products as long as surfaces are restored. If anything in your lease is unclear, a short email to your landlord asking whether a specific reversible change is acceptable is worth the five minutes — a written yes protects you later.
Common mistake: buying decor before choosing a palette. A kitchen with gold knobs, chrome light strips, and a red rug does not look eclectic; it looks unfinished. Decide the three finishes first, then shop inside them.
2. Swap the Cabinet Hardware
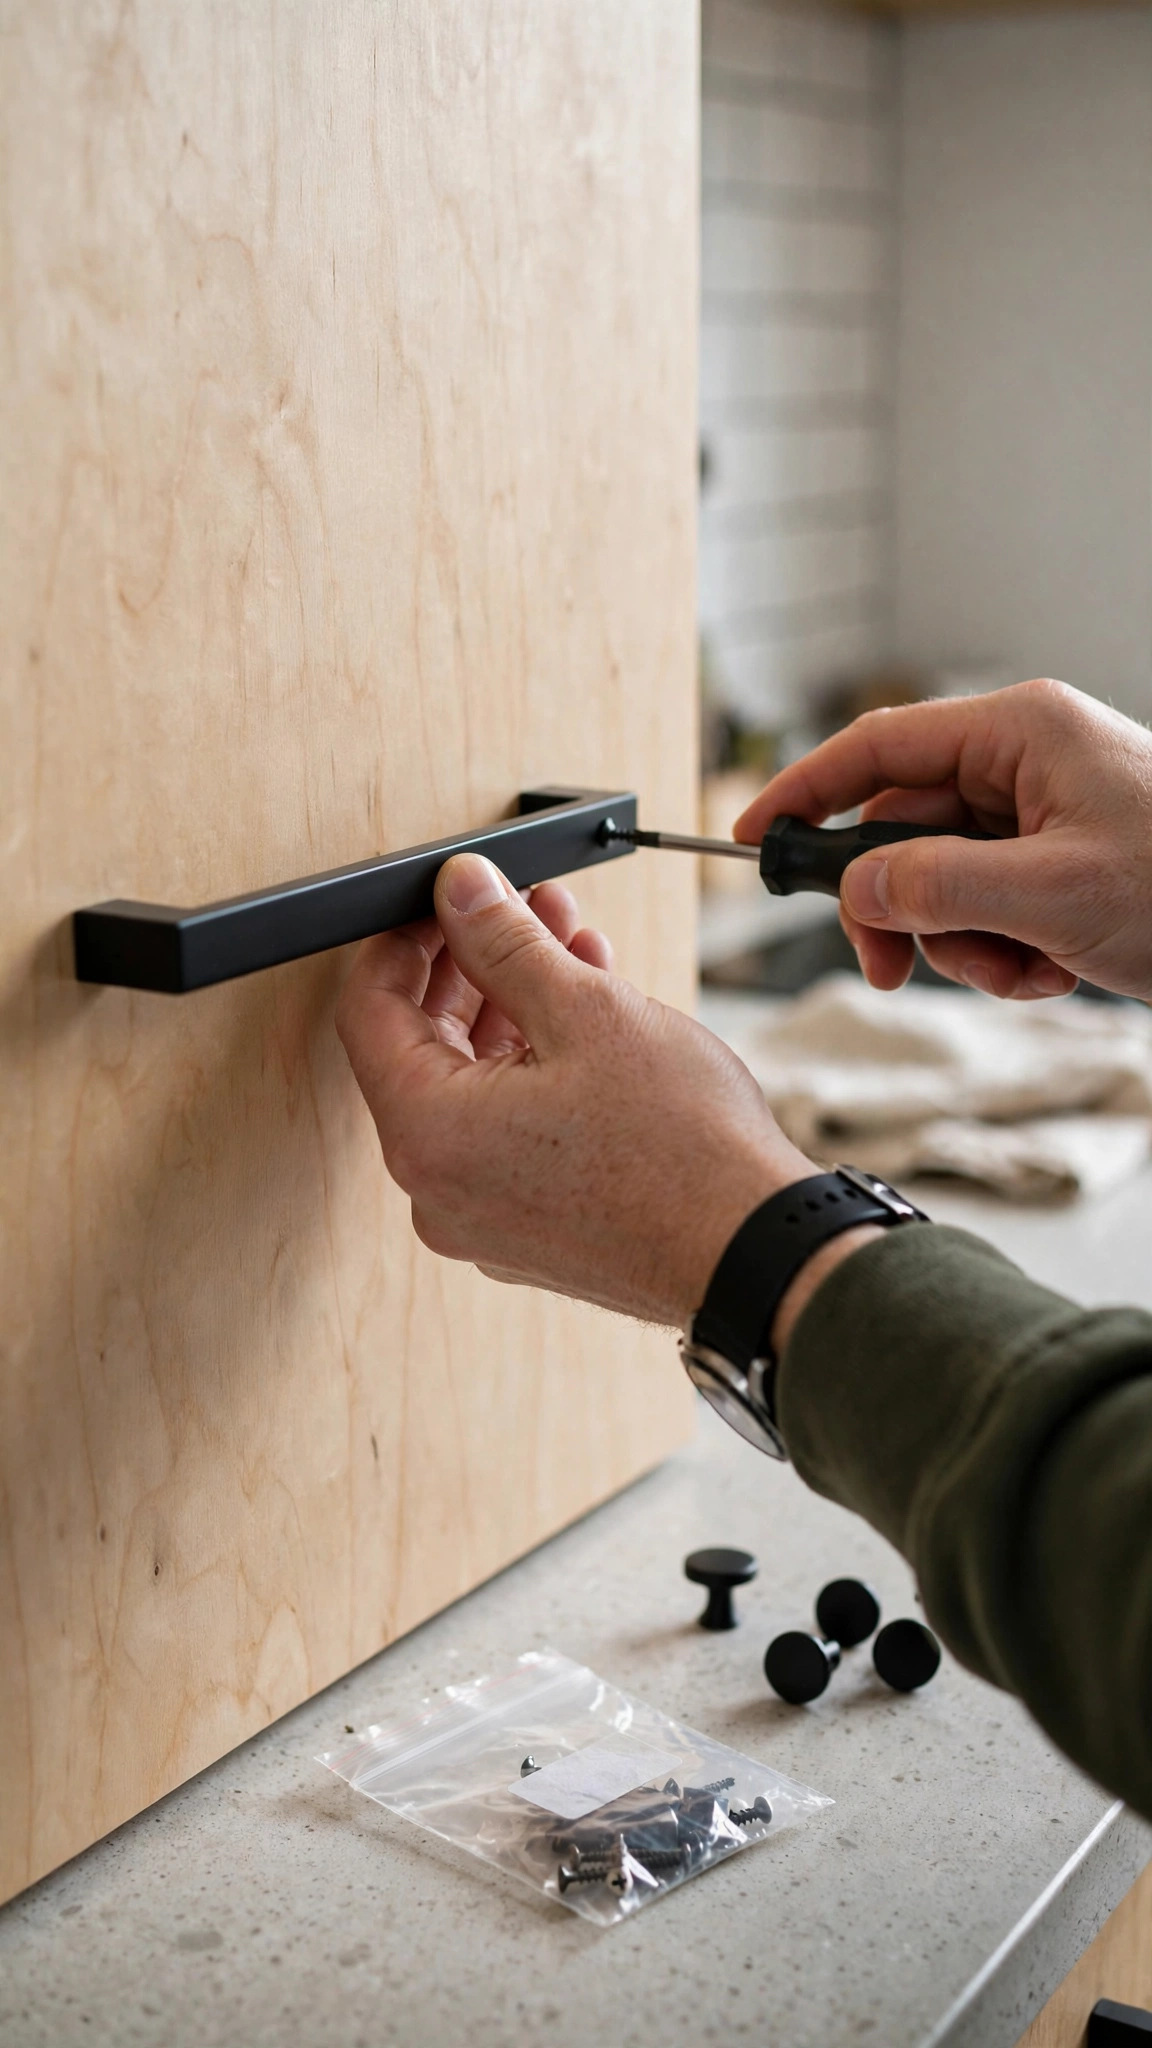
Builder-grade knobs are the fastest giveaway of a dated rental kitchen, and they are also the fastest thing to fix. Swapping cabinet knobs and pulls takes about 30 to 60 minutes with a single screwdriver, needs no drilling, and changes the look of every cabinet at once. This is the classic kitchen decor without drilling move, and it is the one to do first if you only do one thing.
Before ordering, measure the distance between the two screw holes on your existing pulls — the standard is 3 inches or 3¾ inches — and count how many knobs and pulls you need, including drawers. Buy hardware that uses the same hole spacing so you never have to drill a new hole. Keep every original knob, pull, and screw in a labeled zip bag in your “originals box” so the swap-back at move-out takes minutes.
Planning range: roughly $2–$5 per knob or pull for simple finishes, so a typical small kitchen runs about $40–$100 for a full set (as of 2026; prices vary by finish and retailer). Matte black and brushed brass read the most current, but the right choice is the one that matches the metal in your palette — and the faucet, if you can match it.
Common mistake: mixing metals. One metal finish across knobs, light fixtures, and small accents looks deliberate; two or three competing metals look accidental. If your faucet is chrome and you cannot change it, choose chrome or nickel hardware rather than fighting it with gold.
3. Add Warm Light Without Any Wiring
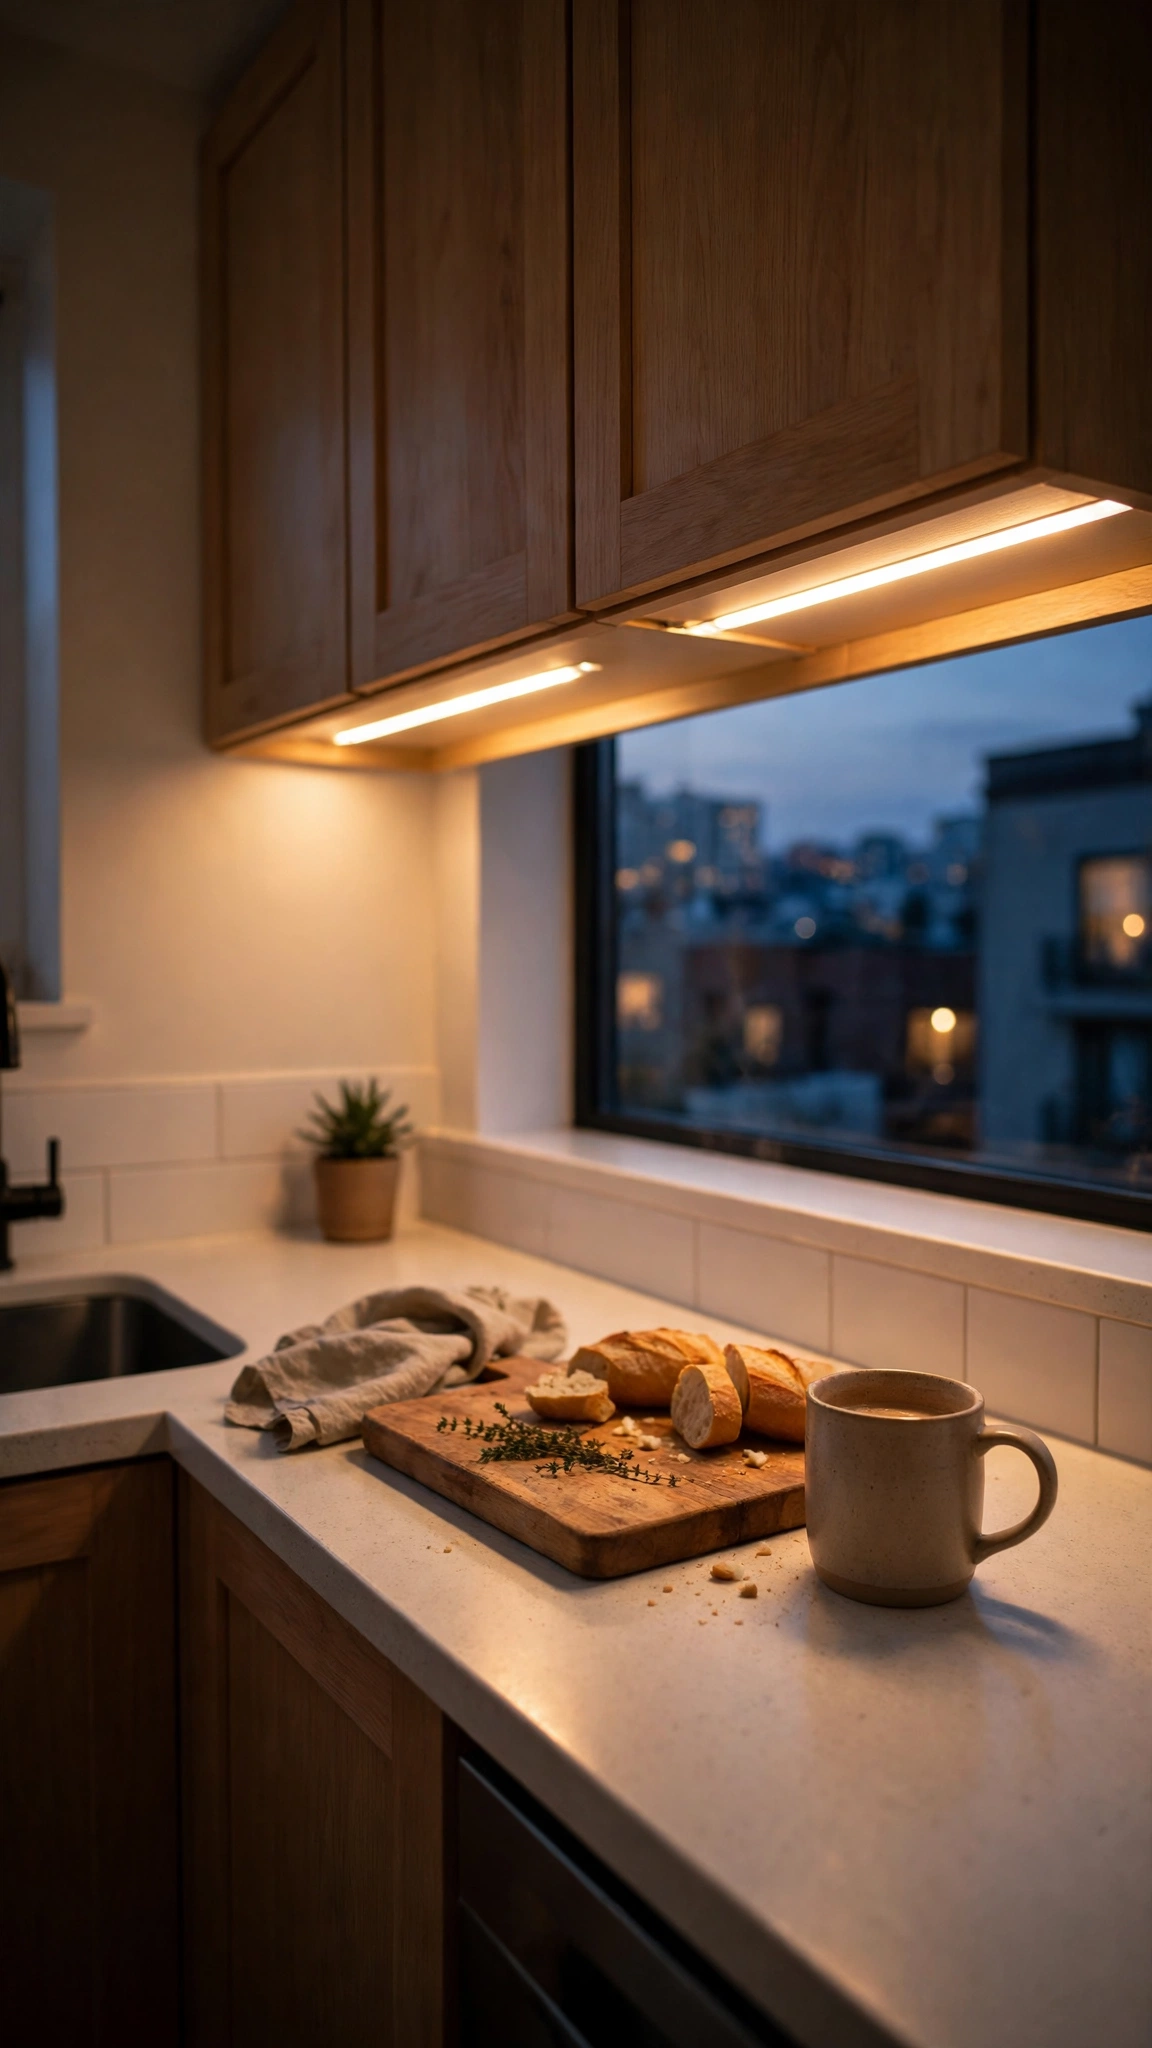
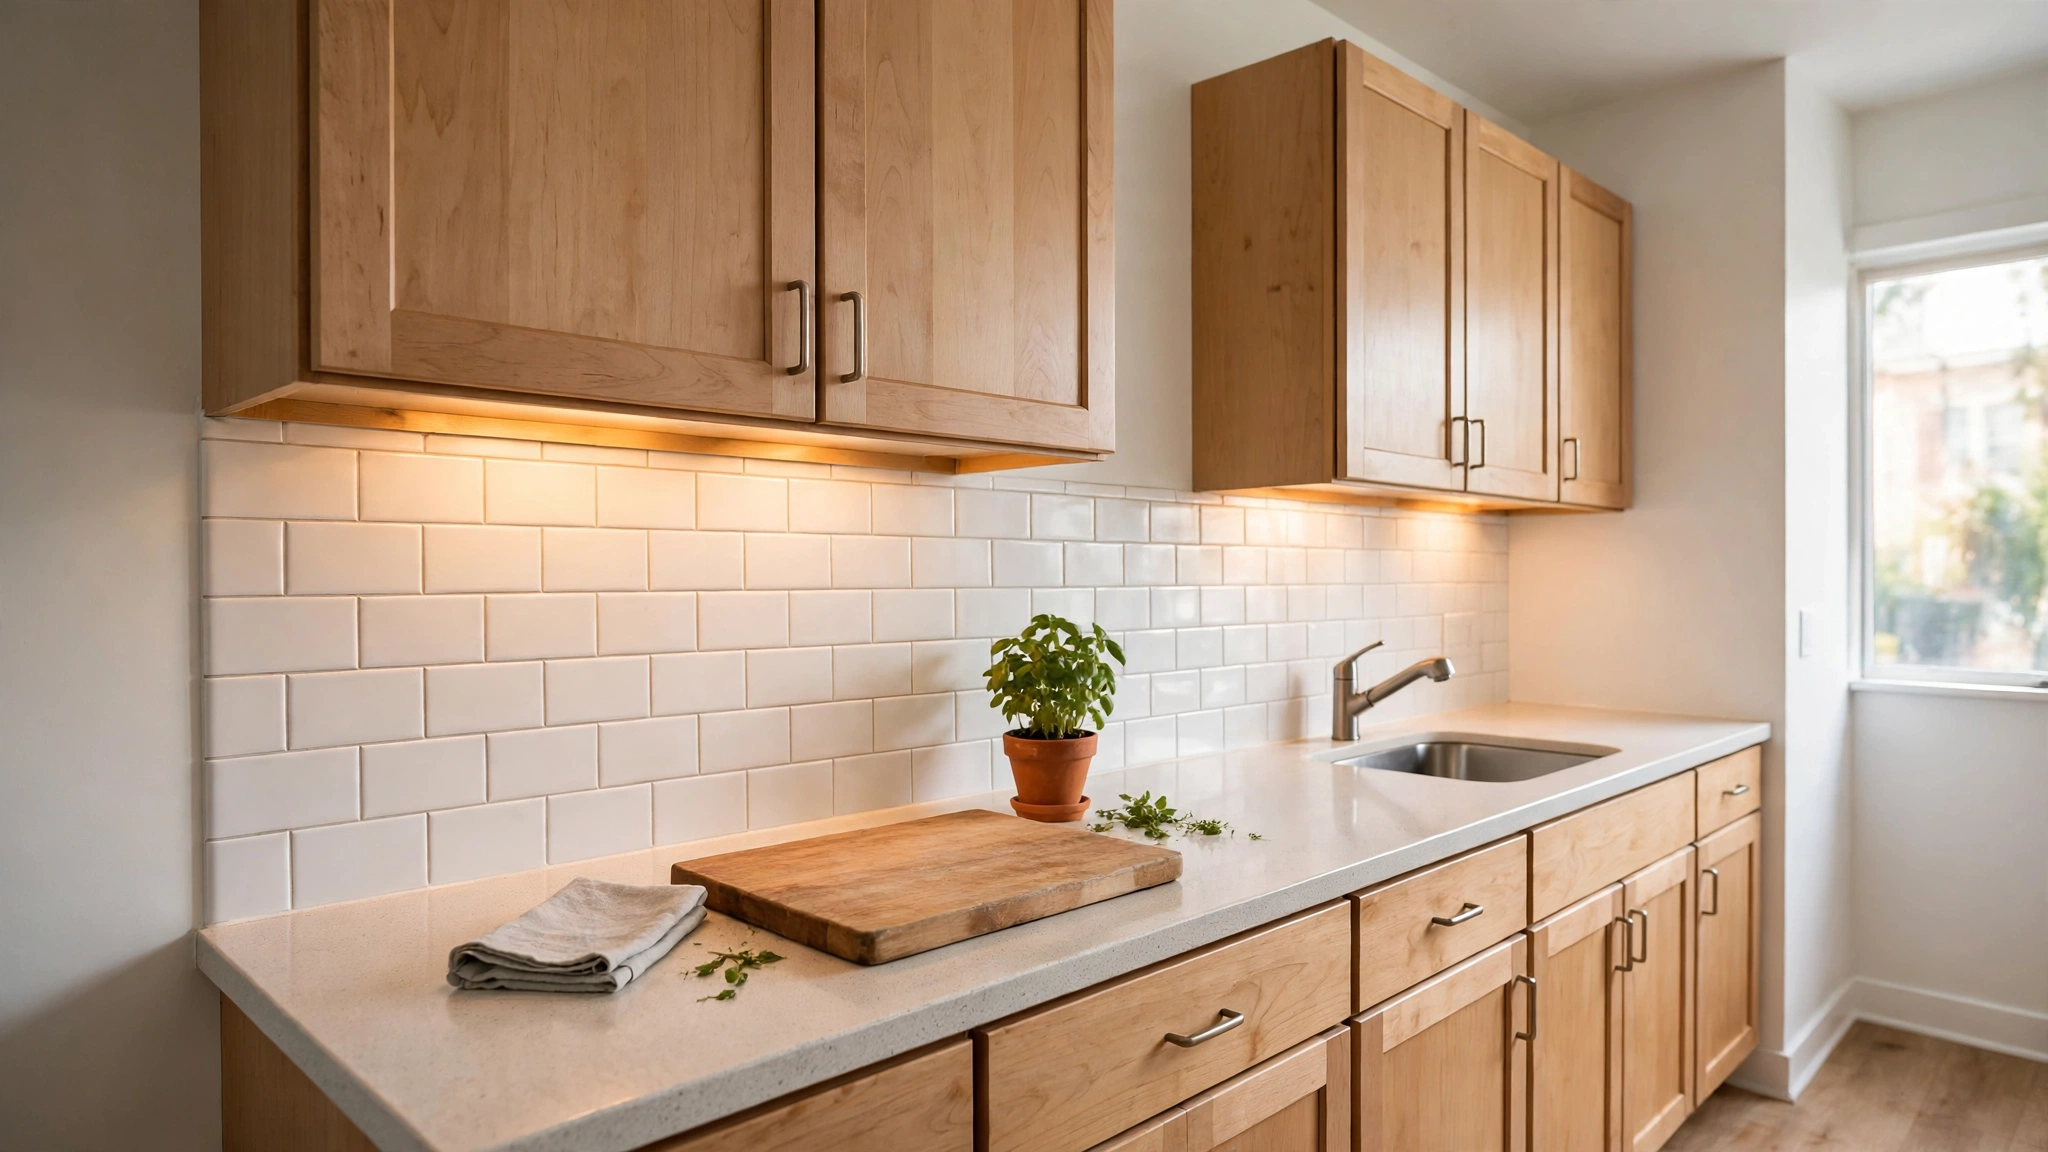
Harsh overhead lighting is what makes most rental kitchens feel like a break room. Warm light layered at counter level changes the whole room, and it requires no electrical work at all. Battery-powered or USB-rechargeable LED strips stick under the upper cabinets with adhesive or magnets, and most have a motion sensor or a tap switch, so there is nothing to wire and nothing to ask the landlord about.
Choose warm white, around 2700K–3000K, rather than cool daylight bulbs. Warm light makes white cabinets look creamy instead of clinical and makes food look appetizing; cool light does the opposite. While you are at it, swap any cold overhead bulbs for warm ones and keep the originals in the box.
A plug-in pendant or a battery-operated puck light inside a dark pantry or over the sink adds a second layer of light for very little money. If your kitchen has no window, light matters even more — it is the closest substitute for daylight the room will get.
Planning range: a set of rechargeable under-cabinet strips runs roughly $20–$50 for a small kitchen (as of 2026). Rechargeable beats battery-only for a room you use every day, since you will not be buying batteries every few weeks.
Common mistake: buying strips that are too bright or too blue. Test one strip at night before committing to the whole run — a kitchen that glows like a convenience store is worse than a dim one.
4. Refresh the Backsplash With Peel-and-Stick
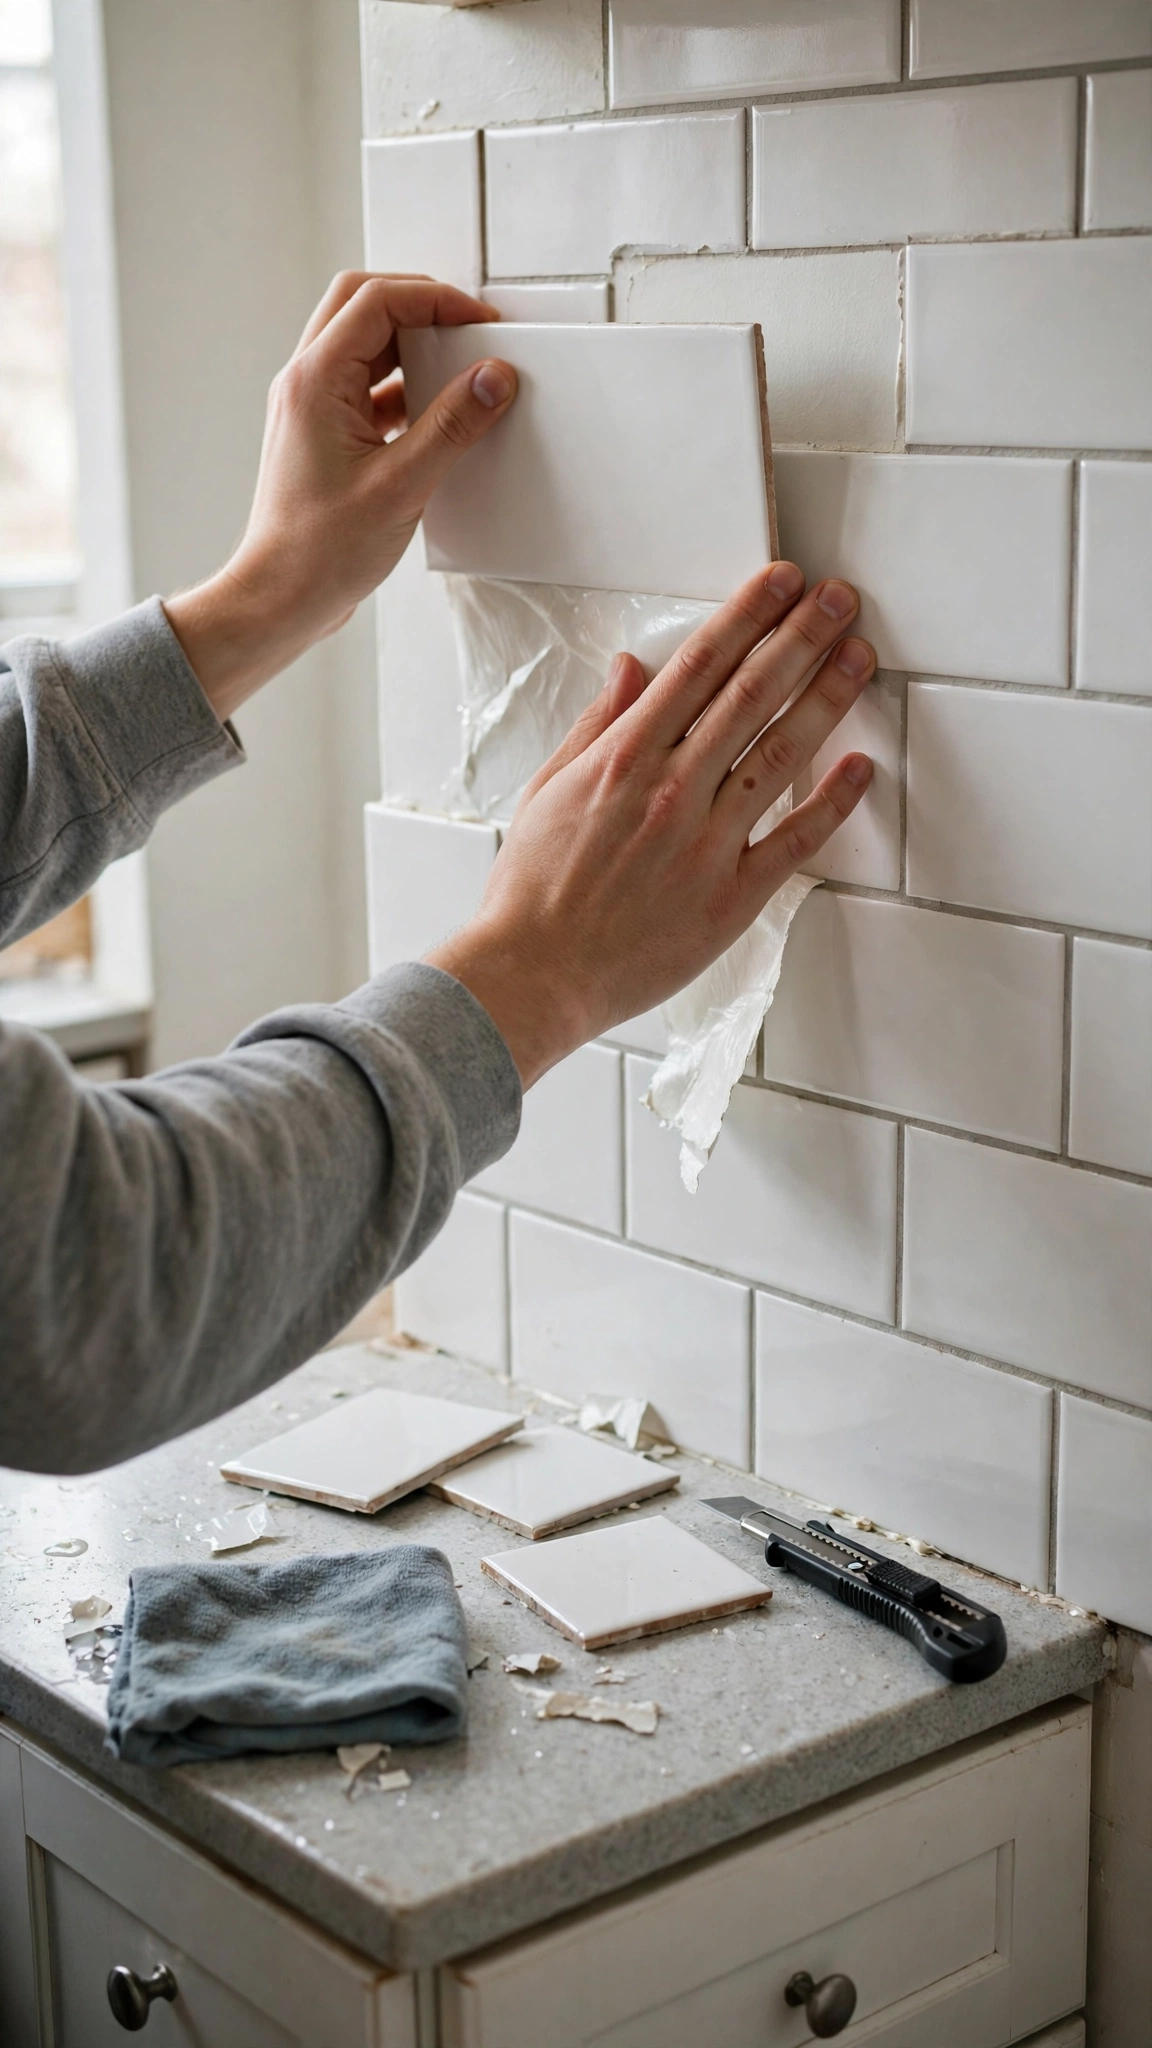
The blank wall between the counter and the upper cabinets is the largest empty surface in most rental kitchens, which makes it the highest-impact place for a peel-and-stick kitchen upgrade. Peel-and-stick tiles and wallpaper apply directly over the existing surface, need no grout or tools, and peel off when you move — as long as you test first.
Test a single tile in a hidden spot for a week before covering the whole wall. Smooth surfaces like painted drywall and existing tile release cleanly; textured walls and fresh paint do not, and heat from the stove can loosen adhesive over time. If your lease mentions adhesives at all, this is the one product worth the quick email to your landlord. A written OK costs nothing and removes the only real deposit risk in this guide.
Apply tiles from the center outward, pressing firmly and trimming the last piece at each end with a utility knife. For a small rental kitchen, a single row of patterned tile or a simple subway pattern in a soft color usually looks better than a busy print across the whole wall — the room is small, and a loud pattern can overwhelm it fast.
Planning range: peel-and-stick tiles run roughly $5–$10 per square foot, so a standard 10-square-foot backsplash area lands around $50–$100 (as of 2026). Buy one extra sheet for mistakes and for the move-out test patch.
Common mistake: covering the wall behind the stove without checking heat tolerance. Some peel-and-stick products are not rated for high heat; if the manufacturer’s guidance says keep it away from direct heat, leave a gap behind the burners and use a freestanding splatter screen instead.
5. Style the Counters and Open Shelves

A small rental kitchen feels bigger when the counters are mostly clear, so decorate around the work surface rather than on it. A workable rule: if you do not use it every day, it lives somewhere else. Keep a clear landing zone next to the sink and the stove for setting things down, and let one or two styled spots carry the personality of the whole room.
A wooden cutting board leaned against the backsplash, a crock holding wooden spoons, and a small tray grouping a plant with a bottle of olive oil is a complete vignette — it looks styled without eating counter space. Matching canisters for flour, sugar, and coffee turn pantry staples into decor, and a fruit bowl adds color that changes with the season.
If you have open shelves — or you remove one upper cabinet door and keep the door and hinges safe in the originals box — style them the same way: everyday dishes you actually use, stacked neatly, with one or two decorative pieces per shelf. Closed cabinets hide clutter; open shelves display it, so keep what is visible to the things that look good.
Planning range: a cutting board, a crock, and a tray together run roughly $25–$60 (as of 2026), and most of it is useful in the kitchen anyway, so the money is not purely decorative.
Common mistake: styling every surface. Three styled spots in a small kitchen feel intentional; ten feel cluttered and leave you nowhere to cook. Edit until the room looks finished, then stop.
6. Add Storage That Doubles as Decor
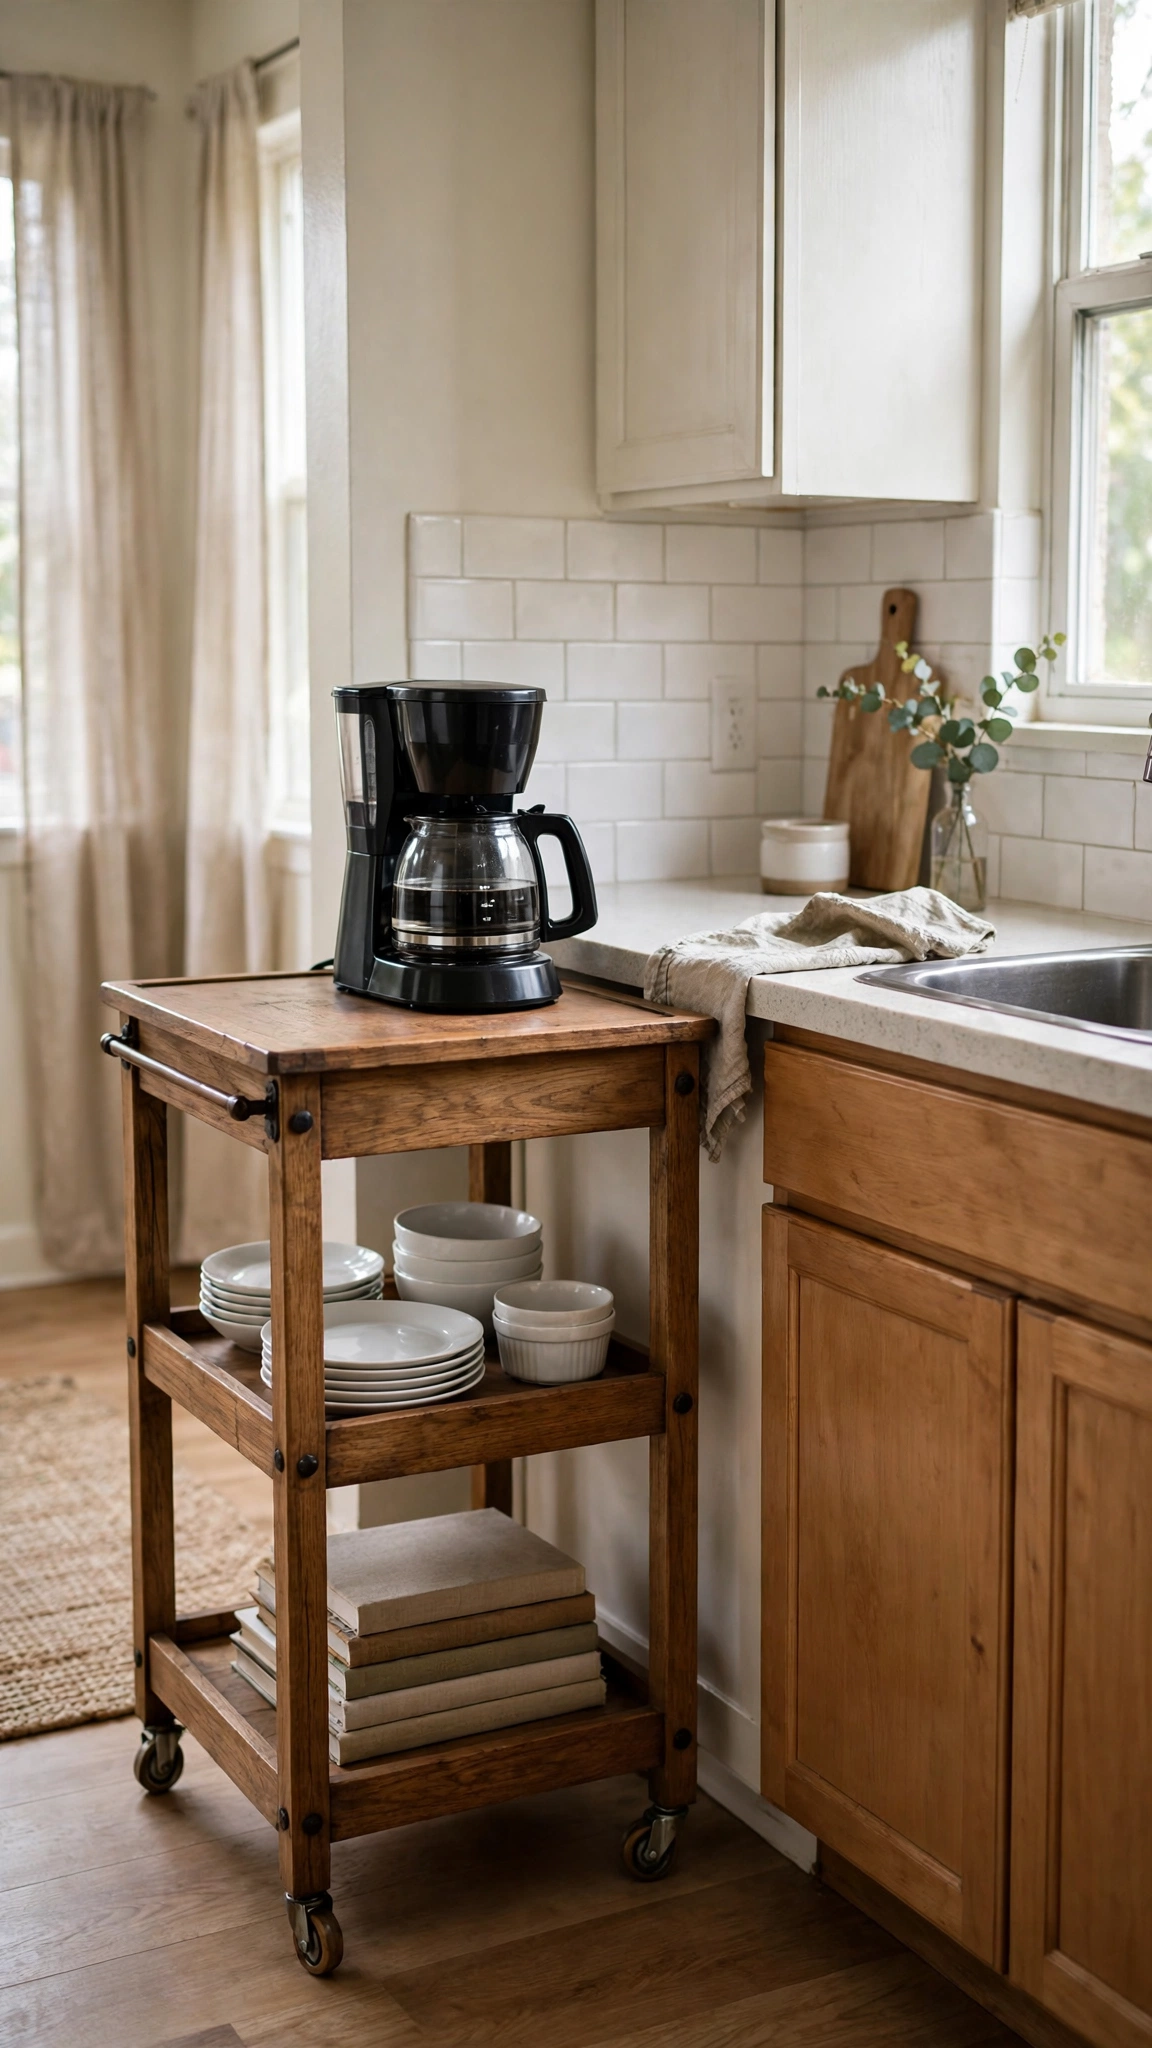
Rental kitchens almost always lack storage, and the fix does not have to look like storage. A freestanding shelf unit, a rolling cart, or a narrow bookcase against a blank wall adds real capacity and gives you another surface to style. Because nothing is attached to the wall, there is nothing to patch at move-out and the piece moves with you to the next apartment.
Inside the cabinets, use the space you already have better: shelf risers double the usable height of a cabinet shelf, a tension rod mounted vertically inside a cabinet holds cutting boards upright, and narrow racks on the inside of cabinet doors hold lids and spices. A magnetic knife strip that mounts with adhesive — never screws — keeps knives off the counter and off a crowded block.
A rolling cart is the most flexible option for a first apartment. It can hold a coffee station, extra pantry goods, or cookbooks, and it rolls out of the way when you need floor space. Choose one with a solid top you can work on, not just open shelves.
Planning range: shelf risers and door racks run roughly $10–$30 each, and a rolling cart roughly $40–$120 depending on size and material (as of 2026). Start with the inside-cabinet fixes, which cost the least and free the most space.
Common mistake: buying storage before decluttering. Measure what you actually own first. A cart bought for pots you rarely use is a cart that holds clutter; a riser bought for the cabinet you already overstuffed is a riser that works.
7. Finish With Textiles and a Rug
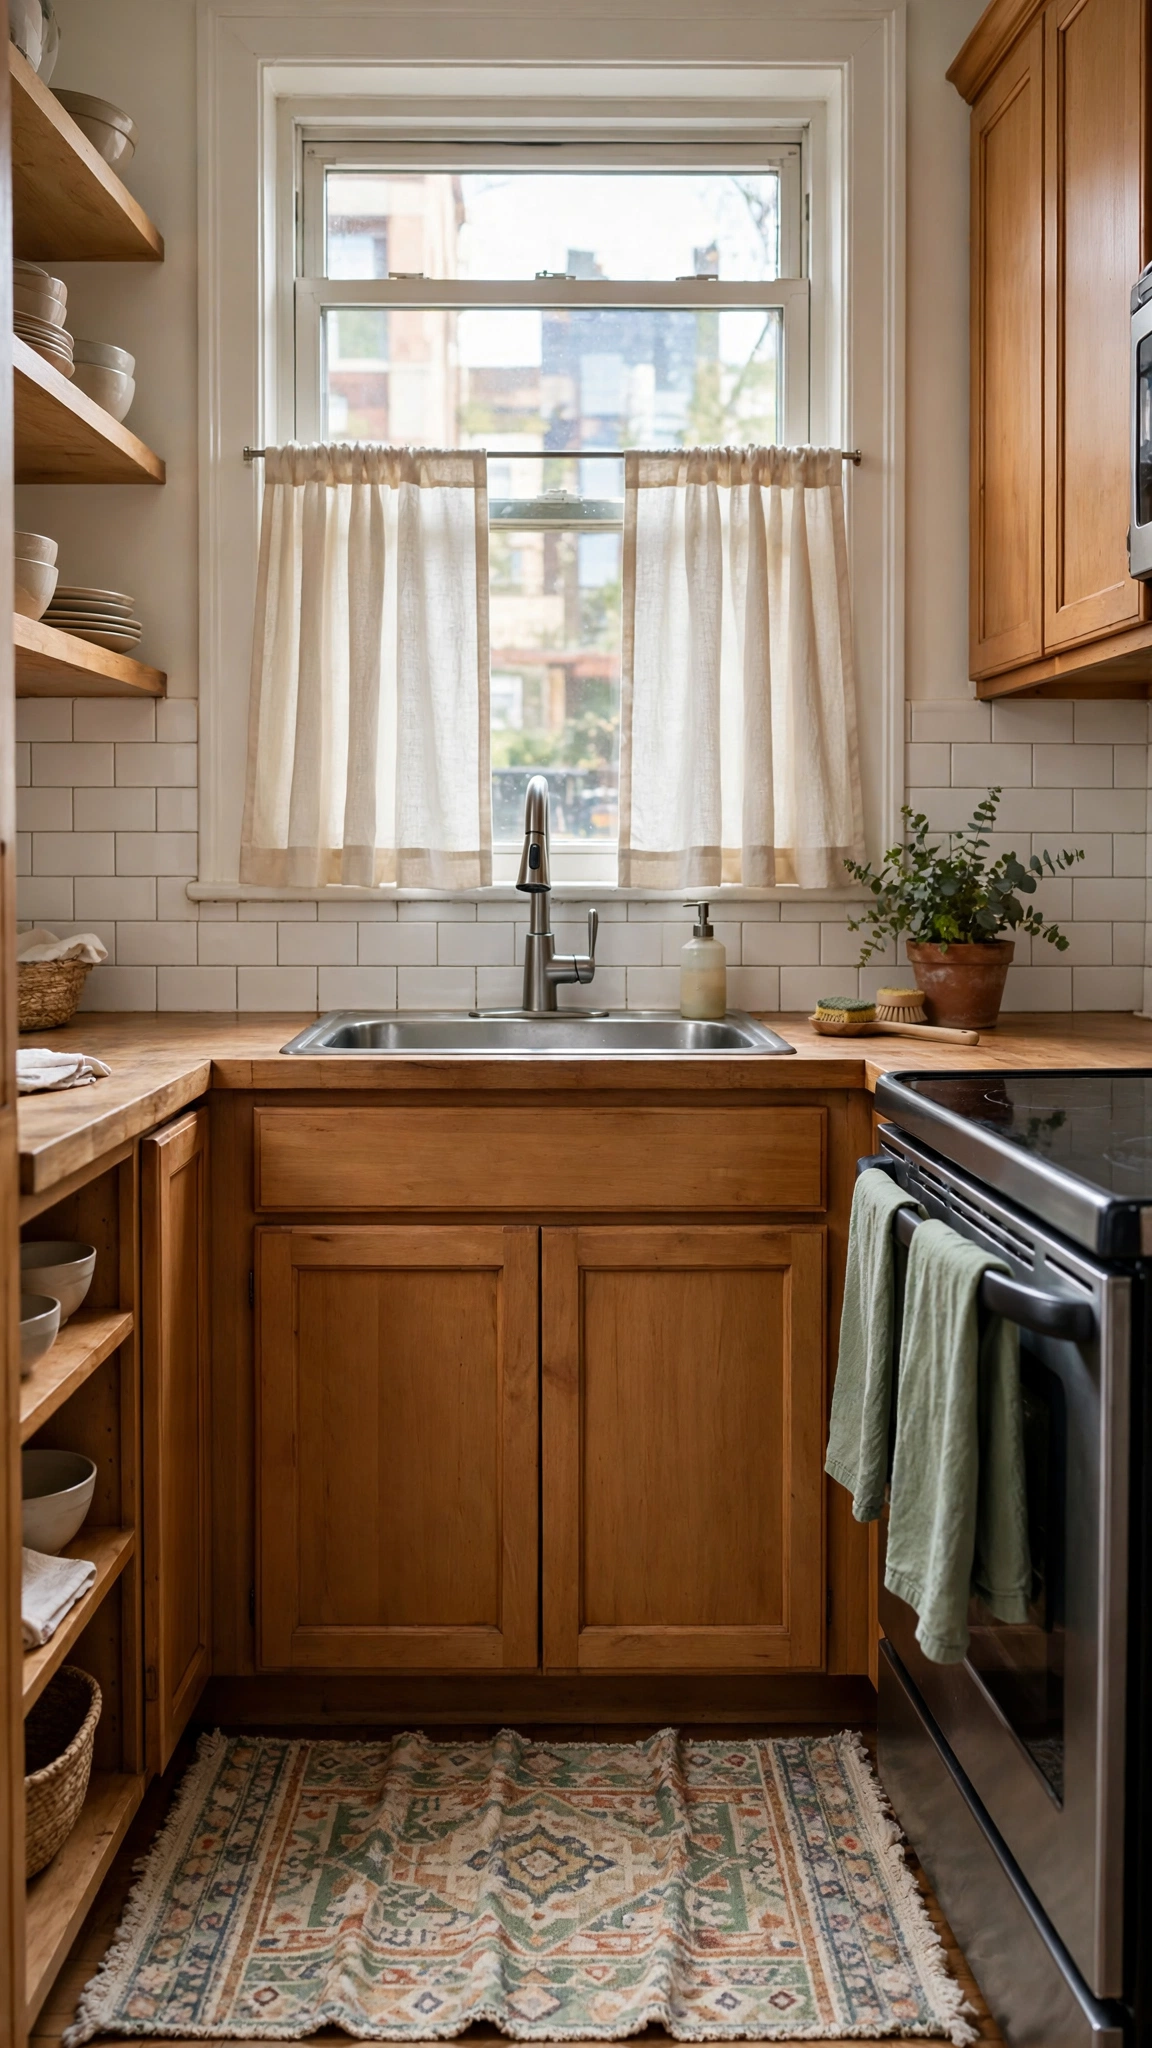
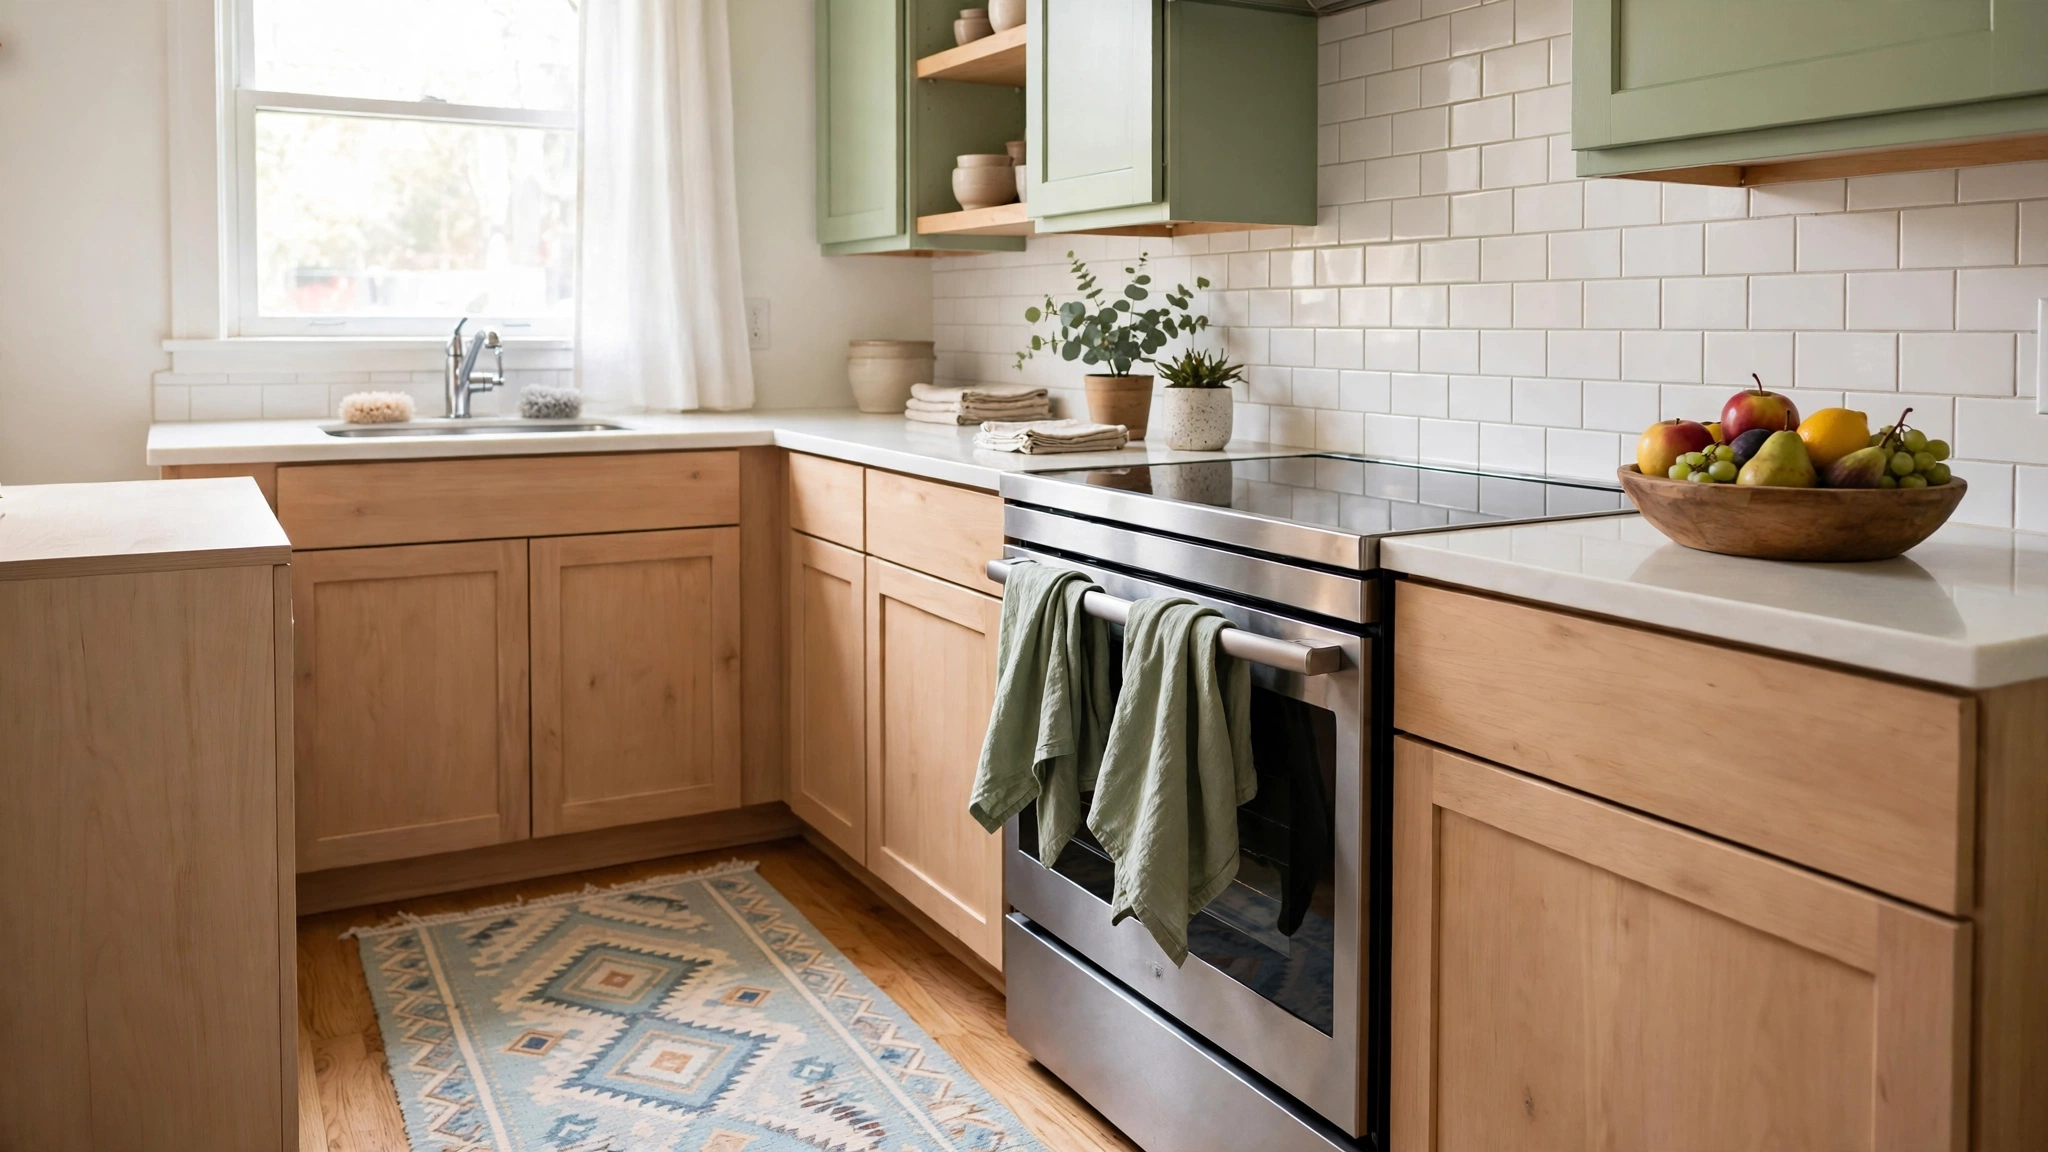
Soft goods are the fastest, cheapest way to add color to a rental kitchen, and they are the most reversible thing in this guide — you simply pack them up when the lease ends. A washable runner in front of the sink adds color and comfort underfoot, café curtains on a spring-loaded tension rod soften a bare window with no hardware, and matching dish towels on the oven handle tie the whole palette together.
Choose a washable rug, not a decorative one. A kitchen rug gets splashed, dropped on, and walked on in shoes; if it cannot go in the washing machine, it will look tired within a month. A low-pile runner in your palette color, sized to the space in front of the sink or stove, is the right call — leave walkways clear and keep it away from the oven door swing.
Café curtains deserve a special mention for first-time renters: a tension rod fits inside the window frame with no screws and no holes, and a pair of tea towels clipped to it makes instant curtains in under five minutes. The same trick works on a glass-front cabinet door if you want to hide clutter without removing the door.
Planning range: a washable runner runs roughly $25–$60, a tension rod and curtains roughly $15–$35 (as of 2026). Together they are the cheapest high-impact move in this guide.
Common mistake: a rug that is too small. A tiny mat in front of the sink looks like an afterthought; a runner that spans the main work area looks like a design choice. Measure the space and buy the runner that fits it, not the cheapest one on the shelf.
Rental Kitchen Refresh Budget Worksheet
Before you shop, write down a total budget and assign it across the moves above. A realistic starter budget for an apartment kitchen refresh is roughly $150–$300 (as of 2026), and the table below shows where it typically goes. Adjust the split to your kitchen: if your cabinets are the worst part, spend more on hardware; if your lighting is the worst part, spend more on light.
| Move | Planning range | Deposit risk |
|---|---|---|
| Cabinet hardware swap | $40–$100 | Very low — keep originals |
| Under-cabinet lighting | $20–$50 | None — adhesive or magnetic |
| Peel-and-stick backsplash | $50–$100 | Low — test a spot first |
| Counter styling (board, crock, tray) | $25–$60 | None |
| Storage (risers, racks, cart) | $10–$120 | None — freestanding |
| Textiles and washable rug | $40–$95 | None |
Do the moves in impact order — hardware, light, backsplash — and stop when the kitchen feels finished. The goal is not to spend the whole budget; it is to spend it where your eye actually lands.
Move-Out Checklist: Restore the Kitchen in an Hour
Keep this list with your originals box so move-out day is boring instead of stressful.
- Remove peel-and-stick tiles slowly, warming the adhesive with a hair dryer on low if any piece resists. Wipe the wall with a damp cloth and compare it against your move-in photos.
- Reinstall the original cabinet knobs and pulls from the labeled bag, and put the new hardware in a box for the next apartment.
- Take down light strips and tension rods, and reinstall the original overhead bulbs.
- Rehang any cabinet doors you removed, with their original hinges.
- Patch nothing you did not drill — there should be nothing to patch. If an adhesive strip left residue, remove it with warm water and a little dish soap, not a scraper.
- Walk the kitchen with your move-in photos open on your phone and confirm every surface matches.
Frequently Asked Questions
Can I decorate a rental kitchen without asking my landlord?
Most reversible changes — swapping hardware, adding adhesive light strips, styling counters, and using freestanding furniture — do not need permission, but check your lease first. Anything involving adhesive on walls or paint, like a peel-and-stick backsplash, is worth a quick written OK, since lease language on adhesives varies. When in doubt, ask in writing; a yes protects your deposit.
What is the cheapest way to refresh a rental kitchen?
Start with the three lowest-cost, highest-impact moves: swap the cabinet hardware (roughly $40–$100), add warm under-cabinet light strips (roughly $20–$50), and add textiles like a washable runner and matching dish towels (roughly $40–$95). Together they change the look of the whole room for well under $200 in planning-range costs.
Do peel-and-stick tiles damage rental walls?
They can, which is why a test patch matters. On smooth, fully cured painted drywall or existing tile, quality peel-and-stick tiles usually remove cleanly. On textured walls, fresh paint, or wallpaper, adhesive can pull the surface off. Test one tile in a hidden spot for a week, and avoid placing them directly behind the stove unless the product is rated for heat.
How do I decorate a small rental kitchen without making it feel crowded?
Keep the counters mostly clear and decorate in one or two styled spots instead of on every surface. Use vertical storage inside cabinets, choose one palette so everything reads as a set, and add light — a small kitchen with warm under-cabinet lighting and a clear counter feels larger than the same kitchen filled with decor.
Can I hang things in a rental kitchen without drilling?
Yes. Adhesive hooks rated for the weight, magnetic strips on the fridge, tension rods inside window frames and cabinets, and freestanding pieces like a leaning shelf or a rolling cart all hang or hold things with no holes. Check the weight rating on any adhesive product and follow it — an overloaded hook that falls and chips a counter costs more than the hook saved.
What should I do with the original hardware and fixtures when I move out?
Keep everything in one labeled box from day one: original knobs, pulls, screws, bulbs, and any cabinet doors and hinges you removed. Photograph the kitchen before you change anything, and use those photos plus the box to restore the room in about an hour at move-out.
Conclusion

You now know how to decorate a rental apartment kitchen without renovating: photograph the room, pick one palette, and work through reversible moves in impact order — hardware, warm light, a peel-and-stick backsplash, styled counters, freestanding storage, and textiles. Every change comes down cleanly, most of it moves with you to the next apartment, and the whole refresh fits a first-renter budget. Start with the hardware swap this weekend, keep your originals in a labeled box, and stop the moment the kitchen feels like yours.

Maren started MyFirstLease after a rough first lease taught him everything the internet didn’t. He covers the logistical side of renting — move-in checklists, utilities, and the unglamorous first-week stuff nobody explains — and oversees everything published on the site.