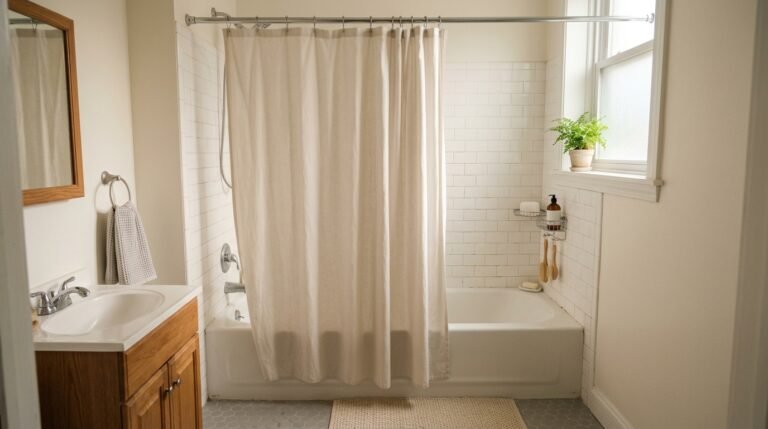

If you’re asking will command strips damage apartment walls, you’re probably standing in front of a bare wall in your first apartment, holding a picture frame, and picturing your deposit disappearing. This guide is for you — first-time renters who want a home that feels personal without paying for it at move-out.
Command strips (3M’s removable adhesive strips) are the most popular nail-free way to hang things in rentals, as of 2026. The short version: they can peel paint or pull off wall texture if they’re overloaded, applied to the wrong surface, or ripped off incorrectly — but they rarely damage walls when they’re used exactly as directed on the right surfaces.
Direct answer: Command strips can damage apartment walls — most often by pulling off paint — but they usually don’t when the strips are sized to the item’s weight, applied to smooth cured paint, and removed by stretching the tab slowly straight down along the wall. The damage happens when people skip those steps, not because the product is inherently destructive.
Executive Summary

The difference between a damage-free move-out and a deposit deduction usually comes down to three things: choosing the right strip size for the item’s weight, knowing whether your wall’s paint can handle adhesive, and removing the strips the slow way the manufacturer describes. Most horror stories trace back to one of those three being skipped.
Below you’ll find how the adhesive actually holds, which paint types and wall surfaces carry the most risk, the weight ratings that matter, the correct removal technique step by step, what to do if something goes wrong anyway, and a move-out checklist designed to protect your deposit. There’s also a short list of lower-risk alternatives for walls where strips aren’t a good bet.
1. How Do Command Strips Work?

The strips use a stretch-release adhesive: they grip the wall strongly against shear forces (pulling down) but release when you stretch the strip lengthwise, which breaks the adhesive bond gradually rather than tearing it off the surface. That stretched-release design is the entire reason they’re considered renter-friendly — nothing about the adhesive itself is magic.
Each package pairs a weight rating with a maximum frame size. The rating assumes the weight is spread across the number of strip pairs the instructions call for. A common mistake is using one strip where the instructions call for two pairs — that’s not “a strong enough strip,” it’s an overloaded strip, and overloaded strips fail in two ways: the frame falls, or removal pulls paint because the adhesive bonded under too much stress for too long.
Temperature matters more than people expect. The adhesive bonds best between about 50°F and 105°F (the range printed on most packaging), so a wall next to a drafty window or a hot radiator may not hold as rated. And surfaces should be cleaned with isopropyl rubbing alcohol before application — dust and grime weaken the bond, and a weak bond that later fails can take paint with it when the item slides or gets yanked.
2. Which Paint Types Are at Risk?
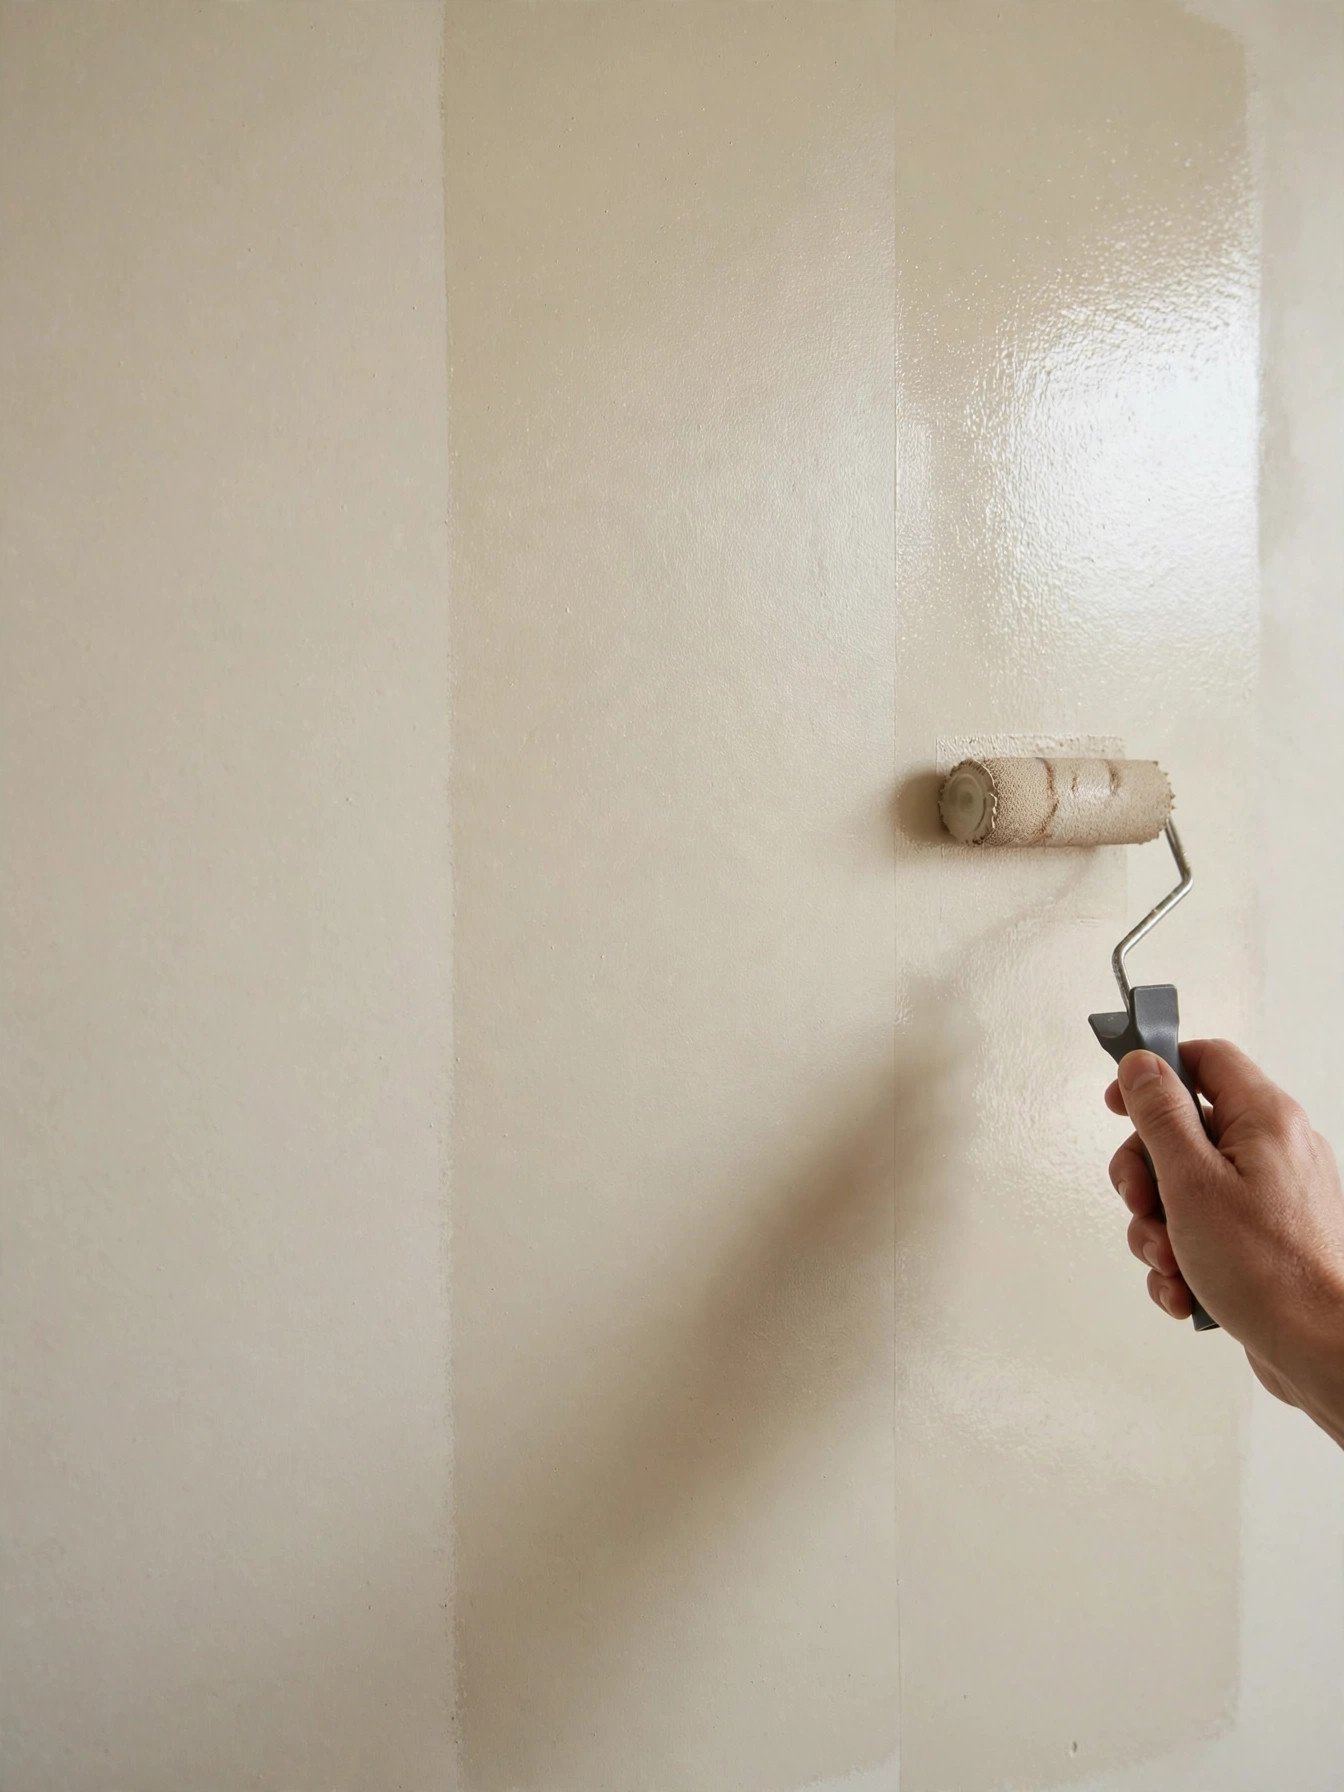
Damage almost always means paint coming off with the strip, and some finishes are far more vulnerable than others. Flat and matte paints are the highest risk: their porous surface gives the adhesive an aggressive grip and they’re the least washable, so a strip can pull off a patch of paint on removal. Eggshell and satin finishes are moderate risk. Semi-gloss and gloss paints are the lowest risk for rentals because their smoother, harder surface releases adhesive more cleanly.
Age and quality of the paint layer matter too. In many rentals, walls get a quick repaint between tenants, and paint that hasn’t fully cured bonds weakly to the layer beneath it — so the strip can lift the new coat even when removed correctly. The manufacturer’s own guidance says to wait about seven days after painting before applying strips, and that rule of thumb applies to move-in day: if your walls were just repainted before you arrived, give the paint time.
What to do: find out your wall’s finish if you can (glossy bathroom and kitchen walls are safest), and treat flat-painted living room walls with extra care — lighter items, exact removal technique, and a test strip behind furniture where nobody will see if the paint reacts badly. As of 2026, no strip on the market guarantees zero risk on every finish, so match the product to the wall, not the other way around.
3. Weight Limits Worth Respecting

Every Command strip package prints a maximum weight and a maximum frame size — those numbers are the product’s real instructions, not suggestions. Exceeding them is the single most common cause of both falls and wall damage, because an overloaded adhesive can creep, shift, and ultimately pull at the paint in ways a correctly loaded strip won’t.
| Strip size | Typical max weight | Typical max frame size |
|---|---|---|
| Small strips (1 pair) | 4 lbs | 8 × 10 in |
| Medium strips (2 pairs) | 12 lbs | 18 × 24 in |
| Large strips (2 pairs) | 16 lbs | 24 × 36 in |
Use the pair count the instructions specify for your frame size — more pairs distribute the load. If an item is close to the limit, size up rather than reasoning that “it’s probably fine.” And remember the weight of the frame itself plus glass counts, not just the artwork inside.
One more underrated rule: don’t hang valuable or heavy items where they’d fall on someone — the manufacturer warns against hanging items over beds, and heavy mirrors should be secured with real hardware or simply leaned against the wall. A fallen frame is worse than a lost deposit.
For more on furnishing a first place without overspending on hardware and tools, see our guide to decorate an apartment on a budget.
4. Surfaces That Spell Trouble

Command strips are designed for smooth surfaces — painted drywall, painted wood, tile, glass, metal, laminate. Outside that list, the odds of damage or failure rise sharply:
- Textured or popcorn walls: the adhesive can’t make full contact, so strips grip unevenly and fail sooner; removal from texture often takes paint or texture with it.
- Wallpaper: the manufacturer’s instructions explicitly say not to use them on wallpaper — removal can tear the paper, and repair means replacing a section, which is expensive.
- Brick and concrete (unpainted or rough): too porous and uneven for a reliable bond.
- Freshly painted walls: paint needs roughly a week to cure before adhesive goes on it; strips applied too early can lift uncured paint.
- Delicate or specialty finishes: limewash, chalk paint, and other decorative finishes common in styled apartments are far more fragile than standard latex.
If your apartment has any of these, strips aren’t your tool — skip to the alternatives in section 6 rather than hoping for the best. Browse the full Decorating & Small Space Living category for more renter decorating guidance.
5. The Removal Technique That Protects Walls

This is the step that actually protects your deposit, and it’s the step most people get wrong. The instinct is to pull the strip away from the wall; that tears paint off. The correct method stretches the adhesive down along the wall so it releases gradually.
- Hold the item or hook steady with one hand so it doesn’t swing or stress the wall.
- Grab the pull tab and stretch it slowly straight down, parallel to the wall — never pull it toward you or at an angle.
- Keep stretching until the strip releases, which can take several seconds of slow pulling. If you feel real resistance, stop — forcing it is how paint peels.
- For a stubborn strip, warm it with a hair dryer on low for 20–30 seconds, then try again slowly. Heat softens the adhesive.
- If the tab breaks off, warm the base with a hair dryer and work dental floss gently behind it to separate the adhesive from the wall. Don’t pry the hook off with a tool — prying is what causes damage.
After removal, wipe any residue with a soft cloth and a little rubbing alcohol, testing a hidden spot first since some paints react to alcohol. Work through every strip in the apartment well before your move-out walkthrough — not the morning of — so you have time to touch up any spots that didn’t cooperate.
6. Lower-Risk Alternatives

Sometimes the wall or the item makes strips the wrong call. Good backups for first-time renters:
- Lean large frames on a dresser, shelf, or the floor against the wall — zero wall contact, zero risk.
- Tension rods and over-the-door hooks for curtains, towels, and lightweight storage with no adhesive at all.
- Washi tape or painter’s tape for posters and lightweight prints; test first, since some paints still lift.
- Museum putty for small lightweight decor on shelves — not for hanging, but useful for keeping items in place.
- Freestanding furniture (bookshelves, coat racks) instead of wall-mounted versions.
If you own the drill decision — some leases allow small nail holes and only charge for large ones — read your lease before assuming strips are your only option. In many apartments, a few tiny nail holes filled with spackle are cheaper to fix than a wall of peeled paint.
7. Protecting Your Deposit at Move-Out

Tie everything together with a simple move-out routine:
- Photograph every wall before you hang anything on move-in day — dated photos are your baseline if damage is disputed.
- Remove strips slowly using the technique in section 5, at least a week before your final walkthrough.
- Touch up small marks with a matching paint if your lease allows it; keep the paint name or a chip if you can get one from the landlord or a maintenance closet.
- Photograph the walls again after removal so you have proof of their condition.
- Know your state’s deposit rules — most states require landlords to itemize deductions and return the deposit within a set window (often 14–30 days as of 2026); a landlord claiming “wall damage” should be able to show what was actually damaged.
Command strips used correctly are one of the safest ways to decorate a rental. The deposit risk comes from skipping the weight ratings, the wrong wall surfaces, or rushed removal — all of which are in your control.
FAQ
Will Command strips damage freshly painted walls?
They’re more likely to. Paint needs about a week to cure before adhesive should go on it, and strips applied too early can lift the uncured coat. If your apartment was repainted right before move-in, wait before hanging anything.
How long can I leave Command strips on the wall?
There’s no fixed expiration, but very long-term application (a year or more) can make removal harder as the adhesive ages and the paint beneath it ages differently from surrounding wall. Remove and replace strips periodically if you plan to stay for years.
Can I reuse Command strips after removing them?
No — the stretch-release adhesive is single-use. Buy refill strips rather than trying to re-stick a used one; a weakened re-used strip is more likely to fail and damage the wall.
What do I do if the pull tab breaks off during removal?
Warm the base plate with a hair dryer on low to soften the adhesive, then work dental floss gently behind it to separate it from the wall. Don’t pry it off with a screwdriver or knife.
Can my landlord charge me if Command strips damage the wall?
Yes — most leases let landlords deduct the cost of repairing damage beyond normal wear and tear, regardless of what caused it. That’s exactly why removal technique and move-out photos matter: “renter-friendly” doesn’t mean “landlord-proof.”
Are Command strips or small nails better for a rental?
It depends on the lease. Tiny nail holes are often cheap to spackle and may be considered normal wear; peeled paint from a botched strip removal can cost more to fix. Check your lease’s damage definitions before choosing.
Do Command strips work on wallpaper?
No. The manufacturer explicitly warns against using them on wallpaper, and removal can tear it — which is one of the most expensive wall repairs in a rental.
Conclusion

So, will Command strips damage apartment walls? They can — usually by peeling paint when they’re overloaded, stuck to the wrong surface, or ripped off in a hurry. But with the right strip size, a smooth cured wall, and the slow stretch-down removal, they’re one of the most deposit-friendly ways to decorate a first apartment. Photograph your walls on move-in day, remove every strip well before your walkthrough, and keep the removal gentle. If this saved you a deposit headache, share it with a friend moving into their first place.

Maren started MyFirstLease after a rough first lease taught him everything the internet didn’t. He covers the logistical side of renting — move-in checklists, utilities, and the unglamorous first-week stuff nobody explains — and oversees everything published on the site.