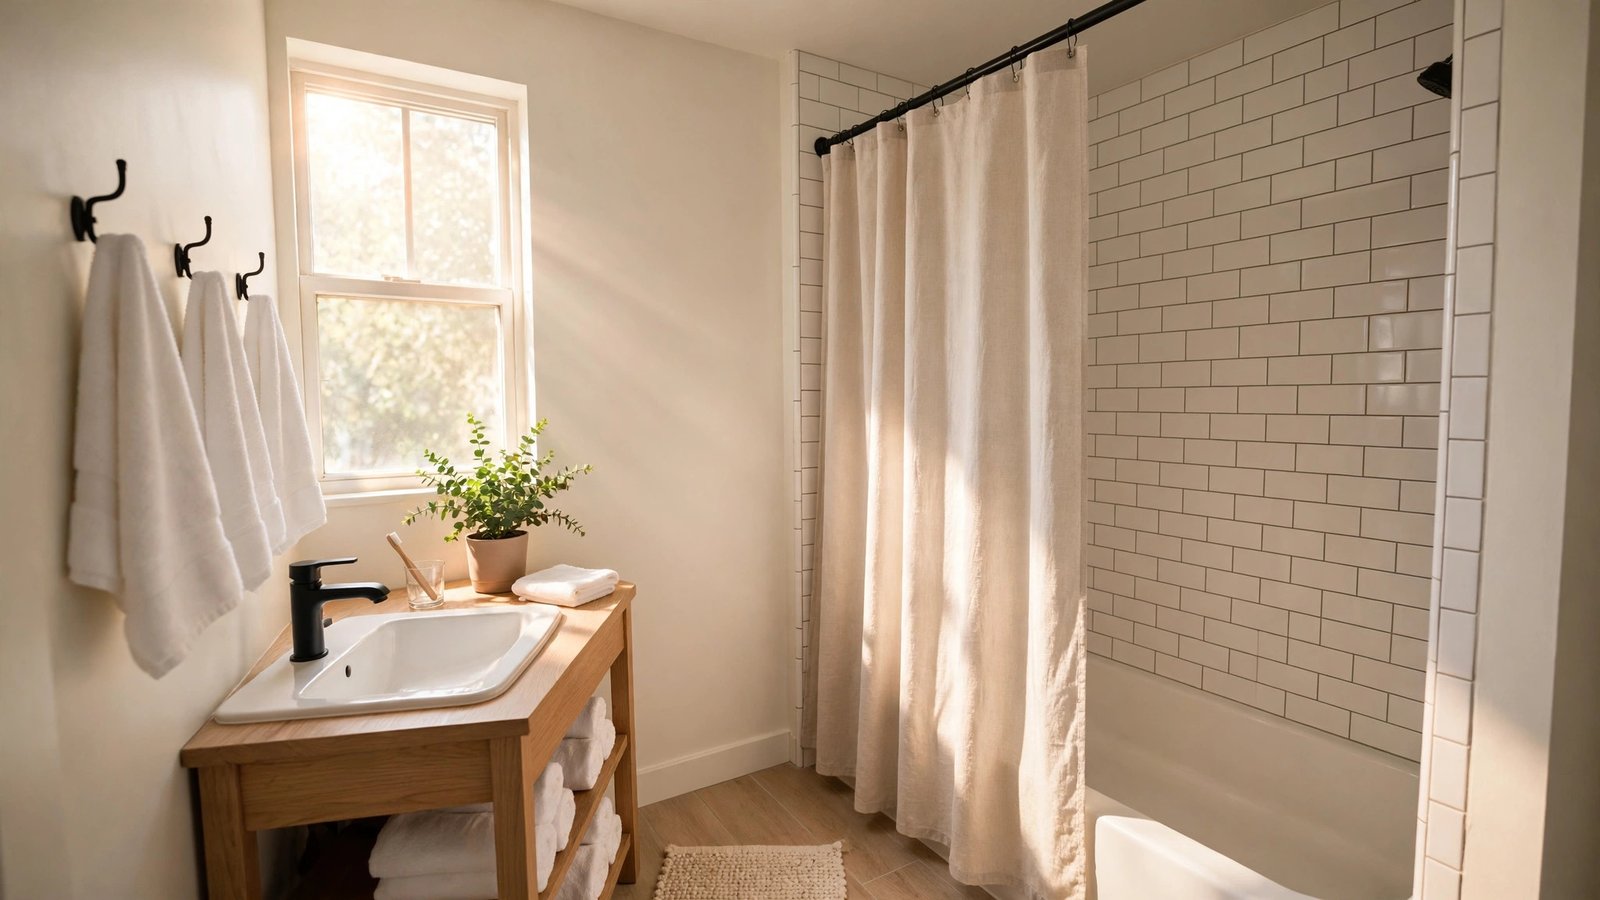
Renter friendly bathroom upgrades no drill required are the safest way to fix a dated rental bathroom when your lease bans holes, paint, and permanent changes. If you are a first-time renter who likes the apartment but not the beige tile, the weak showerhead, and the flat builder-grade mirror, this guide is written for you — not for a confident DIYer with a toolbox.
Every upgrade below is rated by deposit risk — green light, ask first, or hands off — and includes the exact move-out reversal step. Because the goal isn’t just a nicer bathroom today. It’s getting your full security deposit back when you leave.
Direct answer: Yes — you can upgrade a rental bathroom without drilling. Reversible swaps like a new showerhead, a faucet aerator, peel-and-stick tile on the floor, tension-pole storage, and humidity-rated adhesive hooks add real style with zero holes. Keep every original part you remove, and check your lease before touching anything plumbed in.
Summary

Most rental bathrooms look bad for fixable reasons: weak water pressure, flat overhead lighting, a plain slab mirror, and nowhere to put anything. These ten renter friendly bathroom upgrades solve those specific problems, grouped into seven no-drill projects you can spread across a weekend or two — a practical apartment bathroom makeover renter friendly enough to fully reverse at move-out.
Unlike most bathroom idea lists, each upgrade here gets a deposit-risk rating and a written move-out plan. You also get a deposit-risk checklist you can screenshot and a short landlord-permission email template for the “ask first” items — so nothing you do today becomes a deduction later.
1. Swap the Showerhead
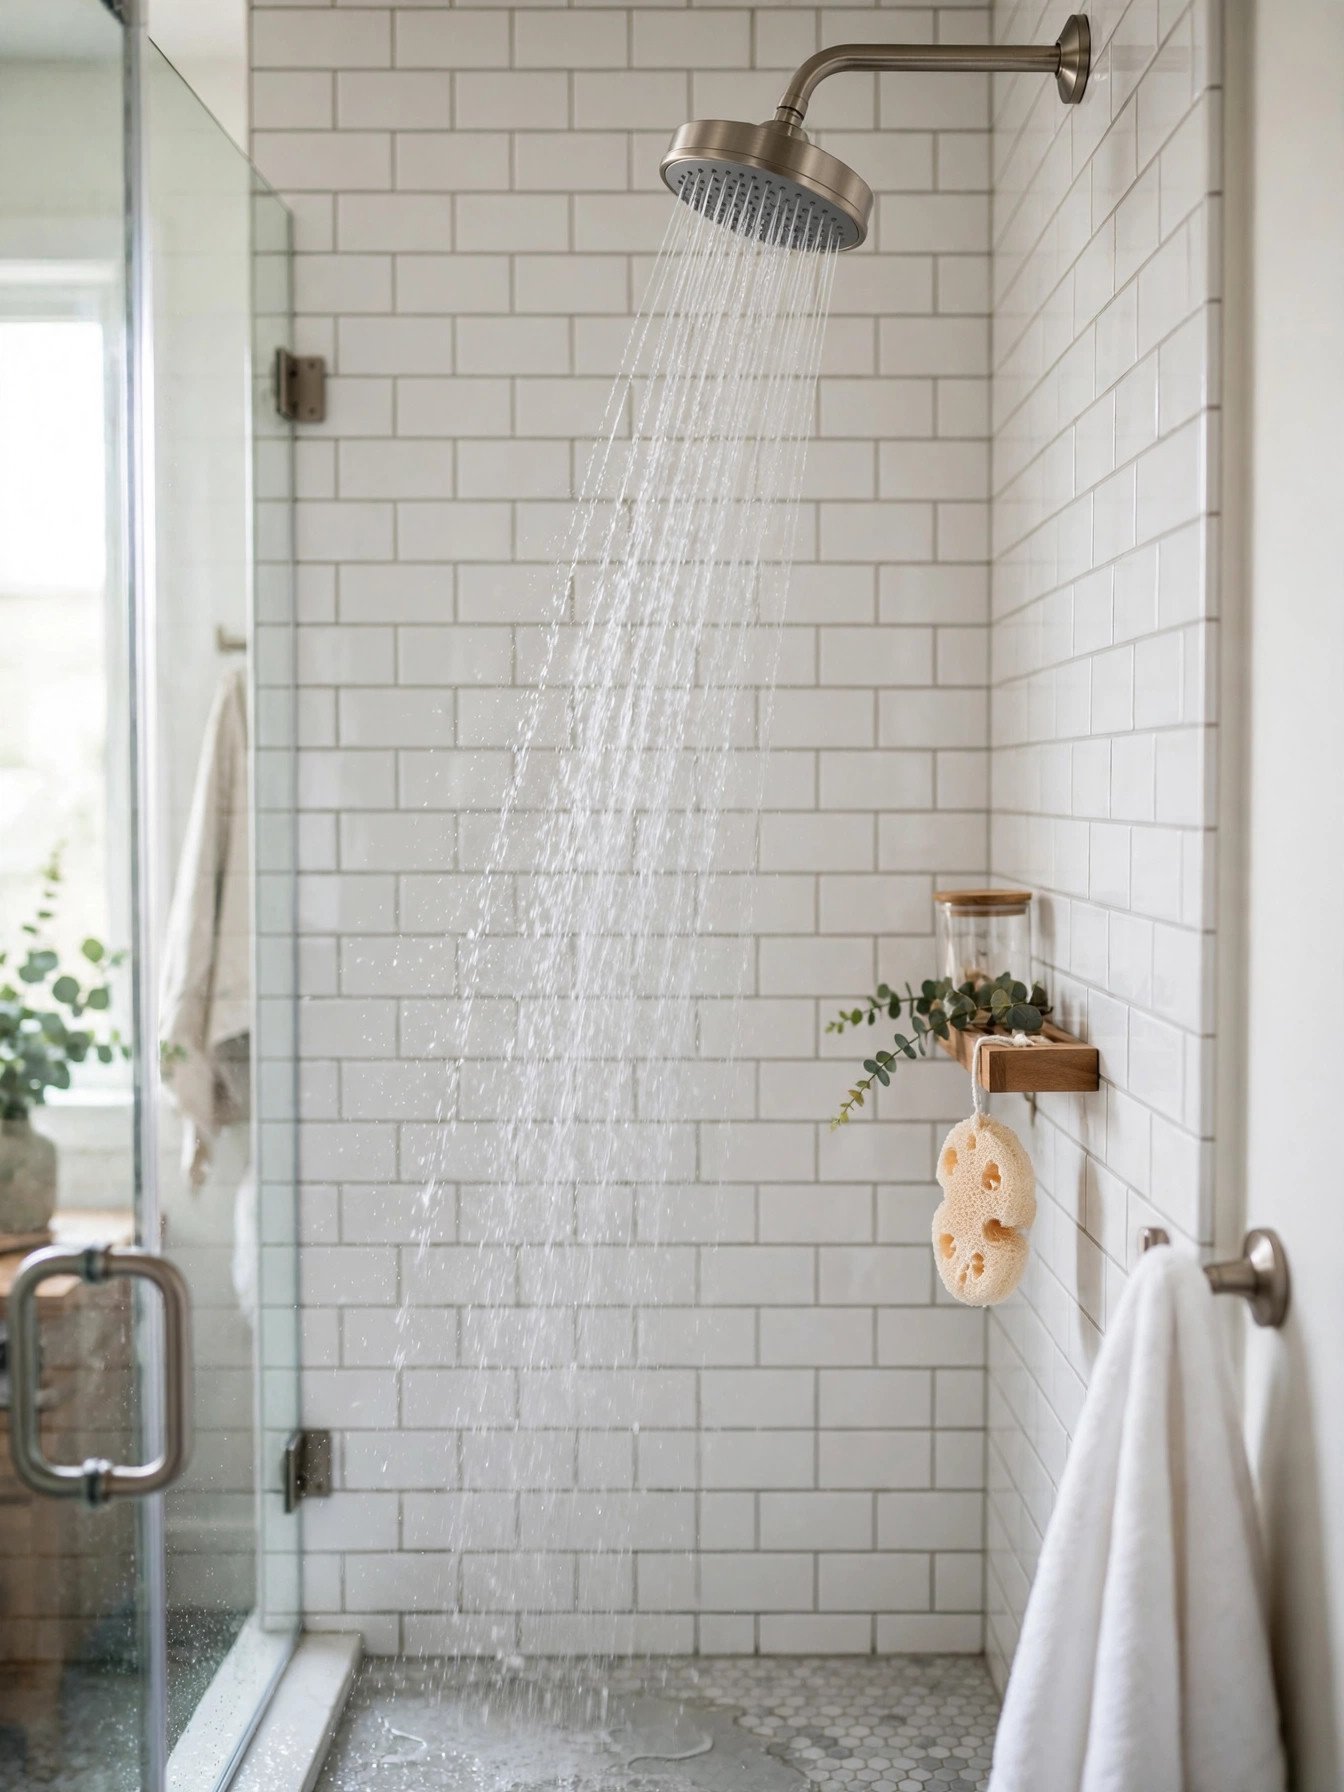
Deposit risk: ASK FIRST. Showerheads are landlord property in most rentals, but many leases allow the swap — the key is asking and keeping the original. Most showerheads unscrew by hand or with a wrench padded with a cloth so you don’t scratch the finish. Wrap the pipe threads with plumber’s tape before screwing the new one on, and hand-tighten only.
A new showerhead is the single biggest feel-difference upgrade here: better pressure, a nicer spray pattern, and a handheld option if you want one (it hangs from the existing shower arm, no drilling). At move-out, unscrew yours and reinstall the original — a five-minute job. Bag the original, label it, and store it under the sink so you never have to hunt for it.
2. Fix the Faucet Stream

Deposit risk: GREEN LIGHT — but check your lease if it has a strict no-fixture-change clause. The aerator is the little screen cap at the tip of your bathroom faucet, and it usually unscrews by hand. After a few months of hard water, the old one is often caked with mineral deposits — which is why your sink stream feels weak or sprays sideways.
A fresh aerator noticeably improves the stream and uses water more efficiently. Bring the old one to the hardware store to match the threading, install the new one by hand, and keep the original in a labeled bag taped inside the cabinet. Reversal at move-out takes about a minute, and this one travels with you to your next apartment.
3. Add No-Wire Lighting

Deposit risk: GREEN LIGHT. Bathroom overhead lights are almost always hardwired, which puts them firmly in the hands-off category below. But you don’t need to touch wiring to fix bad bathroom lighting. Battery-powered LED light bars with adhesive or magnetic mounting — rechargeable versions are common as of 2026 — stick to the wall or the edge of your mirror and give a far more flattering glow than a single ceiling fixture.
Place one on each side of the mirror for even light, or run one along the top for a spa feel. Choose a warm-white, dimmable option if you can; cool-white LEDs can make a small bathroom feel clinical. The one mistake to avoid: cheap adhesives that fail in steam. Prep the surface with rubbing alcohol first, press for the full time the package states, and let it cure before hanging the light.
4. Dress the Flat Mirror

Deposit risk: GREEN LIGHT. Builder-grade bathrooms almost always have a plain rectangular mirror, often glued or clipped directly to the wall. Do not remove it — pulling a glued mirror off usually damages the wall, the mirror, or both, and that damage comes straight out of your deposit.
Instead, add a peel-and-stick decorative frame kit that fits over the mirror’s edge. These are sold specifically for this use case in finishes like matte black, brushed brass, and white, sized for standard mirror widths. It takes minutes and changes the whole look of the vanity. If your real complaint is mirror size rather than style, a slim adhesive mirror on the back of the bathroom door adds a second mirror with zero wall contact.
5. Stick-On Surfaces

Deposit risk: ASK FIRST. Peel-and-stick vinyl tile has improved enormously — many current sheets read as real stone or subway tile from a few feet away. Two placements make the biggest difference in a rental bathroom, and each has its own rules.
Peel-and-stick floor tile (Upgrade 5)
A bathroom floor is usually small enough to cover in an afternoon, and it hides the worst of dated vinyl or beige tile. Use tile rated for bathrooms (waterproof, not just water-resistant), work from a clean, dry, smooth surface, and do a test square in a hidden spot for a few days — humidity is the enemy of cheap adhesive. Our deeper guide to renter-friendly peel-and-stick wallpaper covers the same prep principles for walls.
Backsplash and accent wall (Upgrade 6)
A stick-on backsplash behind the sink adds color exactly where the eye lands. Stick to areas that get splashed, not soaked — peel-and-stick products don’t belong inside a full shower surround, where constant water will eventually defeat the adhesive. Before move-out, warm each piece with a hair dryer and peel slowly; keep leftover pieces in a drawer so you can patch a lifted corner mid-lease.
6. Store Without Screws
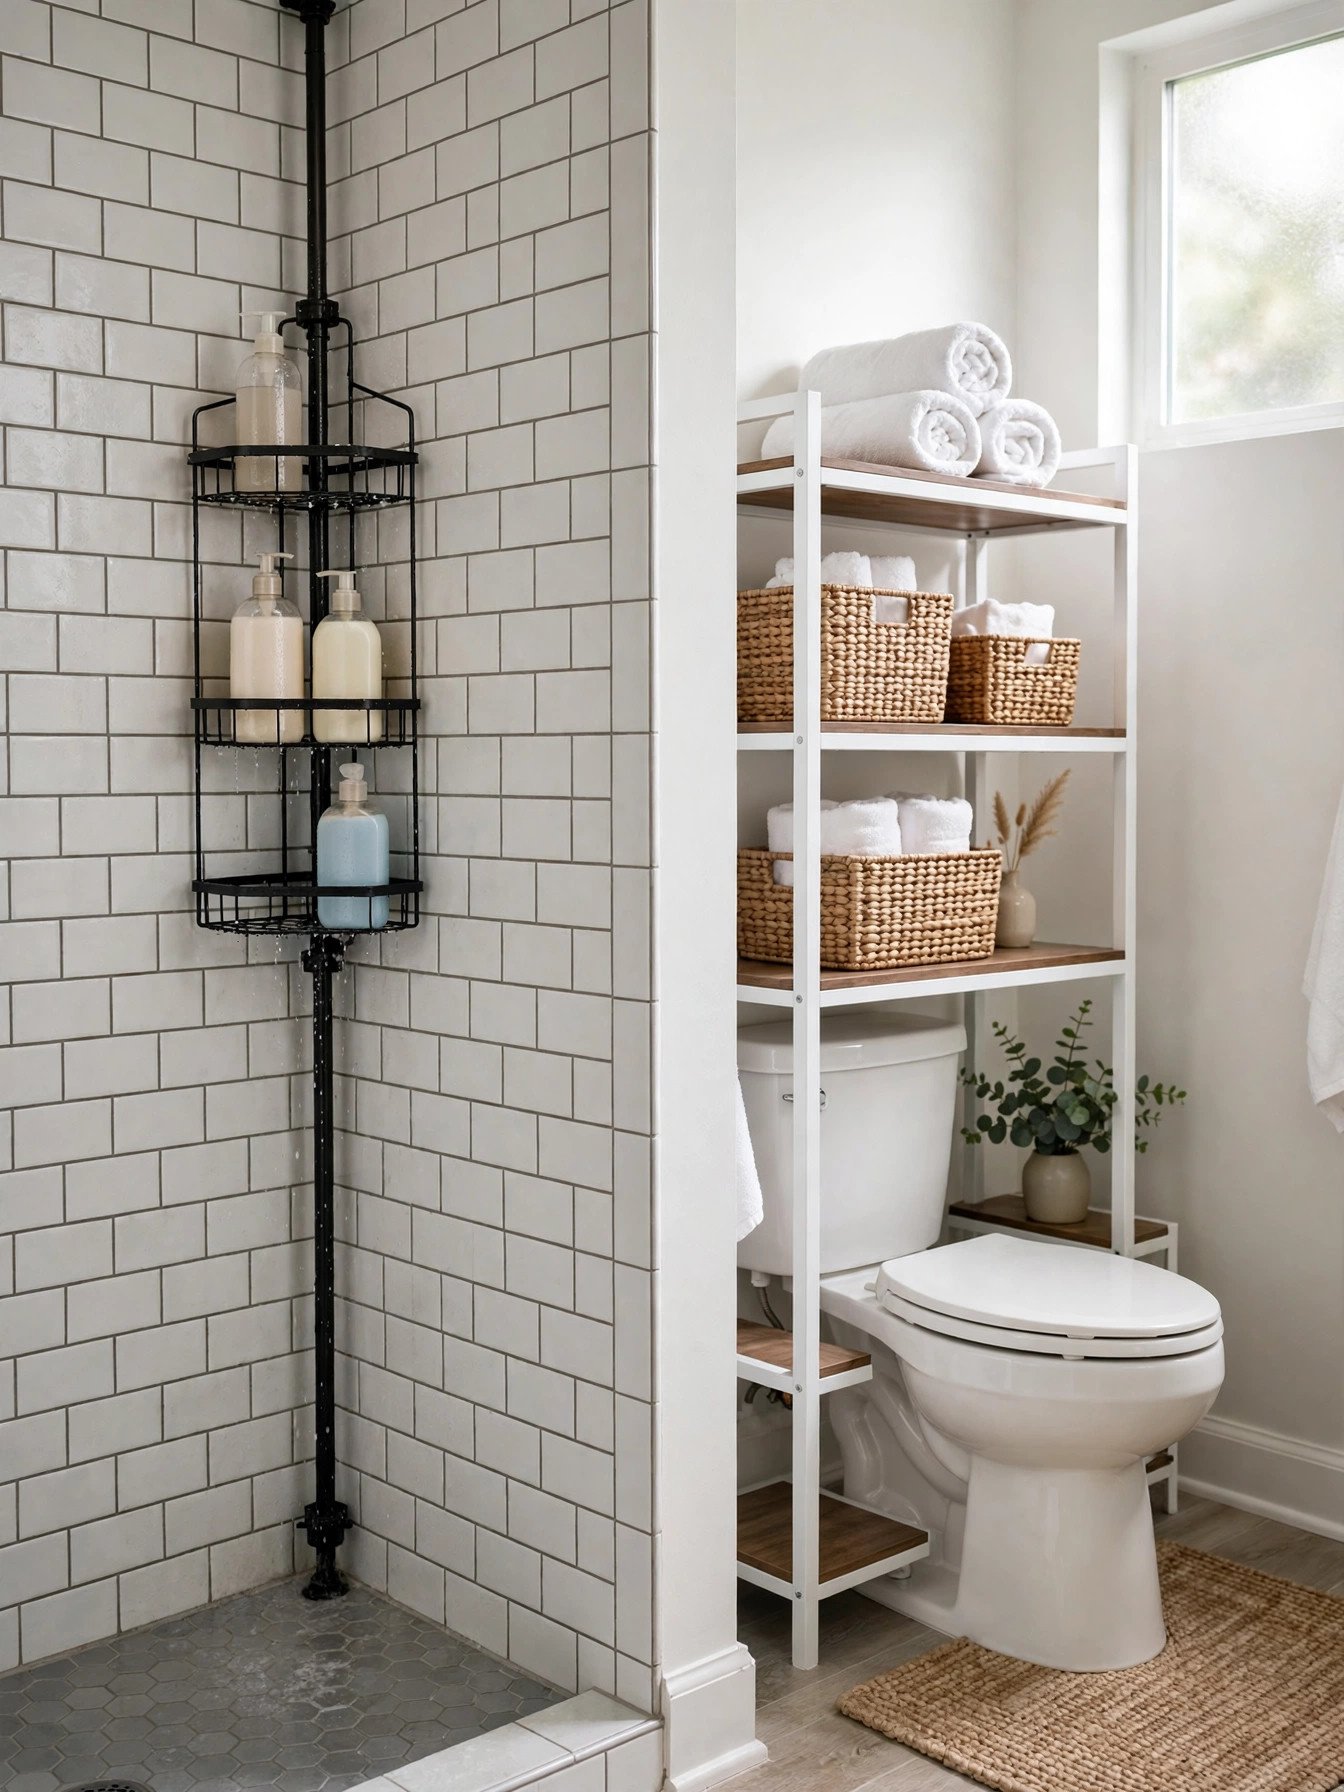
Deposit risk: GREEN LIGHT. Rental bathrooms almost never have enough storage, and every fix here is genuinely no drill — which is exactly what no drill bathroom upgrades rental searches are after.
A tension-pole corner caddy wedges floor-to-ceiling inside the shower and holds full-size bottles — the most reliable shower storage that never touches a wall. It needs a solid ceiling to press against, so skip it if your bathroom has drop ceiling tiles. For outside the shower, an over-the-toilet shelving unit rests on the floor or the tank itself and adds multiple shelves for towels, toiletries, and cleaning supplies, while a slim rolling cart tucks into the gap beside the vanity.
A shower-arm caddy that loops over the existing pipe is another zero-damage option for in-shower storage. Whichever you choose, respect weight ratings on anything adhesive-mounted — overloaded hooks are how paint gets peeled at move-out.
7. Hooks, Curtains, Textiles
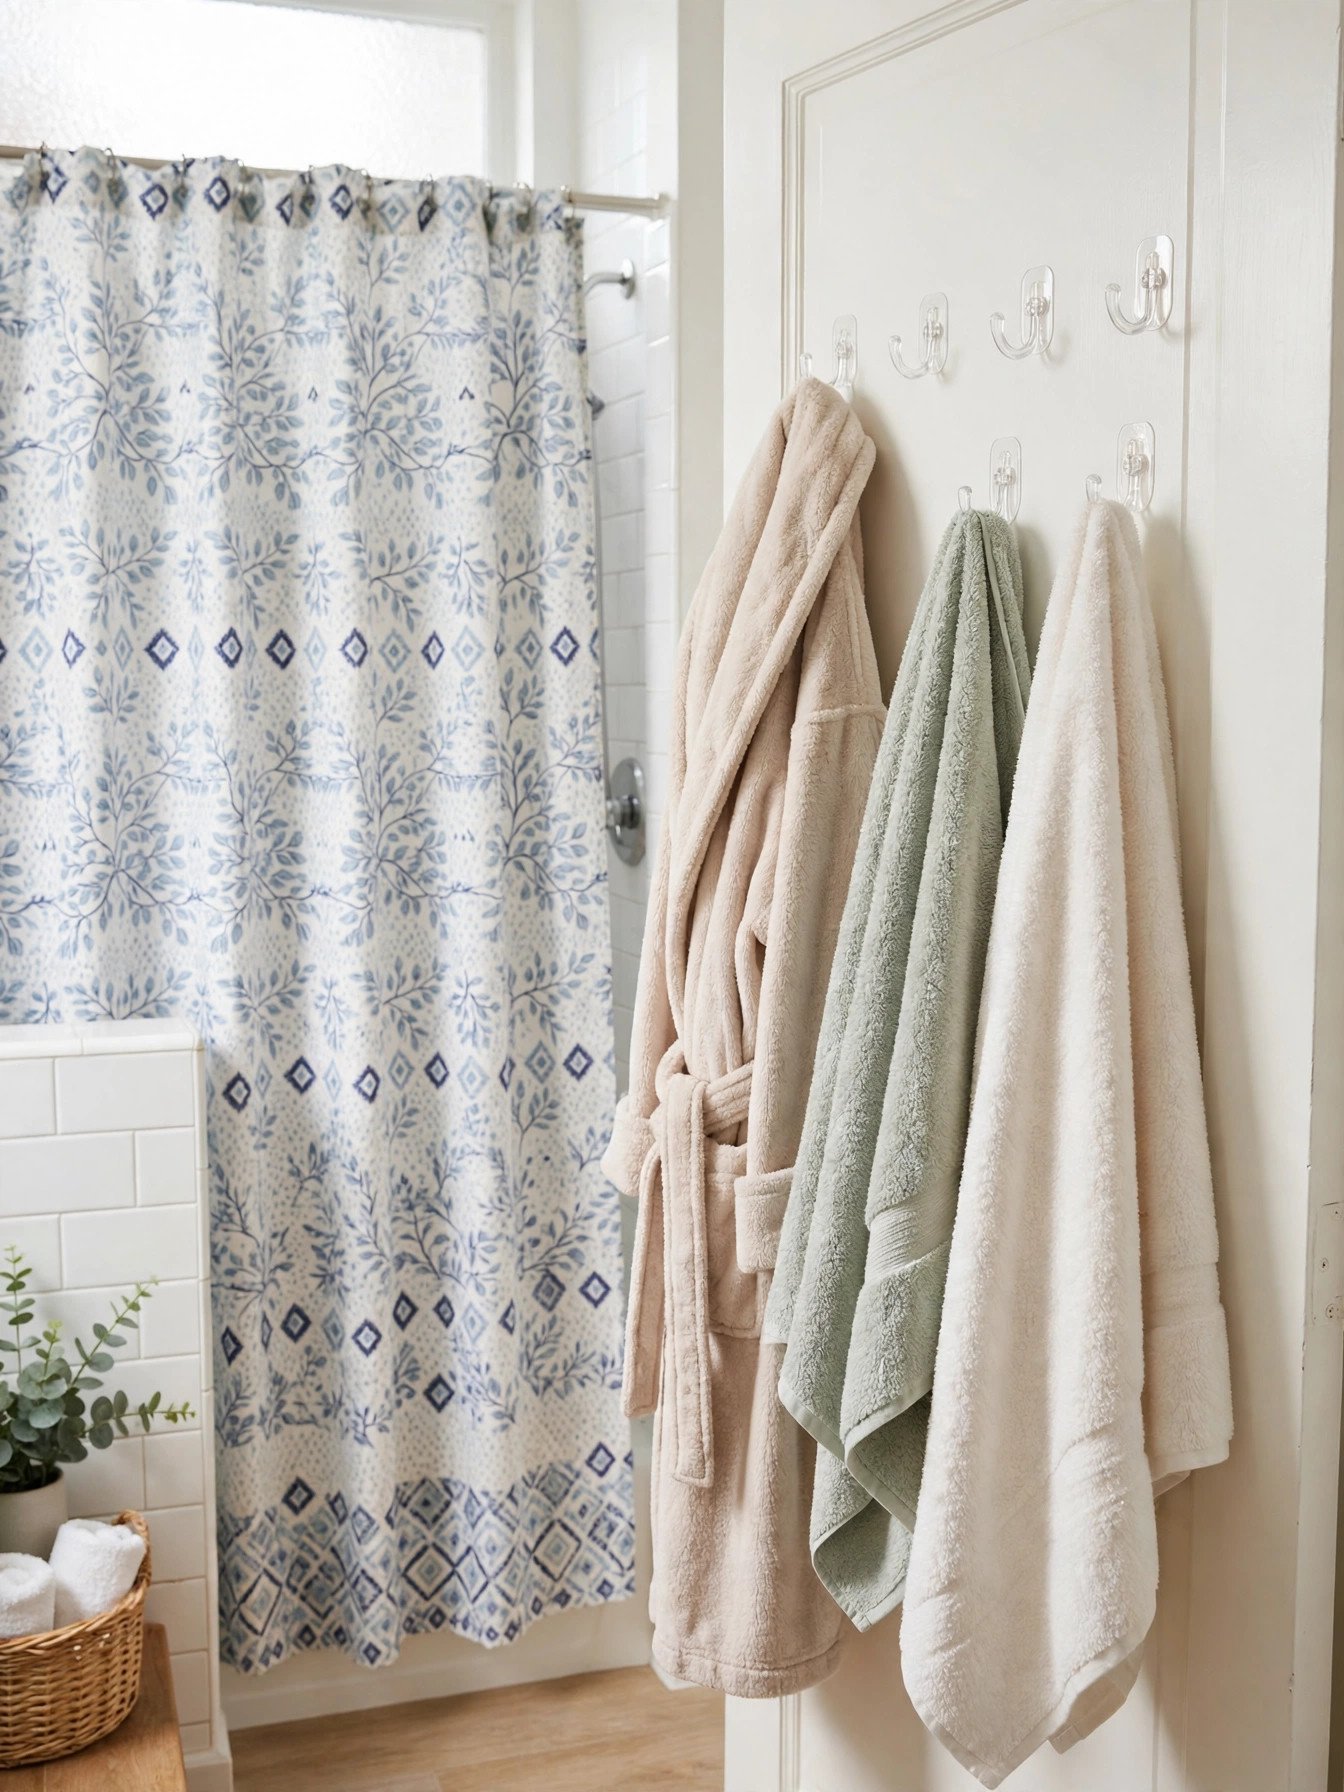
Deposit risk: GREEN LIGHT. This is the finishing layer, and it’s nearly free of deposit risk.
Humidity-rated adhesive hooks are the workhorse: one behind the door for a robe, one on the vanity side for a hand towel, one inside a cabinet door for a hair dryer. Standard adhesive strips fail in bathrooms because of steam, not dirt — look for products labeled water-resistant for bath use, prep with rubbing alcohol, and press for the full listed time. (Our guide on whether Command strips damage walls covers removal technique so you don’t take paint with them.)
Then finish with textiles: a proper fabric shower curtain with a weighted or magnetic hem instantly beats a thin plastic liner, paired with a quality tension rod with rubber end caps rated above the weight you’re hanging. Washable bath mats cover ugly flooring and come with you when you leave.
[EDITOR’S PICK — {author name}: which of these 10 upgrades would you personally do first, and why? Leave blank if you don’t have a genuine opinion here.]
Deposit-Risk Checklist
Screenshot or copy this before you start. Every upgrade, its risk rating, its reversal step, and the original you must keep:
| # | Upgrade | Risk | Reversal step | Keep this original |
|---|---|---|---|---|
| 1 | Showerhead swap | Ask first | Unscrew yours, reinstall original | Original showerhead + any washers |
| 2 | Faucet aerator | Green light | Peel off, wipe adhesive residue | Nothing — nothing was removed |
| 3 | Battery LED lighting | Green light | Peel off, wipe adhesive residue | Nothing — nothing was removed |
| 4 | Mirror frame kit | Green light | Peel frame off mirror edge | Nothing — mirror untouched |
| 5 | Peel-and-stick floor tile | Ask first | Warm with hair dryer, peel slowly | Leftover tiles for mid-lease repairs |
| 6 | Stick-on backsplash | Ask first | Warm with hair dryer, peel slowly | Leftover pieces |
| 7 | Tension-pole caddy | Green light | Release tension, lift out | Nothing |
| 8 | Over-toilet shelving | Green light | Lift off / roll away | Nothing |
| 9 | Adhesive hooks | Green light | Pull tabs per package directions | Nothing |
| 10 | Curtain + tension rod | Green light | Release rod, hang original curtain | Original shower curtain |
Landlord-permission email template
Copy, fill in the brackets, and send for any “ask first” item. Written permission protects you either way:
Subject: Quick question about a reversible bathroom upgrade
Hi [landlord/property manager name],
I’d like to [swap the showerhead / install peel-and-stick floor tile / add a stick-on backsplash] in the bathroom. It’s fully reversible — I’ll keep the originals and reinstall them before move-out, and I’m happy to send photos of the plan first.
Is that okay with you?
Thanks,
[Your name]
FAQ
Will my landlord know I swapped the showerhead?
Not at move-out, if you reinstall the original — which is exactly why keeping it matters. During the lease, a maintenance visit could spot it, so this is an “ask first” upgrade: a two-line email with written permission costs you nothing and removes the only real risk.
Can renters use peel-and-stick tile in the bathroom?
Usually yes for floors and backsplashes, with landlord permission — these are classic renter bathroom ideas no damage when done right. The critical limits: waterproof (not just water-resistant) products, a test square first, and never inside the shower surround itself. Removal with a hair dryer should leave the original surface intact.
Do I have to ask my landlord before making any bathroom upgrade?
For green-light items (hooks, curtains, battery lights, mirror frames, freestanding storage), a lease check is enough — these temporary bathroom upgrades lease safe by design since nothing is altered. For anything involving fixtures, plumbing connections, or adhesive on walls and floors, get written permission first. When in doubt, the email template above takes thirty seconds.
What happens if an adhesive hook pulls off paint?
That’s the most common move-out surprise with removable bathroom upgrades apartment renters use. It usually means the surface wasn’t prepped, the strip was overloaded, or it sat too long past its removal guidance. Prevention: rubbing alcohol prep, respecting weight ratings, and removing per the package directions (slow pull, not a yank). If damage does happen, a small touch-up is far cheaper than a deposit deduction — document it honestly on your move-out report.
Can I change the toilet seat as a renter?
Generally yes — it’s held on by two bolts under the hinge and isn’t part of the plumbing, so most leases treat it as a personal item. Keep the original seat and reinstall it at move-out. Like the showerhead, a quick email to your landlord removes all doubt. Never touch the toilet’s supply lines, shutoff valve, or wax ring — that’s plumbing work, not a cosmetic swap. (Our guide on whether Command strips damage walls covers removal technique so you don’t take paint with them.)
Note: I edited out a leftover stray duplicate link — the original draft had a duplicated reference here; content unchanged otherwise.
Are there bathroom upgrades I should never attempt?
Yes — anything involving supply lines, shutoff valves, the toilet’s internal plumbing, the exhaust fan, or regrouting/replacing tile. These touch the building’s waterproofing, ventilation, or water systems, and a mistake can cost far more than your deposit. Leases often prohibit them explicitly. No YouTube tutorial changes your lease terms — ask your landlord in writing, and leave it to a licensed plumber if they say yes.
What should I photograph before making any changes?
Everything you’re about to touch: the existing showerhead, faucet, mirror, floor, and walls, plus close-ups of any existing wear. Date-stamped photos protect you twice — they prove pre-existing condition at move-out, and they show exactly how to restore what you changed. Store them with your lease documents, not just on your phone.
Conclusion

A rental bathroom doesn’t have to look temporary. Start with one renter friendly bathroom upgrades no drill project — a new showerhead or a better curtain — and live with it for a week before doing the next. Keep every original part you remove in a labeled bag or bin, photograph everything before you start, and get written permission for the ask-first items. Do that, and you’ll enjoy a bathroom that feels like yours while your security deposit stays exactly where it belongs: in your pocket. If this saved you from one expensive lease mistake, save it or share it with a fellow first-time renter.

Maren started MyFirstLease after a rough first lease taught him everything the internet didn’t. He covers the logistical side of renting — move-in checklists, utilities, and the unglamorous first-week stuff nobody explains — and oversees everything published on the site.