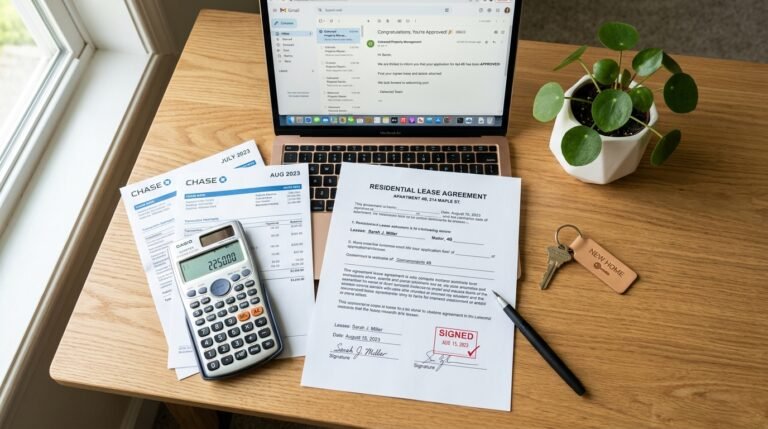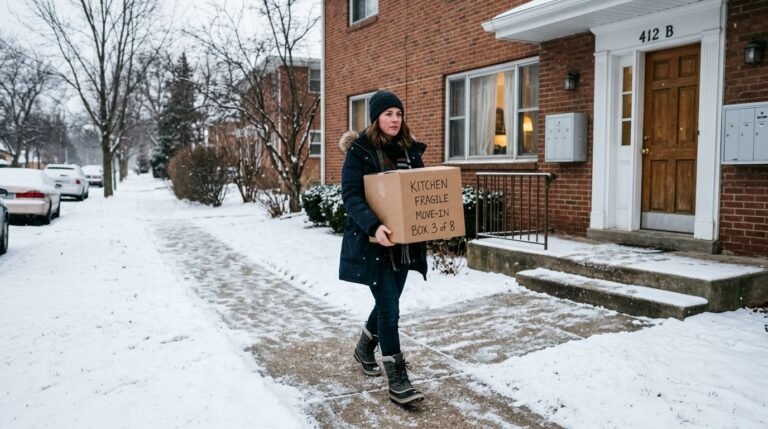

Your first apartment move-in walkthrough checklist isn’t really a checklist — it’s your deposit insurance. The hour you spend inspecting and photographing the empty apartment before your boxes come in is what decides, a year or two from now, whether a scuffed floor, a stained carpet, or a cracked tile comes out of your security deposit or stays the landlord’s problem. If you’ve never rented before, this whole process can feel awkward and easy to skip. Don’t skip it.
This guide is written for recent grads and other first-time renters doing their very first walkthrough: when to schedule it, what to bring, how to take photos and video that actually count as evidence, what the move-in condition form is and how to fill it out, what to do when the landlord won’t walk through with you, and a printable room-by-room checklist you can take on your phone. For the bigger picture on settling in, browse the Moving In & Apartment Basics section.
Direct answer: A move-in walkthrough is a room-by-room inspection of your apartment before your furniture arrives. You record every existing flaw — stains, scratches, broken fixtures — with dated photos, a walkthrough video, and a signed move-in condition form, so the landlord can’t charge you for pre-existing damage when you move out.
Summary

Most first-time renters either skip the walkthrough entirely or rush through it snapping a few blurry photos. Both mistakes cost money later, because at move-out the landlord compares the apartment’s condition against whatever was documented on day one — and anything undocumented is assumed to be your fault.
This article walks you through the full process in order: why the walkthrough protects your deposit, when to schedule it, the small toolkit to bring, how to handle the move-in condition form, a documentation method that makes your evidence hard to dispute, room-by-room checks for the kitchen, bathrooms, bedrooms, and living areas, safety and building systems most renters forget, what to do if the landlord won’t participate, and how to build a paper trail afterward. It closes with a printable checklist covering every room.
1. Why It Protects Your Deposit

Your security deposit is the landlord’s money to hold, not theirs to keep — but at move-out, they get to propose deductions for damage beyond normal wear and tear, and the burden of proving “it was already like that” falls on you. The move-in walkthrough is where you build that proof. A signed condition form plus timestamped photos and video turns a future argument (“that stain was there when I moved in”) from your word against theirs into a documented fact.
First-timers lose deposits on the most ordinary things: carpet stains hidden under the previous tenant’s rug, a chipped bathtub, a burner that never worked, blinds with broken slats. None of these are your fault, but without day-one documentation, the landlord has no reason to believe that. Think of the walkthrough as a one-hour task that protects hundreds of dollars.
A quick way to frame what counts:
| Normal wear (usually not deductible) | Damage (potentially deductible) |
|---|---|
| Faded paint, minor scuffs on walls | Large holes, unpatched drywall damage |
| Carpet worn flat in walk paths | Burns, pet stains, or tears in carpet |
| Small nail holes from hanging pictures | Dozens of unfilled holes, ripped-out anchors |
| Loose or squeaky cabinet hinges from age | Broken cabinet doors or missing handles |
| Faded or dusty blinds | Snapped slats, bent or missing blinds |
The line between the two is genuinely blurry in real apartments, which is exactly why detailed documentation matters — it lets both sides see the actual condition instead of arguing from memory. Rules on deposits and deductions differ by state, so treat this guide as the documentation method and check your state’s tenant rules for the legal specifics.
2. Timing the Walkthrough

Do the walkthrough after you get the keys but before a single box or piece of furniture comes inside. An empty apartment shows everything: wall damage behind where the couch will go, carpet stains under where the bed will sit, outlets blocked by bookshelves later. Once furniture is in, you’ve lost your one clean look at the place.
Ask your landlord or property manager to schedule the walkthrough a few days before your move-in date, and request that they — or a staff member — walk it with you. Mornings on a weekday are ideal: leasing offices are staffed, maintenance is on-site if something needs immediate attention, and you have natural daylight for photos. If your lease starts on the 1st and movers come on the 1st, ask for key pickup and the walkthrough on the 31st or the morning of the 1st before the truck arrives.
One more timing tip for recent grads moving on a tight schedule: build the walkthrough into your moving-day plan as a fixed 60–90 minute block, not a “we’ll squeeze it in.” Tell your movers or friends helping you that nothing comes inside until the inspection is done. It feels fussy in the moment; it feels brilliant a year later.
3. What to Bring
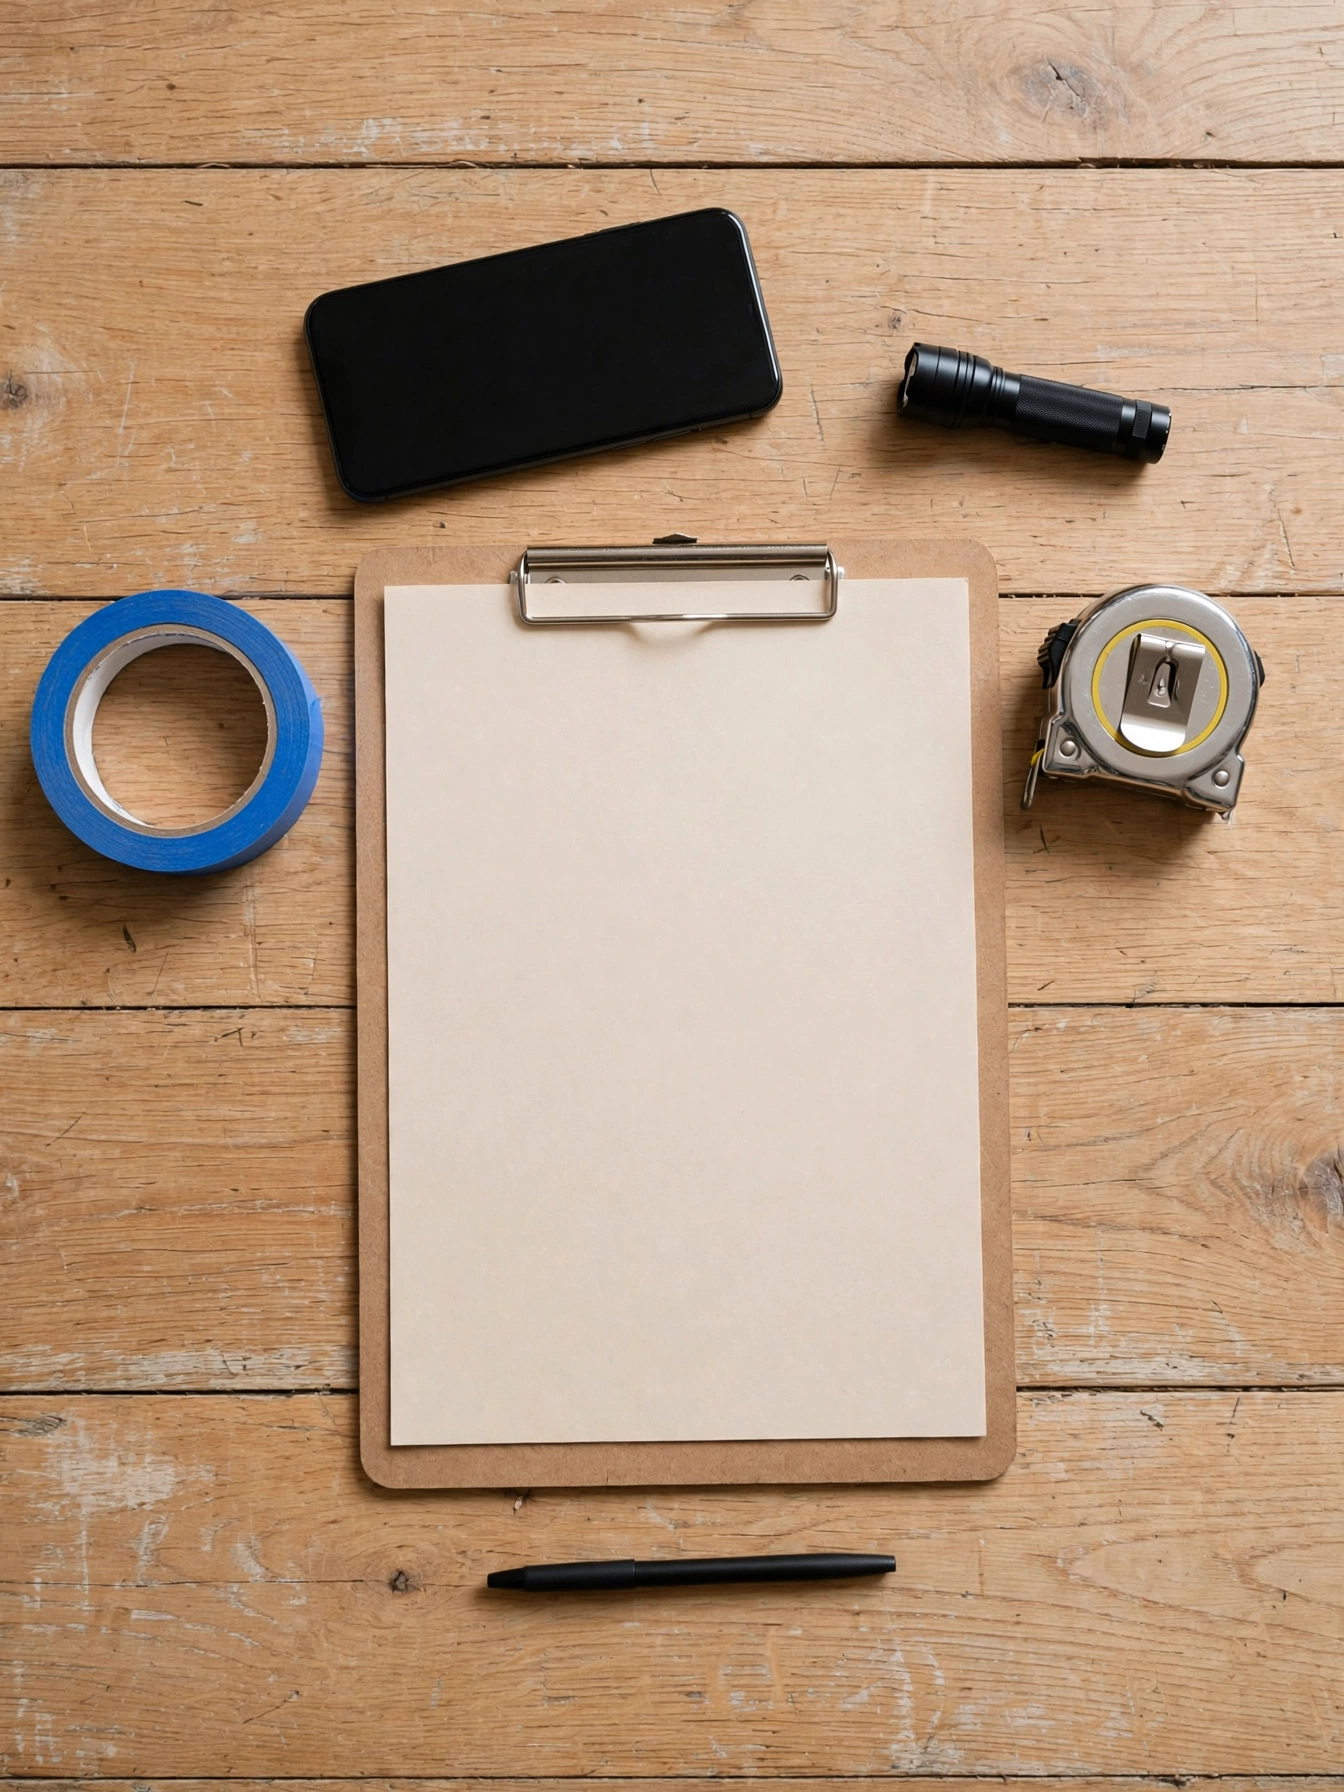
You don’t need special equipment — your phone does most of the work — but a tiny bit of preparation makes the documentation far stronger. Pack a small walkthrough bag the night before:
- Your phone, fully charged, with plenty of free storage. This is your camera, video recorder, flashlight backup, and notepad.
- A phone charger (the fastest outlet tester ever made — plug it into every outlet).
- A small flashlight, or just plan to use your phone’s. Hold it at a low angle against walls and floors; raking light reveals dents, dings, and bad patch jobs that overhead light hides.
- Blue painter’s tape. Stick a small piece next to every flaw you find so it shows up clearly in photos — and so you can find it again.
- A pen and the printed checklist from the end of this article, or the checklist open on your phone.
- A tape measure. Not strictly for the walkthrough, but since you’re in the empty apartment anyway, measuring rooms and doorways now saves a second trip.
- A coin or ruler for scale in close-up photos of damage.
Wear clothes you can crouch in — you’ll be looking under sinks, behind toilets, and along baseboards. And bring water; empty apartments in summer are hot, and this takes longer than you think.
4. The Condition Form

Many landlords hand you a move-in condition form (sometimes called a condition report or inventory checklist) at key pickup: a room-by-room sheet where the apartment’s condition is rated — often as excellent, good, fair, or poor — and both sides sign it. This form, paired with your photos, becomes the official record of how the apartment looked on day one. If your lease paperwork references a condition report, that’s this document; if you want the full lease-signing context first, read things to know before signing your first U.S. lease.
How to handle it like someone who’s done this before:
- Read every line before you sign anything. If the form says the carpet is in “good condition” and there’s a visible stain, cross it out and write what you actually see.
- Add your own notes. Use the margins, the back, or an attached page. “Bedroom 2, north wall: 6-inch scuff behind door; see photo 14.” Specific beats vague.
- Never sign a blank form or a pre-filled “everything is fine” form. If the landlord filled it out without looking, your signature turns their guess into your agreement.
- Note what you couldn’t check. “Dishwasher not run — will test and report within 48 hours” is honest and protects you.
- Get a signed copy before you leave. Photograph or scan every page with your phone on the spot, even if they promise to email it.
- If they don’t provide a form at all, write your own dated inventory — one page listing each room and its flaws — sign it, and email it to the landlord the same day (more on this in section 10).
Keep your copy somewhere you’ll actually find it at move-out: a cloud folder labeled with the apartment address and “move-in docs,” not a drawer you’ll forget about.
5. Documenting Evidence That Counts

Photos only protect you if they’re clear, complete, and clearly from move-in day. Here’s the method that holds up when a landlord disputes a deduction:
- Start with a slow walkthrough video. Walk through the front door and film every room in one continuous take, narrating as you go: today’s date, the apartment address, and what you’re seeing (“entering the bedroom — scuff on the wall behind the door”). One unbroken video is hard to argue with.
- Then take wide shots of every room — all four walls, the floor, and the ceiling. These establish context: where each flaw sits in the room.
- Then close-ups of every flaw, with the painter’s tape marker visible and a coin or ruler for scale. A close-up of a carpet stain means nothing without the wide shot showing which room it’s in.
- Use raking light on walls, ceilings, and hard floors — hold your flashlight low and sideways to reveal dents, scratches, and bad paint patches.
- Photograph the unglamorous stuff too: inside the oven, under every sink, behind the toilet, the tops of ceiling fan blades, window tracks, the breaker box, the water heater area, and every appliance’s model plate.
- Make sure timestamps exist. Most phones timestamp photos automatically — don’t strip metadata when you share or compress them. The video narration with the date is your backup.
- Back up the same day. Upload originals to cloud storage and email a copy (or a shared-album link) to your landlord or property manager within 24–48 hours. That email’s timestamp is independent proof of when the documentation was made.
Common first-timer mistakes: photographing only the dramatic damage and skipping the “minor” stuff (minor stuff is what gets deducted), shooting in the dark with flash (washout hides detail — use daylight plus the flashlight technique), and keeping everything only on the phone that you’ll replace twice before move-out.
6. Inspecting the Kitchen

The kitchen has the most expensive fixtures in the apartment and the most things that can be quietly broken. Work through it methodically:
- Stove and oven: Turn on every burner briefly — do they all heat? Open the oven: is it reasonably clean, does the light work, are racks present? Check the broiler drawer if there is one.
- Range hood: Does the fan run? Does the light turn on? Is the filter in place?
- Refrigerator and freezer: Are they cold? Are all shelves and drawers present and intact? Any cracks in the interior lining or strong odors?
- Dishwasher: Open it — is the interior clean, are racks intact? If the landlord allows, run a short empty cycle and watch for leaks at the door seal.
- Sink and faucet: Run hot and cold. How’s the pressure? Does it drain at a normal speed or pool? Wiggle the faucet base — loose fixtures leak underneath.
- Under the sink: This is the big one. Open the cabinet, shine your light in, and look for water stains, warped wood, mold spots, or active drips on the pipes and supply lines.
- Cabinets and drawers: Open every single one. Check hinges, handles, drawer glides, and shelf condition. Note chips and peeling.
- Countertops: Look for burns, cuts, chips, and stains — run your hand across them to feel what your eyes miss.
- Garbage disposal: If there is one, run it briefly with water flowing and listen for grinding or jamming.
- Outlets: Kitchens should have GFCI outlets near the sink — press the test and reset buttons to confirm they trip and reset.
Photograph any appliance damage and every under-sink stain. If an appliance doesn’t work, report it in writing immediately — a dead burner on day one is the landlord’s repair, not yours.
7. Inspecting the Bathrooms
Bathrooms hide water damage better than any other room, and water damage is one of the priciest things landlords deduct for. Slow down here.
- Toilet: Flush it. Does it flush fully? Watch the base for water seeping out. Wiggle it gently — it shouldn’t rock. Check the tank lid for cracks.
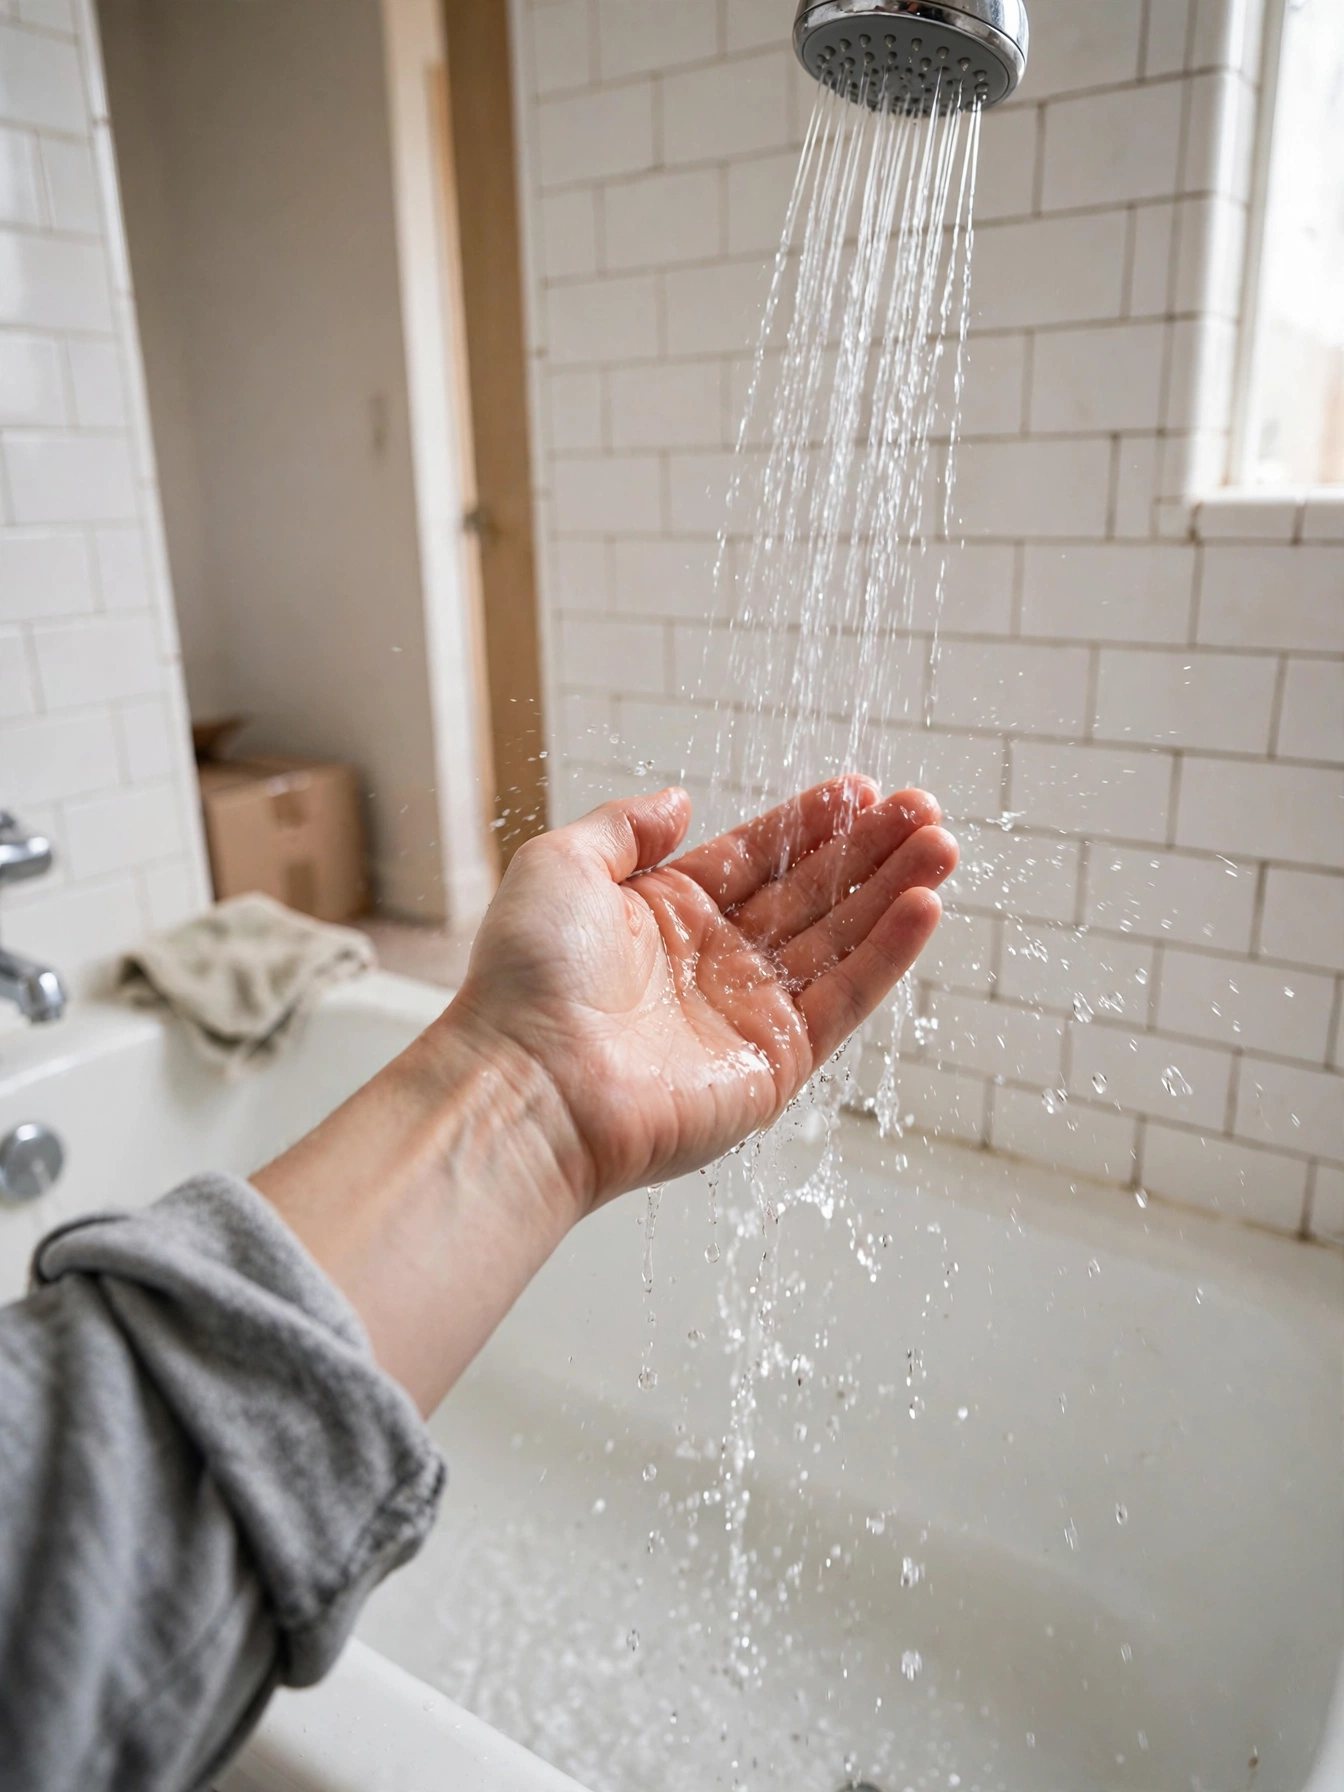
- Shower and tub: Run the shower on hot, then cold. Check water pressure and how long hot water takes to arrive. Does the tub stopper hold water? Look at the caulk lines where the tub meets the wall — cracked or missing caulk lets water behind the wall.
- Sink: Run the water, check the drain speed, and look underneath for leaks just like the kitchen.
- Mold and mildew check: Look at ceiling corners, around windows, along tub and shower edges, and behind the toilet. Surface mildew in grout is common; soft, bubbled paint or dark spreading patches deserve a photo and a written report.
- Exhaust fan: Turn it on. A working fan prevents the moisture problems above — if it’s dead or roaring loudly, note it.
- Tiles and grout: Cracked tiles, crumbling grout, loose tiles — photograph them all.
- Fixtures: Towel bars, toilet paper holder, mirror, medicine cabinet — are they secure and intact? Open the medicine cabinet and check the shelves.
- Floor: Soft or spongy spots near the tub or toilet can mean subfloor water damage. Press with your foot and note anything that gives.
Bathroom tip most guides skip: run the shower for a full minute and watch where the water goes. Splash patterns that pool on the floor or leak at the tub edge are worth documenting and reporting before they become “your” water damage.
8. Bedrooms and Living Areas

These rooms are mostly about surfaces — walls, floors, windows, and doors — and they’re where “normal wear” arguments happen most. Be thorough but efficient; the pattern is the same in each room.
- Walls: Walk each wall slowly. Note nail holes, scuffs, dents, cracks, peeling paint, and patches. Count roughly (“about 15 small nail holes, west wall”) rather than photographing each one — then photograph the wall overall.
- Paint: Is it one consistent color and finish per room? Touch-up spots in a different sheen are worth noting, since mismatched paint is a classic move-out charge.
- Floors: For hardwood or laminate, look for scratches, gouges, warped boards, and gaps. For tile, cracked or loose tiles. For carpet, stains, tears, worn paths, and pet odors — get close and smell, seriously. Photograph every stain with tape and scale.
- Baseboards: Scuffed, dented, or pulling away from the wall? Quick to check, commonly charged.
- Windows: Open and close every window. Do locks latch? Are screens present and intact? Check blinds or shades — raise, lower, and tilt them; broken slats and snapped cords are extremely common. Note cracked panes or fogged double-pane glass.
- Doors: Open and close every interior door — do they latch? Check doorknobs, hinges, and doorstops. The front door’s deadbolt should turn smoothly; test every key you were given in every lock.
- Closets: Open them all. Are rods secure and at a usable height? Are shelves in place and not sagging? Do sliding doors actually slide, and bifold doors fold?
- Outlets and switches: Plug your charger into every outlet. Flip every switch — and figure out what each one controls, including any mysterious switches that seem to do nothing (often they control one outlet for a lamp).
- Ceilings: Look for water stains (brownish rings mean a leak above — photograph and report), cracks, and peeling texture.
- Light fixtures: Note missing covers, dead bulbs, and wobbly ceiling fans. Try the fan on all speeds if there is one.
Work clockwise around each room so you don’t skip a wall, and call out the room name in your video narration as you enter it.
9. Safety and Building Systems

First-time renters routinely skip this section because it doesn’t feel like “their job.” It is absolutely worth your twenty minutes — some of it is about your deposit, and some of it is about your safety.
- Smoke and carbon monoxide detectors: Press the test button on every one. If any are missing, beeping, or dead, report it in writing immediately — in most places landlords are required to provide working detectors, and you want that request documented.
- Fire extinguisher: Is there one in or near the kitchen? Check the pressure gauge and the inspection date tag.
- Breaker box: Find it, open it, and check that breakers are labeled. Flip nothing, but photograph the panel — at 2 a.m. when a breaker trips, you’ll thank yourself.
- Water shutoff: Find the main shutoff valve (often near the water heater or under a sink) and confirm you can turn it. A burst hose at midnight is not the time to go looking.
- Heating and cooling: Run the heat for a few minutes, then the AC (weather permitting). Listen for alarming noises and confirm air actually comes out of the vents. Find the thermostat and learn it now.
- Water heater: Note its location and check the area around it for leaks or rust staining.
- Entry security: Deadbolt, peephole (not painted over), window locks — especially on ground-floor windows. Test the doorbell, intercom, or building buzzer.
- Keys and access: Confirm every key works: unit door, deadbolt, mailbox, storage cage, laundry room, garage or gate remotes. Get it in writing if anything’s missing.
- Laundry: If there’s an in-unit washer/dryer, run a quick cycle check. If it’s a shared laundry room, locate it and check the machines’ condition.
- Trash and recycling: Find where it goes and learn the pickup schedule — fees for improper trash disposal are a real (and avoidable) move-out charge in some buildings.
Photograph the breaker box, the detector test in progress if you can, and every key on its ring. Boring photos; incredibly useful later.
10. If Your Landlord Skips It

Sometimes the landlord or property manager won’t — or can’t — walk the apartment with you. Maybe they just hand you the keys at the leasing office, or they say “it was just cleaned, it’s fine.” This is disappointing, but it doesn’t leave you unprotected. A thorough solo walkthrough with good documentation beats a rushed joint walkthrough with none.
Do the full inspection exactly as described above, on your own or with a friend. A friend makes a good witness — have them in your walkthrough video and ask them to co-sign your written inventory with the date. Then, within 24 hours, email your landlord or property manager:
- Your dated, room-by-room written inventory of flaws
- A link to your photos and the walkthrough video (cloud album, not giant attachments)
- One clear sentence asking them to confirm receipt and let you know if they disagree with anything noted
That email does two jobs: it timestamps your documentation through a third party (your email provider), and it puts the landlord on notice. If they never respond, you still have proof you sent it. Save their reply — or the lack of one — with your move-in file.
If the apartment has serious problems — no hot water, a broken lock, a non-working smoke detector — report those as maintenance requests in writing separately from the condition documentation. Cosmetic flaws protect your deposit; broken essentials need fixing now, and the written request starts the clock.
11. After the Walkthrough

The walkthrough isn’t finished when you put the tape measure away. The follow-up is what turns your notes into protection:
- Email everything within 24–48 hours. Photos, video link, your written inventory, and the signed condition form (photographed). One email, clear subject line: “Move-in condition documentation — [apartment address], [date].”
- File maintenance requests for anything broken, in writing, through whatever system your landlord uses — portal, email, or text. Keep copies. Verbal promises to fix things evaporate.
- Keep a move-in folder — digital, backed up — with the lease, the condition form, all photos and video, every email with the landlord, and maintenance request confirmations. Keep it until your deposit is back in your account, plus a few months beyond.
- Do a quick re-check after furniture arrives for anything the empty-apartment inspection couldn’t catch (an outlet hidden behind where the bed goes, a window that only sticks when it’s humid). Add dated notes to your file.
- Put a move-out reminder in your calendar now for a month before your lease ends: “Pull up move-in photos; schedule move-out walkthrough.” Future you is busy; present you can help.
And once the inspection is done and the boxes start coming in, your next read is First Night in Your New Apartment: The Checklist Before Bed — the essentials to have unpacked and working before you sleep there the first night.
12. Your Printable Checklist

Here’s the full room-by-room checklist in one place. Screenshot it, print it, or keep it open on your phone during the walkthrough. Check off each item, and jot the photo number next to anything flawed so your pictures and notes line up later.
Before you start: Date: __________ · Apartment: __________ · Landlord present? Y / N · Witness: __________
Every room (repeat per room)
- [ ] Photograph all four walls, floor, and ceiling (wide shots)
- [ ] Walls: nail holes, scuffs, dents, cracks, peeling paint noted
- [ ] Floor: scratches, stains, tears, worn areas photographed with scale
- [ ] Baseboards: scuffs or separation noted
- [ ] Ceiling: water stains or cracks photographed
- [ ] Windows: open, close, lock; screens and blinds condition noted
- [ ] Doors: open, close, latch; knobs and hinges checked
- [ ] Closets: rods, shelves, doors checked
- [ ] Outlets: tested with phone charger; switches flipped and mapped
- [ ] Light fixtures and ceiling fans: covers, bulbs, wobble noted
Kitchen
- [ ] Every stove burner heats; oven opens, light works, racks present
- [ ] Range hood fan and light work
- [ ] Fridge and freezer cold; shelves and drawers intact
- [ ] Dishwasher interior clean; racks intact (run empty cycle if allowed)
- [ ] Sink: hot and cold run, drains normally, faucet base secure
- [ ] Under-sink cabinet: no leaks, stains, or mold
- [ ] Every cabinet and drawer opens; hinges, handles, glides checked
- [ ] Countertops: burns, cuts, chips noted
- [ ] Garbage disposal runs with water (if present)
- [ ] GFCI outlets near sink test and reset properly
Bathrooms (repeat per bathroom)
- [ ] Toilet flushes fully; base dry; tank lid intact
- [ ] Shower/tub: hot and cold run, pressure good, stopper holds
- [ ] Caulk and grout around tub/shower intact
- [ ] Sink drains; cabinet underneath dry
- [ ] Exhaust fan runs
- [ ] No mold or mildew beyond surface grout (photograph anything more)
- [ ] Tiles: no cracks or loose pieces
- [ ] Towel bars, mirror, medicine cabinet secure
- [ ] Floor solid near tub and toilet (no soft spots)
Safety and systems
- [ ] Smoke and CO detectors tested (test button)
- [ ] Fire extinguisher present; gauge and date checked
- [ ] Breaker box located, labeled, photographed
- [ ] Main water shutoff located and confirmed turnable
- [ ] Heat and AC both run; thermostat understood
- [ ] Water heater area dry, no rust staining
- [ ] Front door deadbolt smooth; peephole clear; all keys tested
- [ ] Doorbell/intercom/buzzer works
- [ ] Washer/dryer run (or shared laundry located)
- [ ] Trash/recycling location and schedule noted
Wrap-up
- [ ] Walkthrough video recorded with date/address narration
- [ ] Close-up photos of every flaw, with tape marker and scale
- [ ] Condition form read, corrected, signed; copy photographed
- [ ] Everything emailed to landlord within 48 hours
- [ ] Maintenance requests filed for broken items
- [ ] Files backed up to cloud move-in folder
Frequently Asked Questions
Do I really need a walkthrough if the apartment looks fine?
Yes — “looks fine” at a glance is exactly how small flaws get missed. The flaws that cost deposits (a carpet stain under where the bed goes, a cracked tub, worn countertop edges) rarely announce themselves. An hour of methodical checking is cheap insurance.
What is a move-in condition form?
It’s a room-by-room sheet — provided by many landlords at key pickup — where the apartment’s condition is recorded and both sides sign. It becomes the official baseline the landlord compares against at move-out. Read every line, correct anything inaccurate, never sign a blank one, and keep a signed copy.
How detailed should my photos be?
Detailed enough that a stranger could reconstruct the apartment’s condition a year later. That means wide shots of every room plus close-ups of every flaw with something for scale, all timestamped and backed up. Ten extra photos cost nothing; one missing photo can cost a deduction.
Can my landlord charge me for normal wear and tear?
In most states, no — ordinary wear from normal living (faded paint, carpet worn in walk paths, small nail holes) generally can’t be deducted, while actual damage can. The boundary is fuzzy in practice, which is why your documentation matters so much. Deposit rules differ by state, so check your state’s tenant protections for specifics.
What if I find damage after my furniture is already in?
Document it immediately — photos, a dated written note, and an email to your landlord explaining you discovered it after moving in. Late documentation is weaker than day-one documentation, but it’s far better than nothing, especially if the flaw was hidden behind furniture placement.
Should I report every flaw I find, or just the big ones?
Report broken or non-working items (appliances, locks, detectors, plumbing) as maintenance requests right away. For cosmetic flaws, your emailed inventory with photos is the report — it puts the landlord on notice without demanding a repair crew for every scuff.
How long should I keep my walkthrough photos and paperwork?
Until your security deposit is fully returned, plus a few extra months in case of a dispute. Cloud storage is cheap; a deposit dispute without evidence is expensive. Keep the lease, condition form, photos, video, and all landlord emails together in one folder.
Is there a printable version of this checklist?
The room-by-room checklist in section 12 is designed to be printed or screenshotted as-is — it covers every room, the kitchen, bathrooms, safety systems, and the wrap-up steps in checkbox form.
Conclusion

A first apartment move-in walkthrough checklist earns its keep a year from now, when your landlord reviews the apartment and your documentation does the talking. Walk every room before the furniture arrives, photograph and film everything with dates attached, handle the condition form carefully, and get it all to your landlord in writing within 48 hours — even if they wouldn’t walk through with you. Do that, and pre-existing damage stays the landlord’s problem, not a deduction from your deposit. If this saved you money or stress, share it with a friend signing their first lease — and save it somewhere you’ll find it at move-out time.

Maren started MyFirstLease after a rough first lease taught him everything the internet didn’t. He covers the logistical side of renting — move-in checklists, utilities, and the unglamorous first-week stuff nobody explains — and oversees everything published on the site.