You found your first apartment, signed the lease, and now it’s move-out day. But wait—you need to know how to clean furniture before moving to get that security deposit back. Where do you even start? Moving out is stressful enough without worrying about whether a dusty dresser or a stained sofa will ruin your chances of a full refund. Cleaning your furniture matters because it ensures your landlord sees a spotless apartment, prevents scratching during transport, and gives you a completely fresh start in your new place. Plus, no one wants to carry old apartment dust into a brand-new bedroom! In this guide, I’ll provide a room-by-room moving cleaning checklist and material-specific tips. Whether you’re dealing with a hand-me-down fabric couch or a cheap wooden table, you’ll learn exactly what to do. Let’s get cleaning!
Quick Answer: How to Clean Furniture Before Moving?
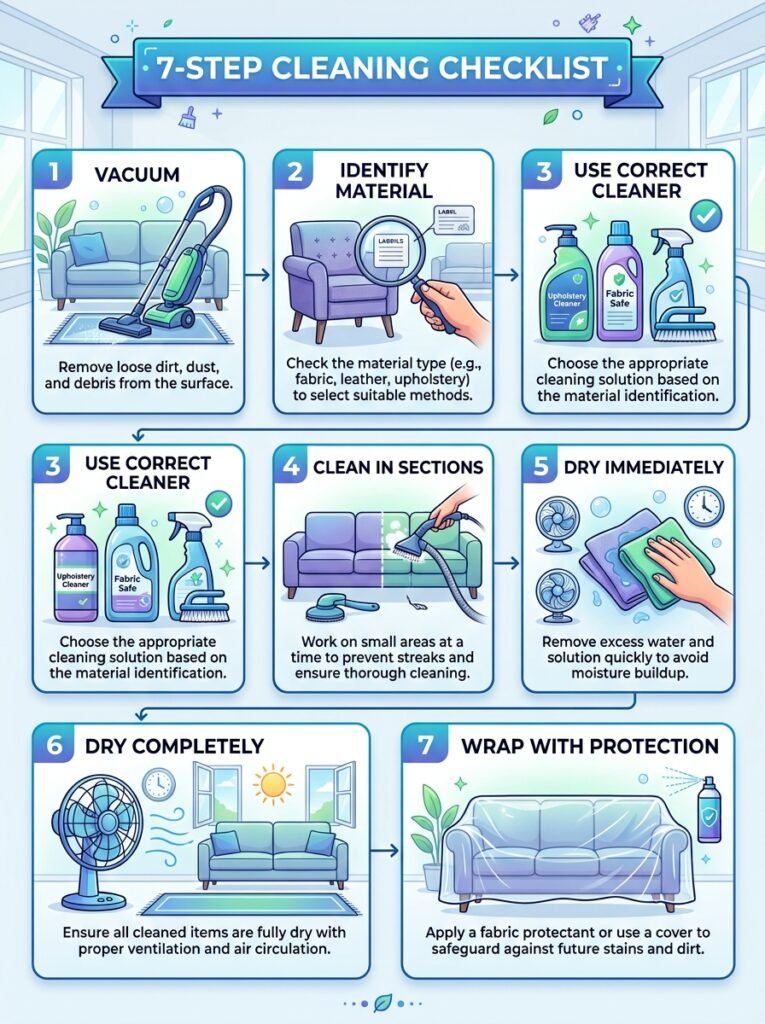
If you are staring at a living room full of stuff and feeling overwhelmed, take a deep breath. To clean furniture before moving, you should always start by vacuuming all surfaces and hidden areas to remove loose crumbs and dust. Then, clean each piece according to its specific material: wood needs gentle wiping with a barely damp cloth, fabric upholstery requires spot-cleaning, leather needs specific conditioners, and glass requires streak-free sprays. Most importantly, you must let everything dry completely before wrapping it in moving blankets and plastic stretch wrap to prevent mold.
Table 1: Quick Action Checklist
| Step | Action | Description |
| 1 | Vacuum completely | Vacuum all surfaces, joints, drawers, and undersides. |
| 2 | Identify the material | Note if the piece is wood, fabric, leather, glass, or metal. |
| 3 | Use the correct cleaner | Match your cleaning product to the specific material. |
| 4 | Clean in sections | Work strategically from top to bottom so dust falls downward. |
| 5 | Dry immediately | Wipe away excess moisture immediately with a dry cloth. |
| 6 | Let furniture dry | Let the piece air dry completely before applying any wrapping. |
| 7 | Protect before wrapping | Use a soft protective layer (like a blanket) before stretch wrap. |
Why You Should Clean Furniture Before Moving

When you’re exhausted from packing boxes, wiping down a coffee table feels like an annoying extra chore. However, skipping this step can cost you money and ruin your belongings. Here is exactly why taking the time to clean your furniture is one of the smartest moving decisions you can make.
Table 2: Top 5 Reasons to Clean Before Moving
| Reason | Why It Matters |
| 1. Get Your Security Deposit Back | Landlords check for cleanliness. Clean furniture = clean apartment = full deposit return. |
| 2. Prevent Damage During Transport | Dust and debris act like sandpaper against finishes when trapped under moving wrap. |
| 3. Avoid Bringing Pests to Your New Home | Bed bugs, roaches, and spiders hide in furniture. Cleaning thoroughly removes them. |
| 4. Make Unpacking Easier | Clean furniture goes directly into your new home without any extra work on move-in day. |
| 5. Fresh Start in Your New Home | Clean furniture equals a fresh start. No old dust, pet odors, or stains following you. |
1. Maximize Your Security Deposit Refund
For first-time renters, getting your security deposit back is crucial for affording your new place. When your landlord or property manager does their final walk-through, they look at the overall condition of the unit. If you drag filthy, dusty furniture out the door, it leaves dust bunnies, debris, and scuff marks all over the floors and walls. Cleaning your furniture ensures the apartment remains pristine as you load the moving truck.
2. Prevent Friction Damage in the Truck
Moving trucks bounce, vibrate, and sway. If your wooden desk is covered in a layer of microscopic dust or grit, and you wrap it in a moving blanket, that grit acts exactly like sandpaper. The friction from the truck’s movement will grind the dirt into the finish, leaving you with permanent scratches. A quick wipe-down eliminates this abrasive layer.
3. Leave the Pests Behind
Apartment buildings share walls, which means they sometimes share pests. Spiders, silverfish, ants, and even bed bugs love to hide in the dark crevices of sofas, underneath dressers, and behind bookshelves. A thorough vacuuming and wipe-down ensures you aren’t accidentally giving free transportation to uninvited roommates.
4. Streamline Your Move-In Day
Imagine arriving at your new apartment at 8:00 PM. Your back aches, you’re starving, and all you want to do is sit on your couch and eat pizza. If your couch is dirty, you have to clean it before you can relax. If you clean it before the move, you can unwrap it, place it in the living room, and immediately crash.
5. Embrace the Fresh Start
Moving into a new apartment is a major life milestone! It represents a fresh start. Bringing stale smells, sticky table rings, and mysterious couch crumbs into a pristine new space instantly ruins that fresh, new-apartment vibe.
What You’ll Need (Cleaning Supplies Checklist)
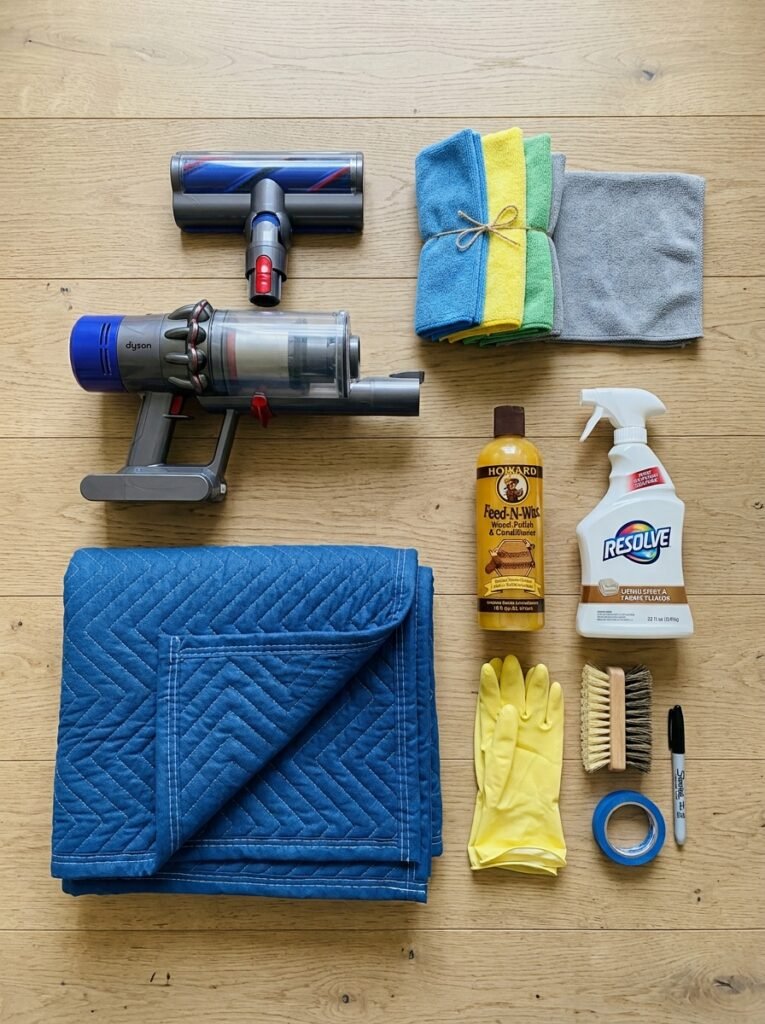
Before you begin, gather your supplies in one spot. You don’t want to be running back and forth to the store in the middle of packing. For safety, always try to use EPA-approved safe cleaning products when possible, especially if you have pets or allergies.
Table 3: Essential Moving Cleaning Supplies
| Category | Essential Items | Purpose |
| General | Microfiber cloths (at least 2), vacuum with soft-brush attachment, dry towel | The foundation of all cleaning. Microfiber traps dust without scratching. |
| Wood Cleaners | Wood-specific cleaner, wood polish, scratch repair markers | Safely lifts grime from wood finishes and restores shine. |
| Upholstery Cleaners | Upholstery cleaner, baking soda, white vinegar, dish soap | Tackles deep fabric stains, lifts odors, and refreshes cushions. |
| Leather Cleaners | Leather-specific cleaner, leather conditioner | Cleans without drying out the hide; prevents future cracking. |
| Glass/Metal | Glass cleaner, non-abrasive all-purpose cleaner, mineral oil | Creates streak-free mirrors and protects metal from rust. |
| Protection | Moving blankets, furniture pads, corner protectors, stretch wrap | Shields your clean furniture from the hazards of the moving truck. |
Pro Tip for First-Time Renters: Don’t use paper towels to dust! They are surprisingly abrasive and will leave tiny micro-scratches on delicate wood and glossy finishes. Always stick to microfiber.
How to Clean Wood Furniture Before Moving
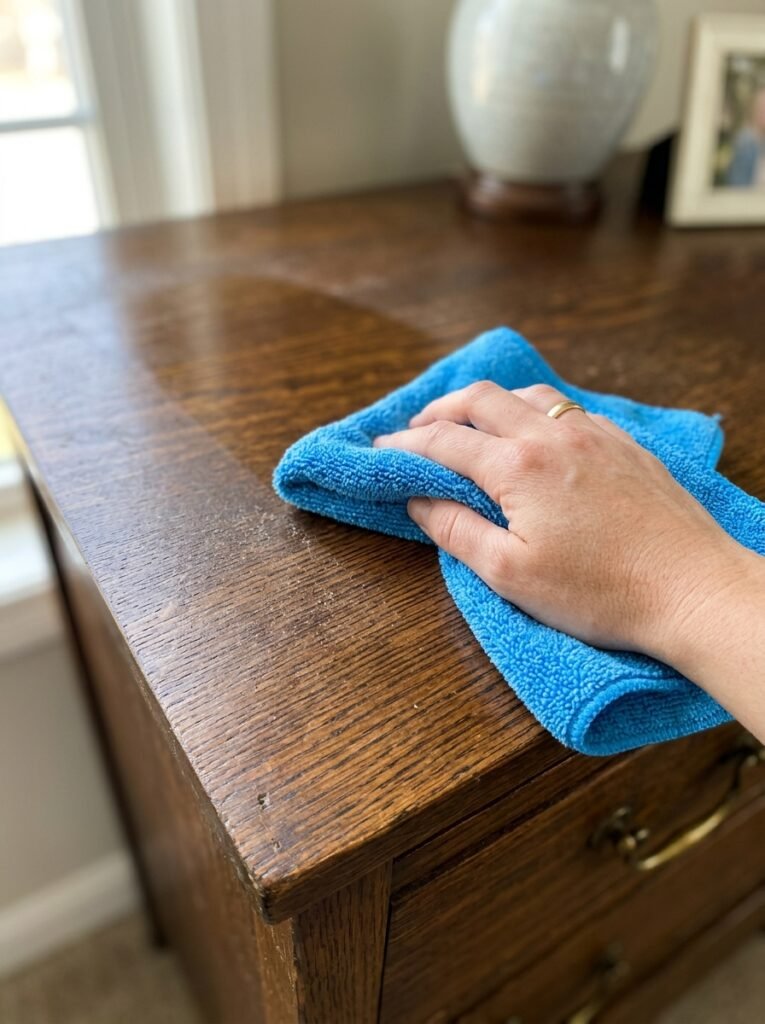
Learning how to clean wood furniture before moving is vital because wood is incredibly sensitive to moisture, temperature changes, and scratching. Here is the safest, most effective way to prep your dressers, dining tables, and wooden bed frames.
Step 1: Identify the Wood Finish
Not all wood is created equal, and treating a waxed antique like a cheap lacquered IKEA desk will end in disaster.
- Lacquered/sealed wood: (Most modern/affordable furniture). Gentle wiping with mild soap and water is fine.
- Oiled wood: Needs a finish-compatible cleaner and should be re-oiled periodically.
- Waxed wood: Use very gentle methods, avoiding all heat and harsh chemicals.
- Painted wood: Treat similarly to lacquered wood, but avoid aggressive scrubbing that could chip the paint.
Step 2: Empty and Vacuum
Never try to move a dresser full of clothes—it’s too heavy and dangerous. Remove absolutely everything from drawers, cabinets, and shelves. Once empty, take your vacuum’s soft-brush attachment and gently vacuum the tabletop, the underside, the back panels, and the drawer interiors. Dust loves to accumulate behind drawers, which can jam the tracks.
Step 3: Wipe with a Damp Cloth
Dampen a clean microfiber cloth with a wood-safe cleaner or just a tiny bit of water. Wring it out thoroughly until it is barely damp. You never want dripping water near wood. Wipe with the wood grain in small, manageable sections. This lifts away the sticky residue and dust without soaking the porous wood fibers.
Step 4: Dry Immediately
Moisture is wood’s worst enemy. Immediately follow your damp cloth with a completely dry microfiber cloth. Buff the surface gently. Pay special attention to the undersides, corners, and joints where moisture likes to hide.
Pro Tip: Always test any new cleaning product on a hidden area first, like the inside lip of a drawer, to ensure it doesn’t strip the finish.
How to Clean Upholstered Furniture Before Moving
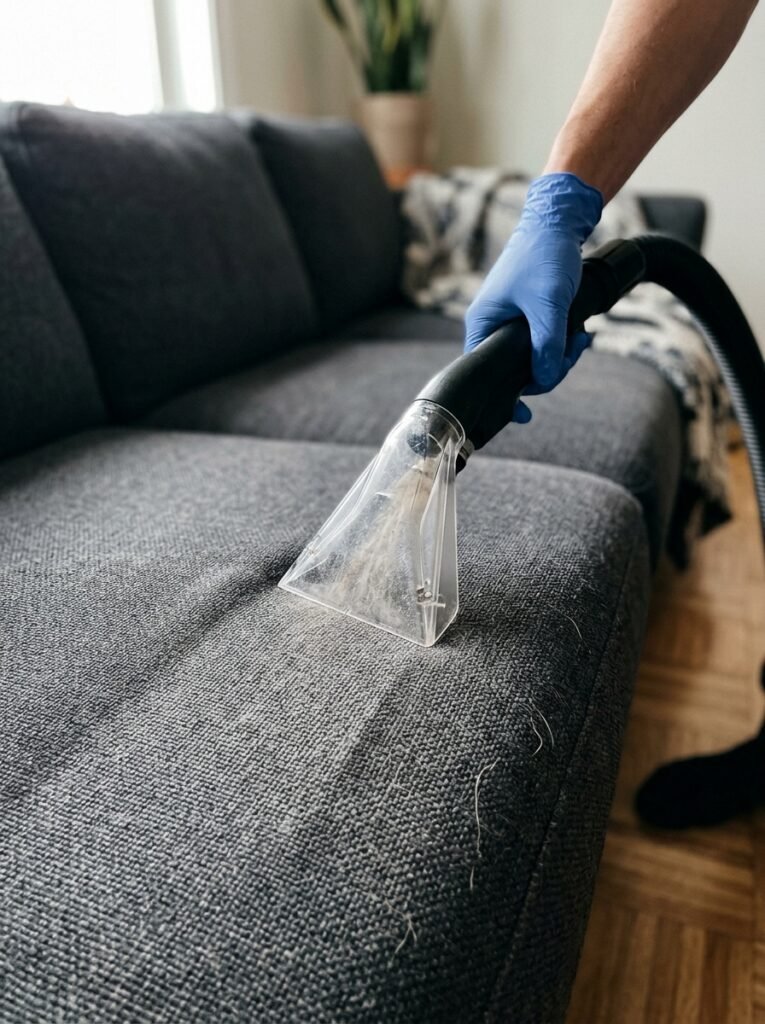
Your sofa is likely the most used piece of furniture in your apartment, meaning it holds the most crumbs, dead skin cells, and weird smells. Figuring out how to clean upholstery before moving takes a little patience, but the payoff is huge.
Step 1: Check the Care Label
Look under the sofa cushions or on the bottom of the frame for the manufacturer’s tag. This tag features a cleaning code that tells you exactly what you can and cannot use.
Table 4: Upholstery Care Codes
| Code | Meaning | Cleaning Method |
| W | Water-based cleaner | Safe to use water-based cleaning methods and mild detergents. |
| S | Solvent-based cleaner | Use dry-cleaning solvents only. Water will leave permanent rings. |
| WS | Both water and solvent | Either method works safely. |
| X | No cleaning | Vacuum only. Do not use any wet cleaning method. |
Step 2: Vacuum Thoroughly
Remove all the cushions. Using the crevice tool on your vacuum, suck up the terrifying amount of crumbs hiding in the seams. Switch to the upholstery attachment and methodically vacuum the cushions, the armrests, the back panels, and the lower frame.
Step 3: Spot-Clean Stains
If your sofa has a “W” or “WS” code, you can tackle stains.
- Mix: 2 cups warm water + 1 tsp clear dish soap + 1 tsp white vinegar.
- Apply: Dip a light-colored cloth into the mixture (light colored so dye doesn’t bleed onto the couch).
- Blot: Gently blot the stains. Never rub! Rubbing pushes the stain deeper into the foam and ruins the fabric texture.
Step 4: Deodorize
To get rid of the “old apartment smell,” sprinkle a generous layer of dry baking soda all over the fabric. Let it sit for 20 to 30 minutes to absorb oils and odors, then vacuum it up thoroughly.
Pro Tip: Do not deep-clean or shampoo upholstery the day before moving. It needs ample time to dry. Trapping a damp sofa inside a hot moving truck is a guaranteed recipe for mold.
How to Clean Leather Furniture Before Moving
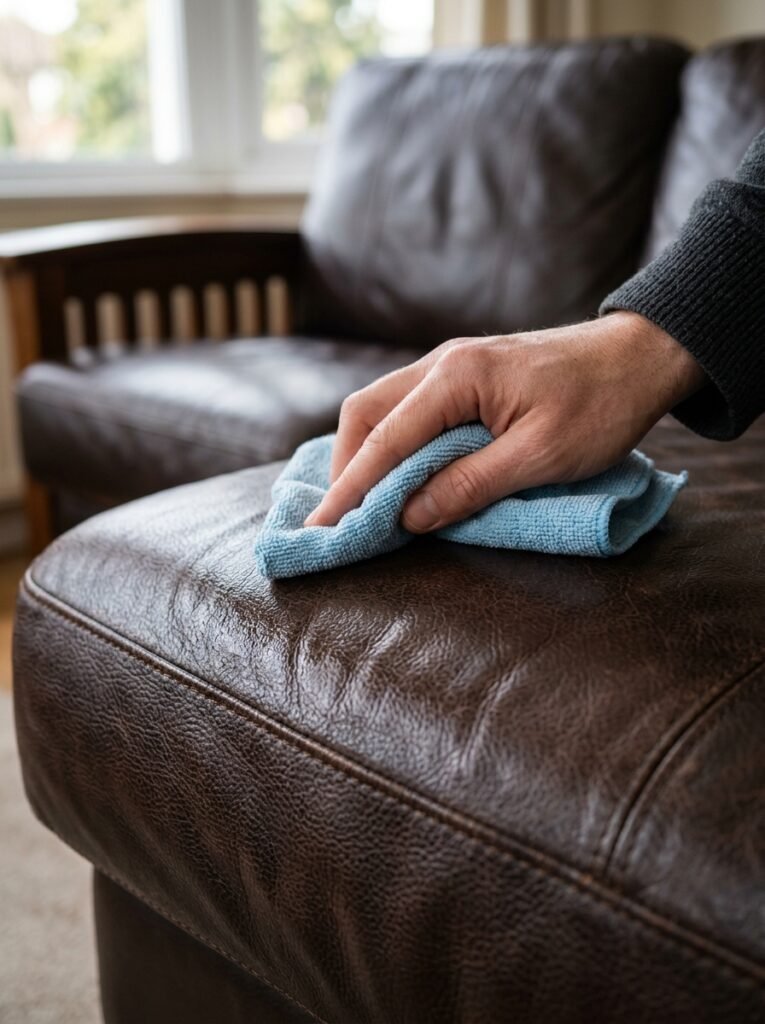
Leather is durable but requires specific care. Harsh chemicals will strip the natural oils, leading to cracking and peeling.
Step 1: Dust Thoroughly
Take a dry, soft microfiber cloth and wipe down the entire piece. Leather doesn’t hold onto dust the way fabric does, so a dry wipe is usually enough to get the loose particles off. Be sure to get into the deep creases where the seat meets the backrest.
Step 2: Clean with Care
Use a dedicated, high-quality leather cleaner. Apply the cleaner to your cloth—not directly onto the leather—and wipe in gentle, circular motions. If you are in a pinch and don’t have leather cleaner, a very weak solution of warm water and a few drops of mild dish soap can work, but wring the cloth out until it’s practically dry.
Step 3: Condition the Hide
Cleaning opens the pores of the leather. You must follow up with a leather conditioner to moisturize the material and protect it from drying out, especially if it will be sitting in a dry, climate-controlled moving truck or storage unit.
Pro Tip: Never use alcohol, bleach, household all-purpose detergents, or excess water on leather. They will permanently ruin the finish and color.
How to Clean Glass, Metal, and Other Furniture
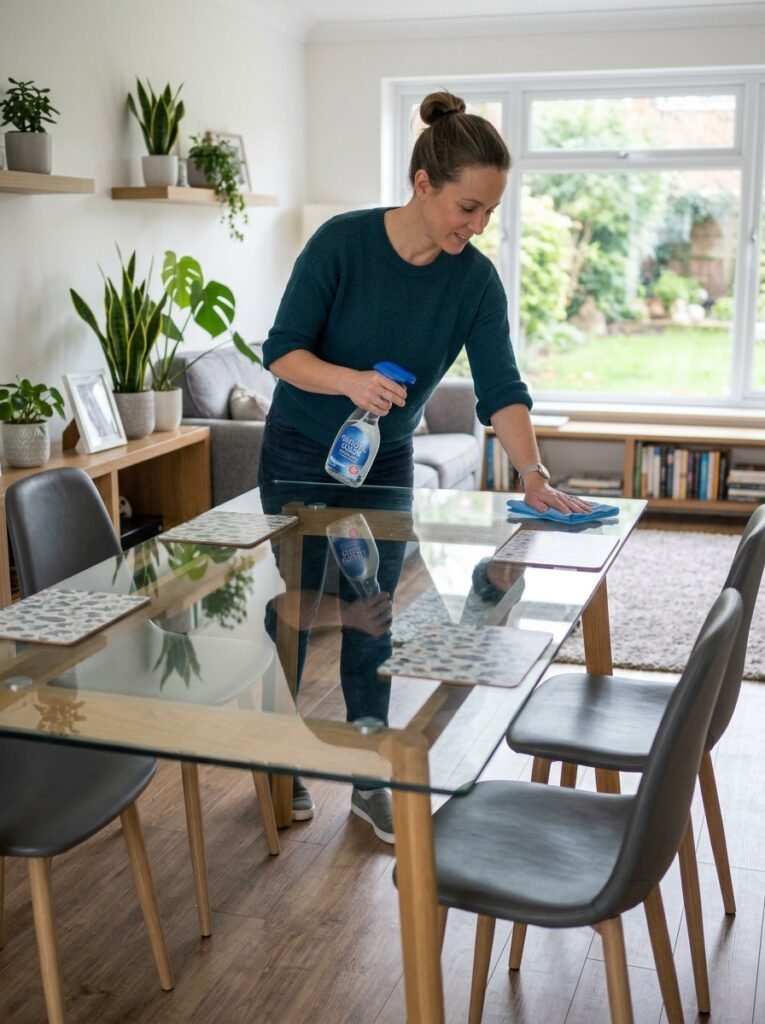
Not everything in your apartment is wood or fabric. Here is how to handle the modern, industrial, and delicate pieces.
Glass and Mirrors
Glass dining tables and large leaning mirrors are fingerprint magnets.
- First, dust the surface with a dry cloth so you aren’t just pushing dirt around.
- Spray a streak-free glass cleaner onto a microfiber cloth (or crumpled newspaper for a truly lint-free finish).
- Wipe in tight, circular motions.
- Moving safety trick: For large mirrors or glass tabletops, take a roll of painter’s tape and place a massive “X” across the glass. If the glass accidentally bumps a wall and shatters during the move, the tape holds the shards together, preventing a dangerous mess.
Metal Furniture
Metal bed frames, bar stools, and outdoor patio furniture are relatively easy to prep.
- Wipe them down with warm, soapy water to cut through any grease or grime.
- Dry them fully immediately to prevent any chance of rust.
- If you are putting metal tools or outdoor furniture into long-term storage, apply a very thin layer of mineral oil with a cloth to provide a barrier against rust.
Plastic and Faux Leather
For acrylic chairs, plastic storage bins, or faux-leather (polyurethane) headboards:
- Wipe with a damp cloth.
- Use mild dish soap for stubborn spots.
- Air dry completely before packing.
Room-by-Room Cleaning Guide

Breaking the job down room by room makes the process much less intimidating. It also syncs up perfectly with your general apartment cleaning and organization before moving out.
Living Room
The living room sees the most traffic. Focus on the sofa, coffee table, entertainment center, and bookshelves. Remember to move the furniture away from the walls. You need to clean the baseboards and the back panels of your TV stand, which are likely coated in thick dust. (If you are wondering how to clean apartment walls, a lightly damp sponge with a drop of dish soap works wonders on scuffs left by the back of your couch).
Bedroom
Tackle the bed frame, dresser, nightstands, and any freestanding closet organizers. Empty every single drawer. Vacuum the drawer tracks. Take a damp cloth to the slats of your bed frame—they collect a shocking amount of dust underneath your mattress.
Dining Room
Your dining table, chairs, and sideboard are next. Pay special attention to the legs of the chairs, which often get splashed with mop water or scuffed by shoes. Check the chair cushions; if they are fabric, give them the baking soda treatment to neutralize food odors.
Kitchen
You might have a kitchen island cart, barstools, or a small breakfast table. Because kitchens are greasy environments, you may need a gentle degreaser (like a vinegar and water mix) to cut through the sticky film that naturally forms on kitchen furniture over time.
Home Office
Your desk, office chair, bookshelves, and filing cabinets need attention. Use compressed air to blow dust out of the crevices of your desk where your keyboard sits. Carefully wipe down electronics and untangle cables before bundling them up.
How Long Should Furniture Dry Before Moving?
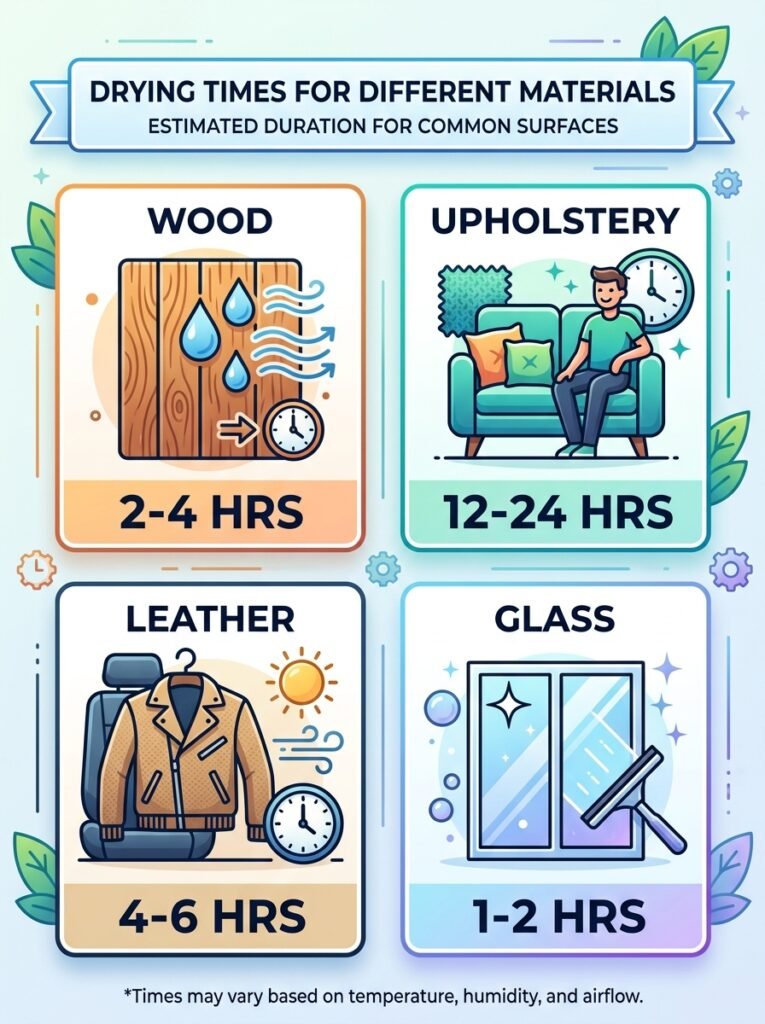
One of the most critical parts of your new apartment deep clean checklist is allowing proper drying time. If you wrap a damp piece of furniture in plastic stretch wrap, you are creating a greenhouse. Mold and mildew will bloom within 48 hours, ruining your furniture and smelling terrible.
Table 5: Minimum Drying Times
| Material | Minimum Drying Time | Best Practice |
| Wood | 2-4 hours | Overnight is best |
| Upholstery | 12-24 hours | 2-3 days if deep-cleaned |
| Leather | 4-6 hours | 12 hours is ideal |
| Glass/Metal | 1-2 hours | 4 hours is safe |
Signs your furniture is truly ready to be wrapped:
- There is absolutely no visible moisture anywhere, even in the tightest crevices.
- The surface and joints no longer feel cool or damp to the touch.
- Upholstery seams (which hold moisture the longest) feel completely bone-dry when squeezed.
- There is no strong, lingering cleaning-product smell.
How to Protect Furniture During Transport
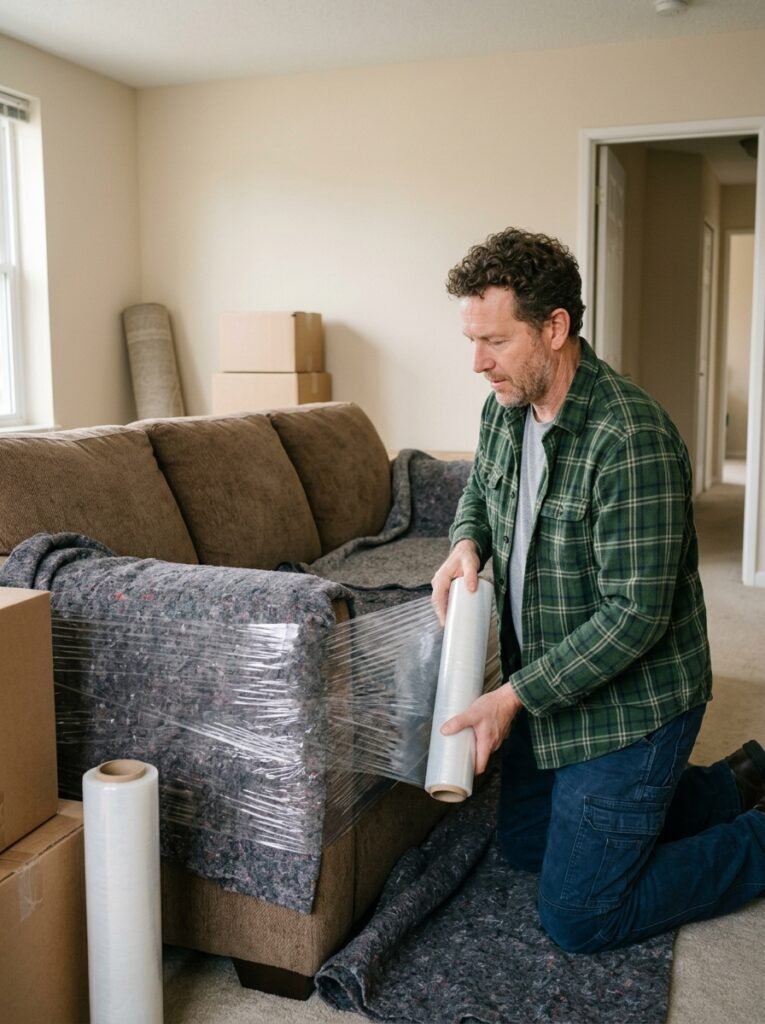
Now that you know how to clean furniture before moving, you need to know how to protect furniture when moving. Cleaning it is useless if it gets destroyed in the back of the U-Haul.
Step 1: Use a Soft Protective Layer
Never put plastic stretch wrap directly against wood, leather, or painted surfaces. The plastic can trap condensation or literally melt into the finish if the truck gets too hot in the sun. Always place a moving blanket or a quilted furniture pad directly against the furniture first.
Step 2: Add Corner and Edge Protection
The corners of dressers and tables take the most abuse. You can buy cheap cardboard corner protectors, or simply fold up extra pieces of thick cardboard and tape them over the corners of your furniture outside the moving blanket.
Step 3: Apply Stretch Wrap
Now, take your industrial stretch wrap (shrink wrap) and wrap it tightly over the moving blanket. This holds the blanket in place, compresses moving parts (like holding drawers shut), and provides a waterproof barrier against rain on moving day.
Step 4: Keep Tape Away
Never, ever apply packing tape directly to wood, leather, or upholstery. The adhesive will leave a permanent, sticky residue, and pulling the tape off can rip away the finish or fabric. Always tape on top of the plastic wrap.
Common Mistakes to Avoid
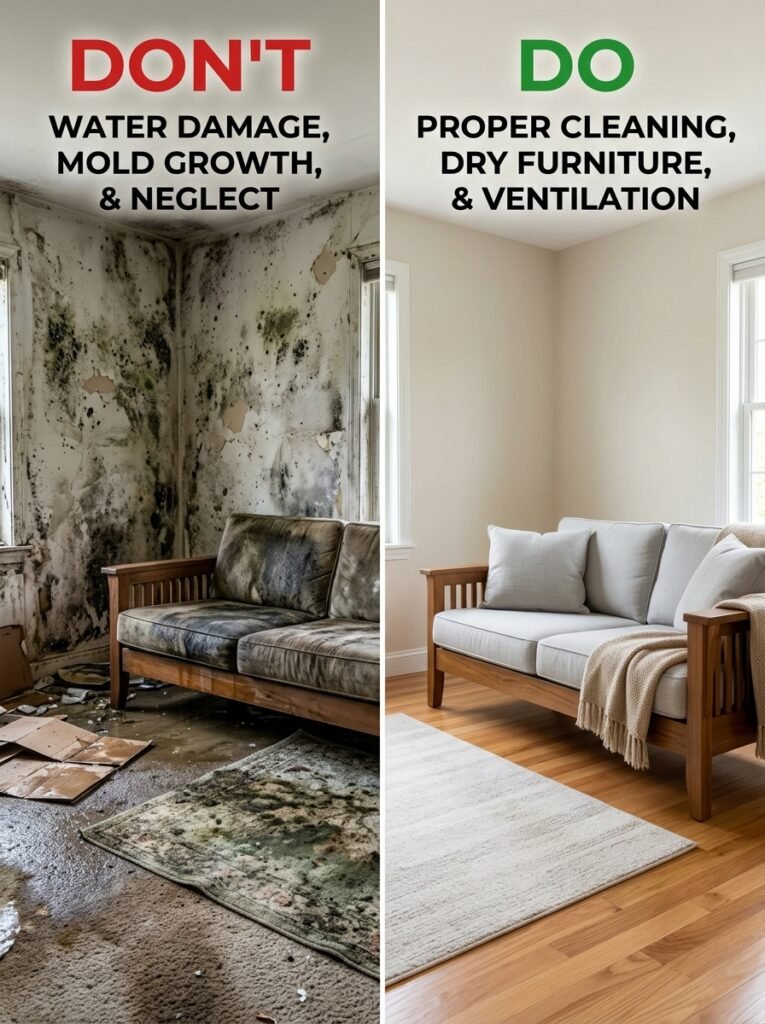
Even smart renters make mistakes when they are rushing. Avoid these common pitfalls to save your furniture.
Table 6: Common Cleaning Mistakes
| Mistake | Why It’s a Problem |
| Deep-cleaning upholstery the same day | Leaves no time to dry. Trapped moisture inside moving plastic will rapidly lead to mold. |
| Using one all-purpose cleaner for everything | Different materials need different pH levels. Glass cleaner will strip wood; wood polish will stain fabric. |
| Spraying cleaner directly on furniture | Can cause liquid to pool in joints and damage finishes. Always spray the cloth first. |
| Using too much water on wood | Can cause the wood grain to swell, warp, and discolor permanently. |
| Applying polish right before wrapping | Polish needs time to absorb and cure. Wrapping too soon traps wet chemicals against the finish. |
| Wrapping furniture while still damp | Moisture trapped under plastic stretch wrap = guaranteed mold, mildew, and ruined furniture. |
Pre-Move Cleaning Checklist (Printable)
Copy or print this handy checklist to keep yourself on track during moving week!
- [ ] Check the furniture material and finish type before starting.
- [ ] Photograph any existing damage (scratches, dents) for your records.
- [ ] Empty all drawers completely and remove any loose parts or hardware.
- [ ] Vacuum all visible surfaces, undersides, and hidden tracks.
- [ ] Test your chosen cleaners on a concealed spot first.
- [ ] Clean methodically with a material-compatible method.
- [ ] Allow every single area to air-dry completely (wait at least 24 hours for fabrics).
- [ ] Cover the piece with a soft protective layer (moving blanket).
- [ ] Add cardboard corner and edge protection.
- [ ] Secure everything tightly with an outer layer of stretch wrap.
Frequently Asked Questions (FAQ)
How to clean furniture before moving?
Start by vacuuming all surfaces to remove loose debris. Then, clean according to the specific material (wood, fabric, leather, etc.) using appropriate cleaners. Always ensure the furniture dries completely before wrapping it for transport.
How to clean wood furniture before moving?
Empty all drawers and vacuum the frame. Wipe the surface with a barely damp microfiber cloth following the grain, dry it immediately with a separate cloth, and apply wood polish if the finish looks dull.
How to clean upholstery before moving?
Vacuum thoroughly using a crevice tool. Spot-clean any visible stains using a mixture of water, dish soap, and vinegar (if the care tag allows). Deodorize the fabric by sprinkling baking soda, letting it sit, and vacuuming it up.
How to clean leather furniture before moving?
Dust it with a dry microfiber cloth, gently clean it with a dedicated leather-specific cleaner, and finish by rubbing in a leather conditioner to prevent the hide from cracking during transport or storage.
How to protect furniture during moving?
Wrap the furniture entirely in soft, breathable moving blankets or furniture pads. Secure the corners with cardboard protectors, and finally, wrap the outside tightly with plastic stretch wrap to hold everything together.
How early should I start cleaning?
Start cleaning at least 7-10 days before moving day. This gives you plenty of time to tackle deep-cleaning tasks and guarantees everything will be 100% dry before it goes onto the truck.
Should I clean furniture before or after moving?
Definitely before. It is much easier to clean furniture when the drawers are empty and you have open floor space. Plus, you won’t bring old dust and allergens into your clean new apartment.
What cleaning supplies do I need?
Stock up on microfiber cloths, a vacuum with attachments, wood polish, a gentle upholstery cleaner, baking soda, and plenty of moving blankets.
How long does it take to clean furniture?
For a standard one-bedroom apartment, expect to spend 2-4 hours doing a basic surface clean of all furniture. If you are deep-cleaning upholstery, factor in an extra hour of labor plus 24 hours of drying time.
Is deep cleaning required by landlords?
If you look at almost any deep clean before moving in reddit thread, renters will tell you that while landlords focus heavily on the apartment structure (appliances, floors, bathrooms), cleaning your furniture prevents you from accidentally leaving messes behind that will get you charged.
Conclusion
Cleaning furniture before moving is an essential step for getting your security deposit back, preventing accidental damage during transport, and ensuring you get a truly fresh start in your new home. By taking the time to use the right cleaning methods for each specific material and allowing everything to dry completely, you protect your investments. Wrap everything securely, and you’ll be ready for a smooth, stress-free move.
Final Tip: Start cleaning your least-used furniture at least a week before moving day. A little planning goes a long way!

Maren started MyFirstLease after a rough first lease taught him everything the internet didn’t. He covers the logistical side of renting — move-in checklists, utilities, and the unglamorous first-week stuff nobody explains — and oversees everything published on the site.