

You hung peel-and-stick wallpaper to make your first rental feel like home, and now the move-out inspection is on the calendar. If you’re searching for peel and stick wallpaper removal rental advice, this guide walks you through taking it down cleanly — heat technique, residue fixes, small paint repairs, and how to document your walls so you protect your security deposit.
This is written for first-time renters wrapping up their first lease: tight budget, limited time, and probably no spare wall paint sitting in the closet. Unlike most removal guides that assume you own the place, every step here is filtered through one question — will this help you hand the keys back with your deposit intact?
Direct answer: Warm each panel with a hairdryer on low heat for 20–30 seconds, then peel slowly from a bottom corner at roughly a 45-degree angle. Clean leftover adhesive with warm water and a drop of dish soap, patch pulled paint with spackle and a small touch-up, and photograph every wall in daylight before your move-out inspection.
Summary

Peel-and-stick wallpaper can come off a rental wall cleanly when you remove it with heat instead of force. The most common move-out problems are avoidable: yanking a cold panel off fresh paint, skipping the residue wipe-down, or forgetting to photograph the walls before the walkthrough.
This guide covers how to test your wall before you peel, the heat-and-pull method that works on most brands, what to do about stubborn corners and sticky residue, how to fix small paint pulls without buying a full gallon, and a move-out photo checklist you can use on inspection day. No painting experience or special tools required. For more decorating projects sized for first rentals, see our Decorating & Small Space Living guides.
1. Check the Wall Before You Peel

The safest removal starts before you touch the wallpaper. Look at the surface underneath: fresh paint (less than about 30 days old) is softer and more likely to lift, and walls that already had peeling or flaky paint were more likely to let go in spots. One loosely attached corner lifted gently by hand tells you a lot — if it releases with barely any resistance, the rest of the panel will likely behave the same way.
Also check how long the paper has been up. Panels installed years ago can become more stubborn as adhesive bonds strengthen over time, so start your first removal attempt on a small, hidden panel behind a door or furniture rather than the biggest feature wall. If you’re planning decor for your next place and want the choosing-and-installing side of this, our renter-friendly wallpaper guide covers that — here we’re focused only on getting it down cleanly.
2. Gather the Right Supplies
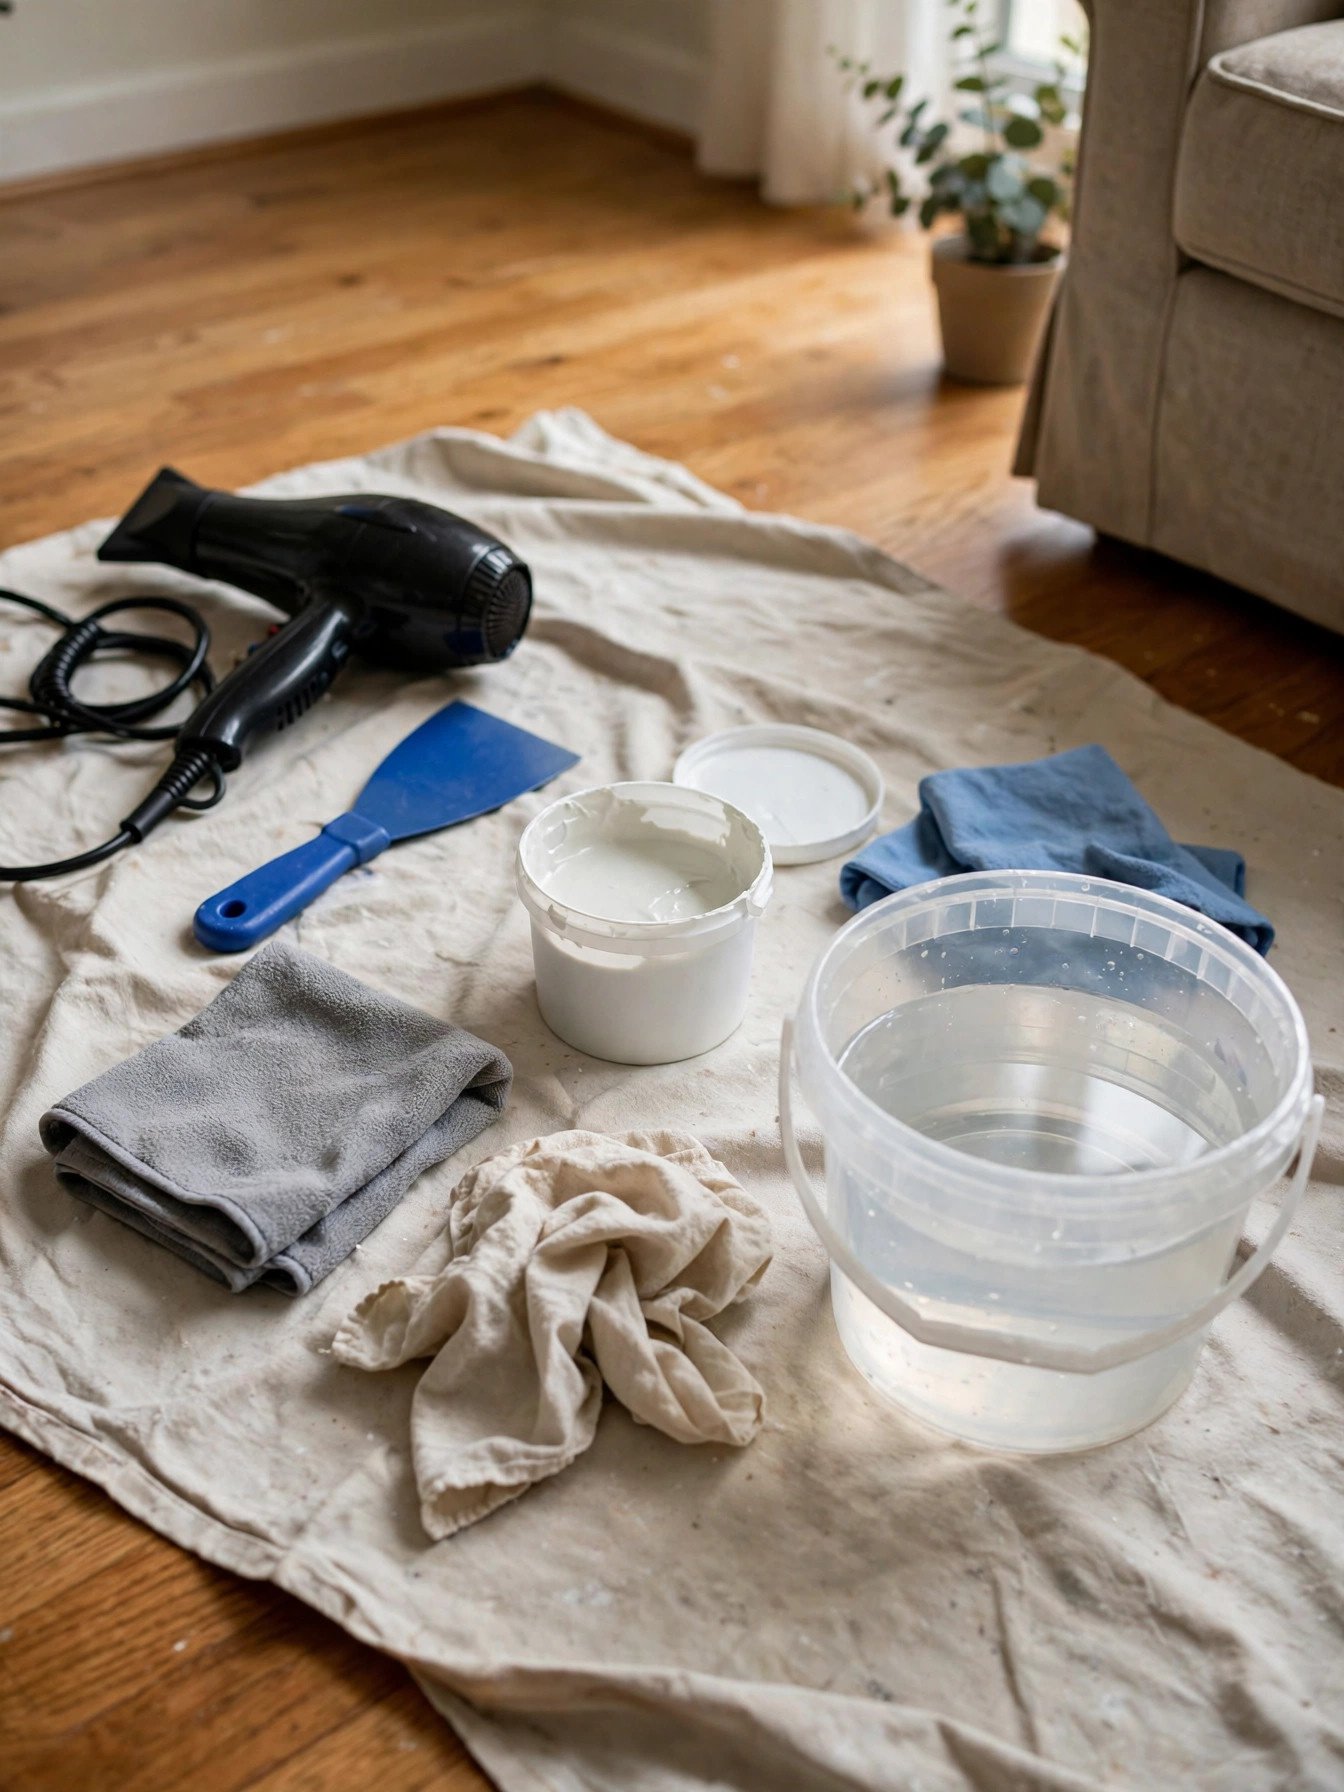
Everything you need is inexpensive and probably already in your apartment. A standard hairdryer on its lowest heat setting is the single most important tool — heat loosens the adhesive so you peel instead of tear. You’ll also want a plastic putty knife or an old credit card for lifting stubborn edges, a bucket of warm water with a drop of dish soap, a few microfiber cloths or old towels, and painter’s tape to hold a loosened flap while you reposition your hands.
Add a small tub of spackle or lightweight filler, a cheap foam roller or small brush, and a folded piece of medium-grit sandpaper for minor paint touch-ups. Ask your landlord or property manager whether they keep leftover paint for your unit — many offices hold touch-up paint for each apartment, and a match straight from their supply saves you the cost and guesswork of a hardware store match.
3. The Heat-and-Pull Technique
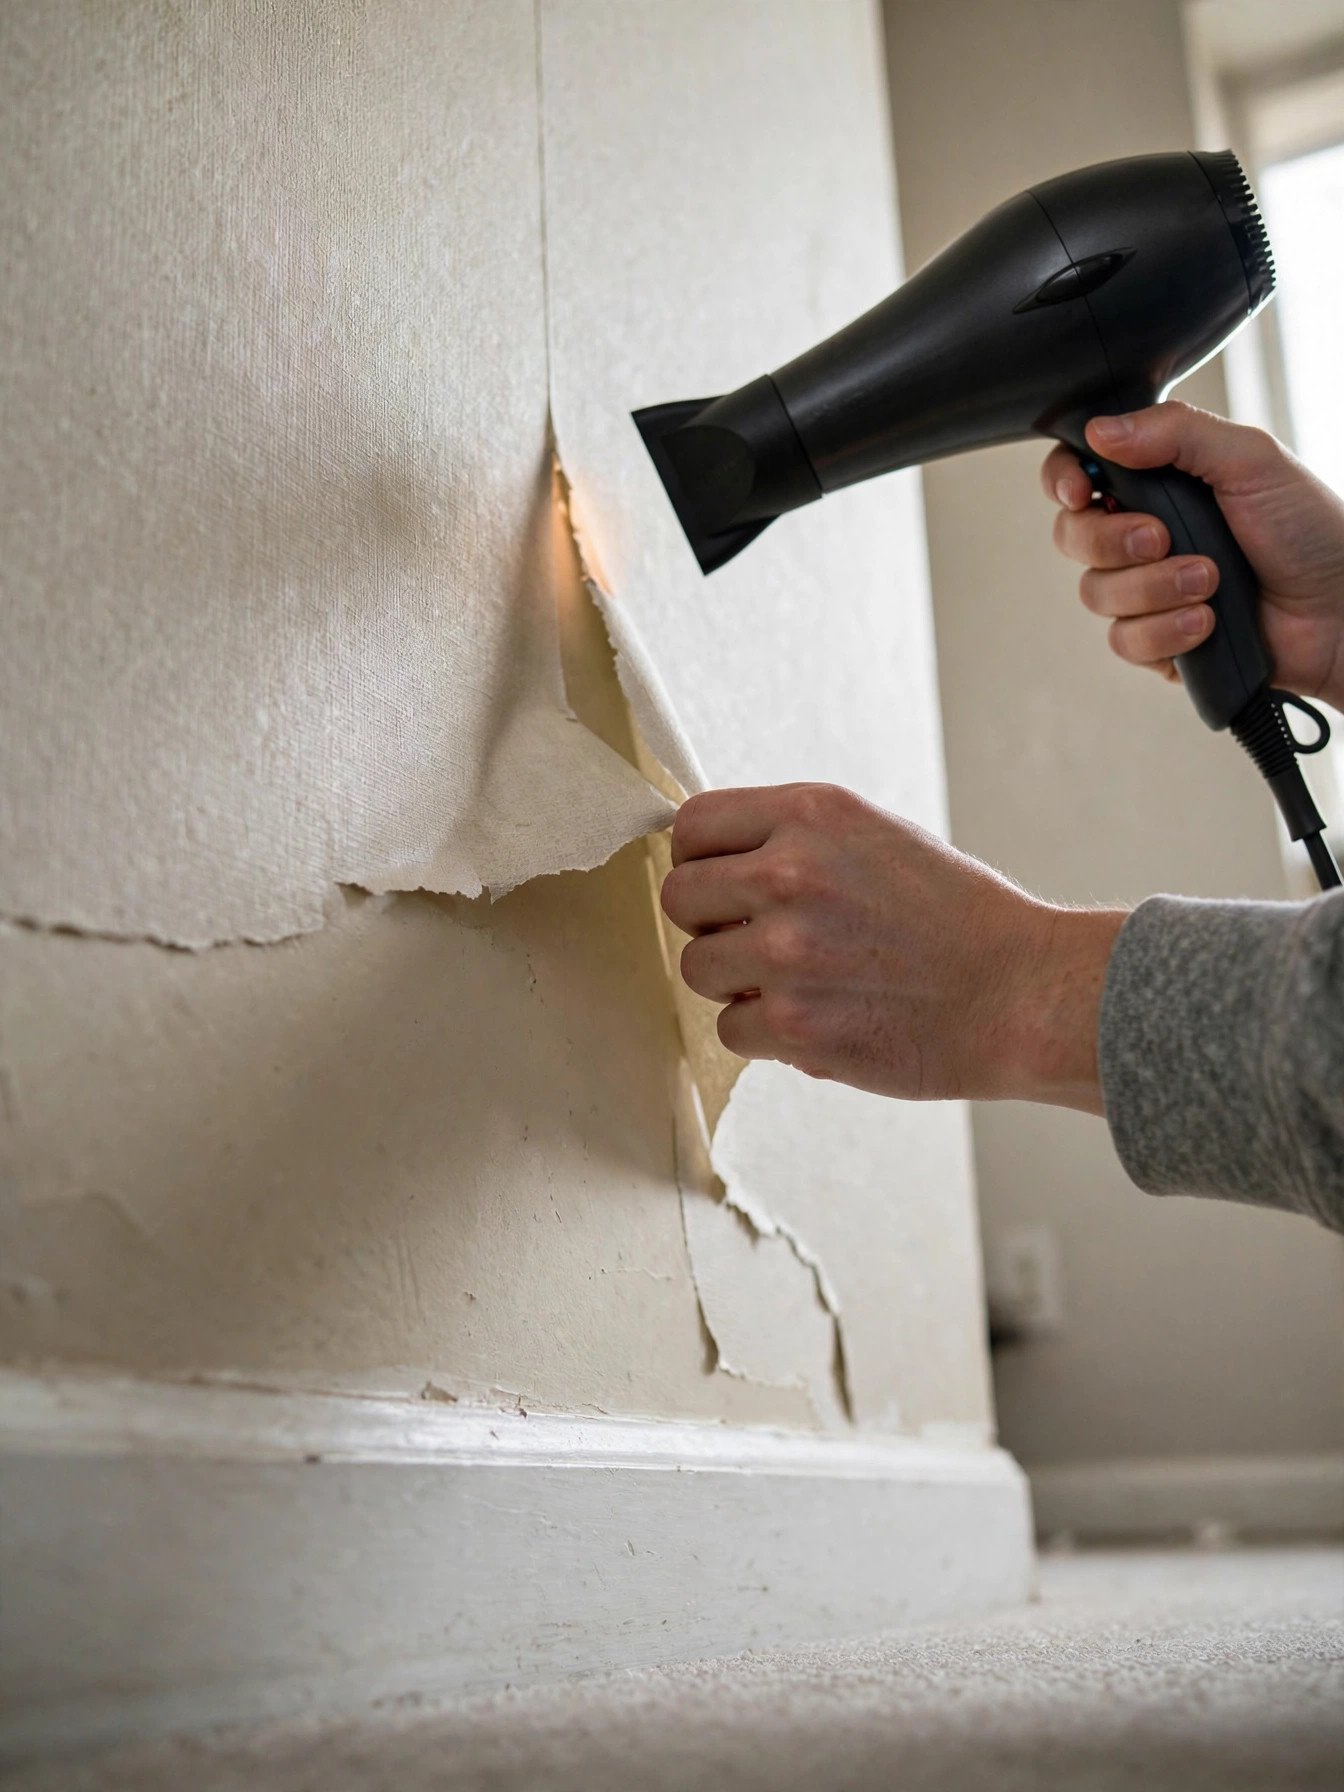
This is the method that keeps removal damage-free: gentle heat plus a slow, low-angle pull. Set the hairdryer to low and warm one bottom corner of a panel for 20–30 seconds, holding it a few inches from the surface and moving it so no single spot gets hot. Lift the warmed corner with your fingers — not a sharp tool — and pull back on itself at roughly a 45-degree angle, keeping the motion slow and steady.
Re-warm as you go, working in foot-long sections rather than trying to strip a whole panel at once. If a section resists, stop, apply heat again, and try again — forcing it is what pulls paint. When a panel releases in one piece, set it aside sticky-side up on a towel so it doesn’t pick up dust from the floor and transfer grime back onto the wall. For very tall walls, work top-down with a step stool rather than overreaching; you get better leverage and more even pull angles close in.
4. Handling Stubborn Corners and Edges

Corners, seams, and the strips around outlets are where peel-and-stick fights back most. Give these spots extra heat and extra patience rather than a harder pull — warmed adhesive releases, cold adhesive tears. For a corner that won’t lift, press painter’s tape over the warmed edge and use the tape as a pull tab; the tape spreads the force so a thin edge doesn’t snap off and leave a glued fragment behind.
If a fragment tears and leaves a small glued patch, re-warm it directly for a full 30 seconds and roll it off with your fingertip or the edge of a plastic card, working from the outside of the patch inward. Small leftover specks are normal at this stage and come off in the residue-cleaning step — don’t gouge at them with a knife or razor, which is the fastest way to score drywall and turn a minor cleanup into a repair.
5. Clearing Adhesive Residue
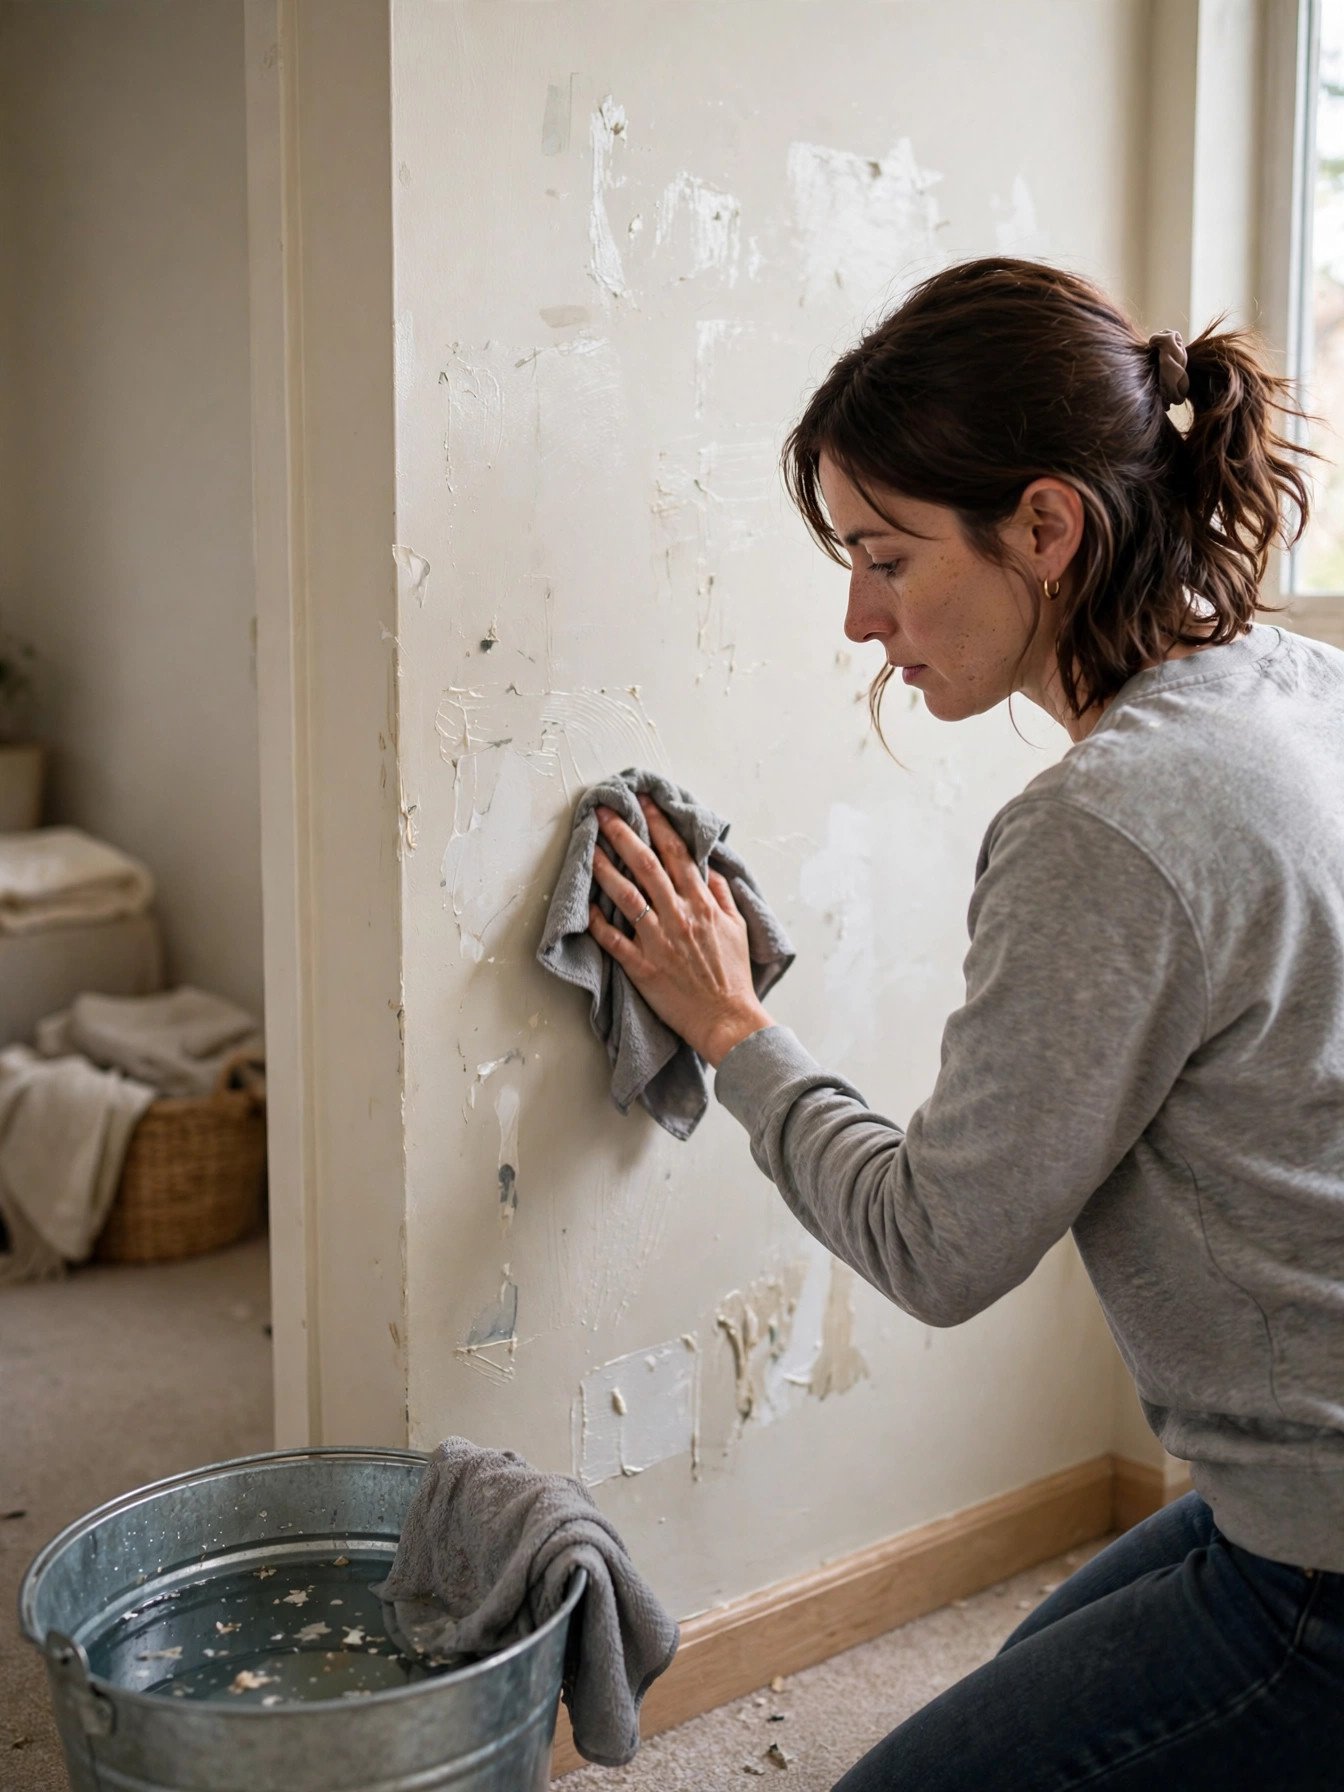
Even a clean peel leaves a tacky film, and that residue will hold dust and show up in bright inspection light. Dampen a cloth in warm water with a drop of dish soap, wring it well, and wipe the wall in small circles, rinsing the cloth often. This handles most residue on its own — patience and repeat wipes beat scrubbing hard in one spot.
For stubborn patches, use a small amount of rubbing alcohol or an adhesive remover on a cloth, but test it first in a hidden spot and let it dry to confirm it doesn’t dull the paint’s sheen. Work with the room ventilated and let the wall dry fully before you assess — damp walls hide both residue and damage. If you see a faint rectangular outline of each panel after cleaning, that’s normal adhesive shadowing; one more wipedown usually takes care of it, and it rarely counts as damage on a walkthrough.
6. Repairing Paint Pulls and Small Damage
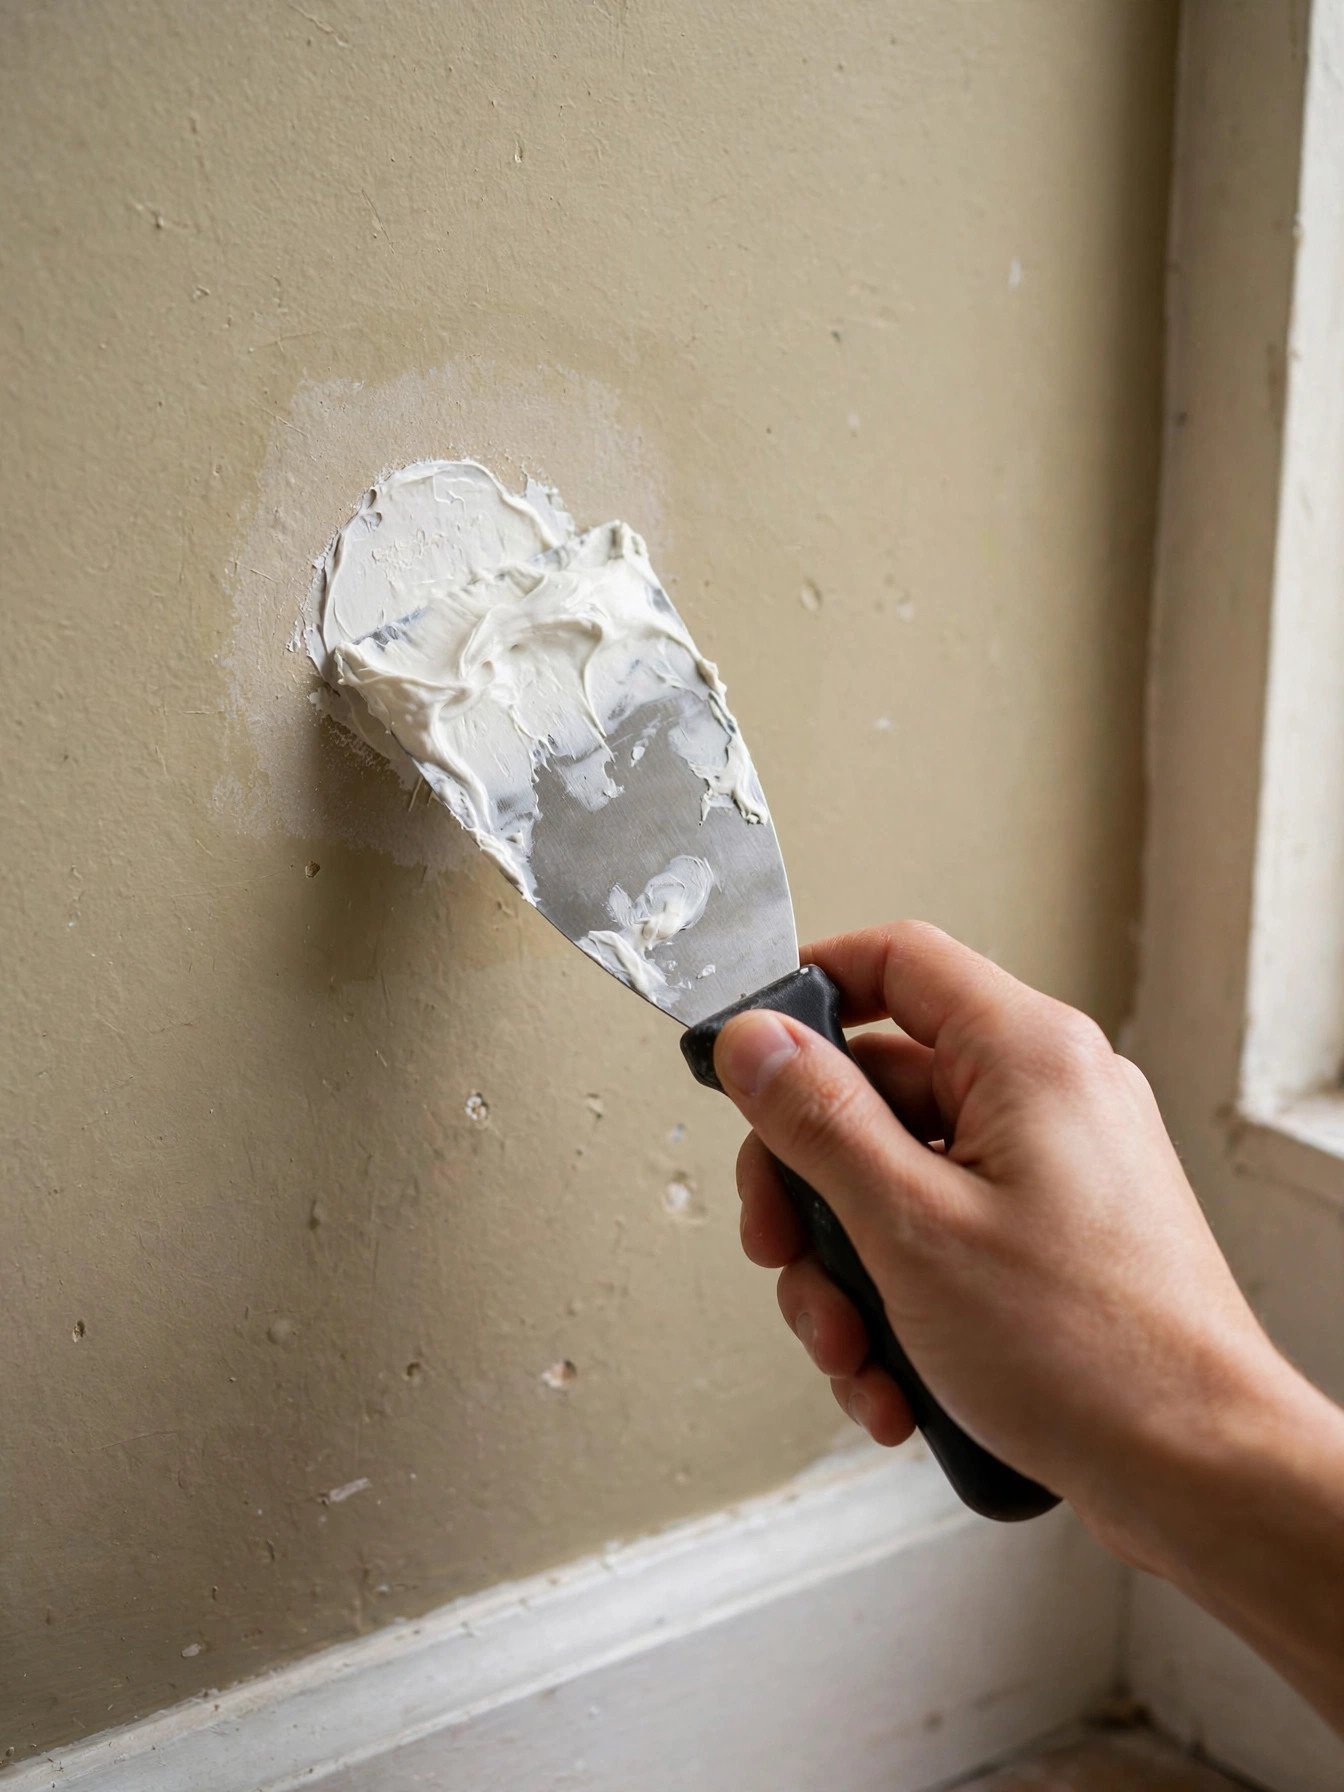
A pulled patch of paint looks alarming but is a normal, fixable move-out repair. Dab a small amount of spackle into the bare spot with your fingertip or a putty knife, feather the edges smooth, and let it dry completely. Sand it flush with fine or medium-grit sandpaper using light pressure — sanding too hard creates a divot that’s more visible than the original patch.
Apply touch-up paint with a small foam roller using a few thin coats rather than one thick one, feathering slightly past the repair’s edge. If your landlord provided the unit’s paint, that’s the ideal match; otherwise bring a photo of the wall to the hardware store and ask for a small sample pot matched to it. Most landlords expect minor nail holes and light scuffs under normal wear and tear, and a cleanly patched and painted spot generally reads as move-out maintenance rather than damage.
7. Move-Out Photo Checklist
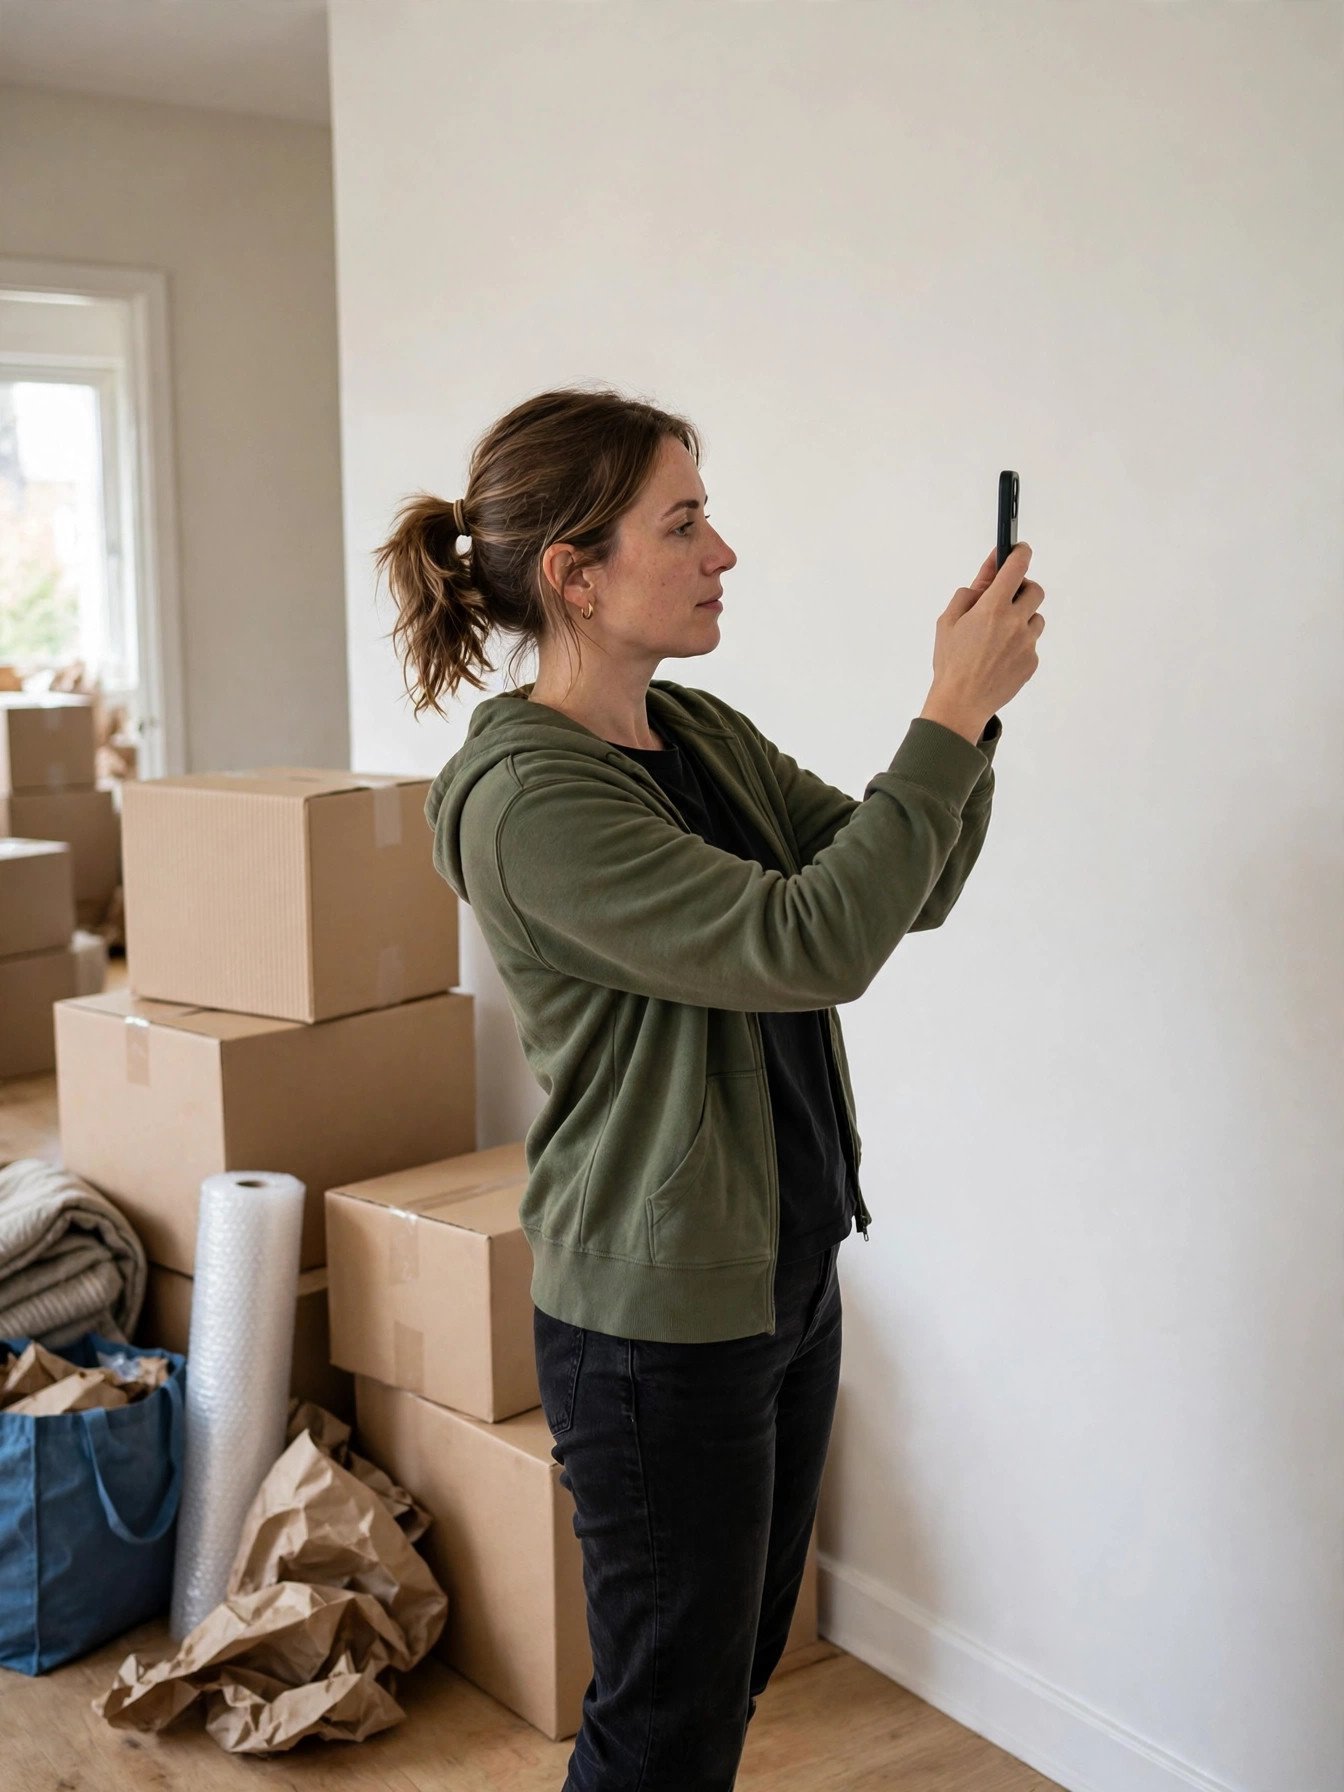
Photos taken in daylight, before the walkthrough, are your strongest deposit protection. Work room by room with the checklist below so every wall that carried peel-and-stick is documented after cleaning and repairs are done.
Wall documentation checklist (print or screenshot):
- Each previously wallpapered wall photographed straight-on, edge to edge
- Close-up of every repaired or touch-up spot, taken in daylight
- One wide shot per room showing all walls and corners together
- Ceiling and baseboards in each room photographed for context
- Window and trim areas photographed, especially if paper bordered a frame
- Timestamps enabled on your phone camera (or email the photos to yourself)
- Same shots repeated after furniture is out, with nothing blocking the walls
- Walkthrough checklist or move-in report handy to compare against on the day
Send yourself a copy of the photos so they exist outside your phone. If the walkthrough raises a claim about a wall, dated, full-room photos make it easy to show the condition you left behind — far more persuasive than a verbal explanation after the fact.
Frequently Asked Questions
Will peel and stick wallpaper damage my walls?
It can, but it usually doesn’t if you remove it with heat and patience. Damage happens most often from ripping a cold panel off fresh paint or gouging at leftover adhesive with a blade. The heat-and-pull technique in this guide is designed to avoid exactly those outcomes.
How do I remove peel and stick wallpaper without damaging the paint?
Warm each section with a hairdryer on low, peel slowly at about a 45-degree angle, and re-warm any spot that resists instead of pulling harder. Finish by wiping residue with warm soapy water, not scrubbing with abrasives.
What’s the best way to remove sticky residue from peel and stick wallpaper?
Warm water with a drop of dish soap on a wrung-out cloth handles most residue. For stubborn spots, a small amount of rubbing alcohol or adhesive remover on a cloth works — test in a hidden area first and let it dry to check for sheen changes before doing the whole wall.
Will peel and stick wallpaper ruin fresh paint?
Paint that hasn’t fully cured (roughly the first month) is softer and more likely to lift with the adhesive, so if your walls were freshly painted before you hung the paper, peel extra slowly with extra heat. On fully cured paint, clean removal is the normal outcome.
Do I need my landlord’s permission to remove peel and stick wallpaper?
Removal itself needs no permission — you’re returning the wall to its original state, which is what your lease already requires. If you hung the wallpaper without permission and the lease banned it, removing it cleanly before the inspection is still the best move; mention nothing unless asked, and let the wall speak for itself.
Can my landlord charge me for leftover adhesive or minor paint pulls?
They can charge for damage beyond normal wear and tear, which is why cleaning residue fully and patching pulls matters. A wall that looks uniformly clean and painted photographs as normal use; a sticky, discolored wall photographs as a repair the next tenant’s prep will bill back to you.
Should I remove the wallpaper myself or hire someone?
For a typical accent wall or two, this is a comfortable DIY job — the whole process needs only a hairdryer and basic cleaning supplies. Consider hiring help only if you’ve covered large multi-wall areas and are short on time before the walkthrough, since labor costs add up fast against a deposit.
When should I start removing it before move-out?
Give yourself at least a weekend: removal, cleaning, residue work, and any paint touch-ups with drying time between coats. Starting the week of the walkthrough is how residue gets missed and patches get painted in a rush.
Conclusion
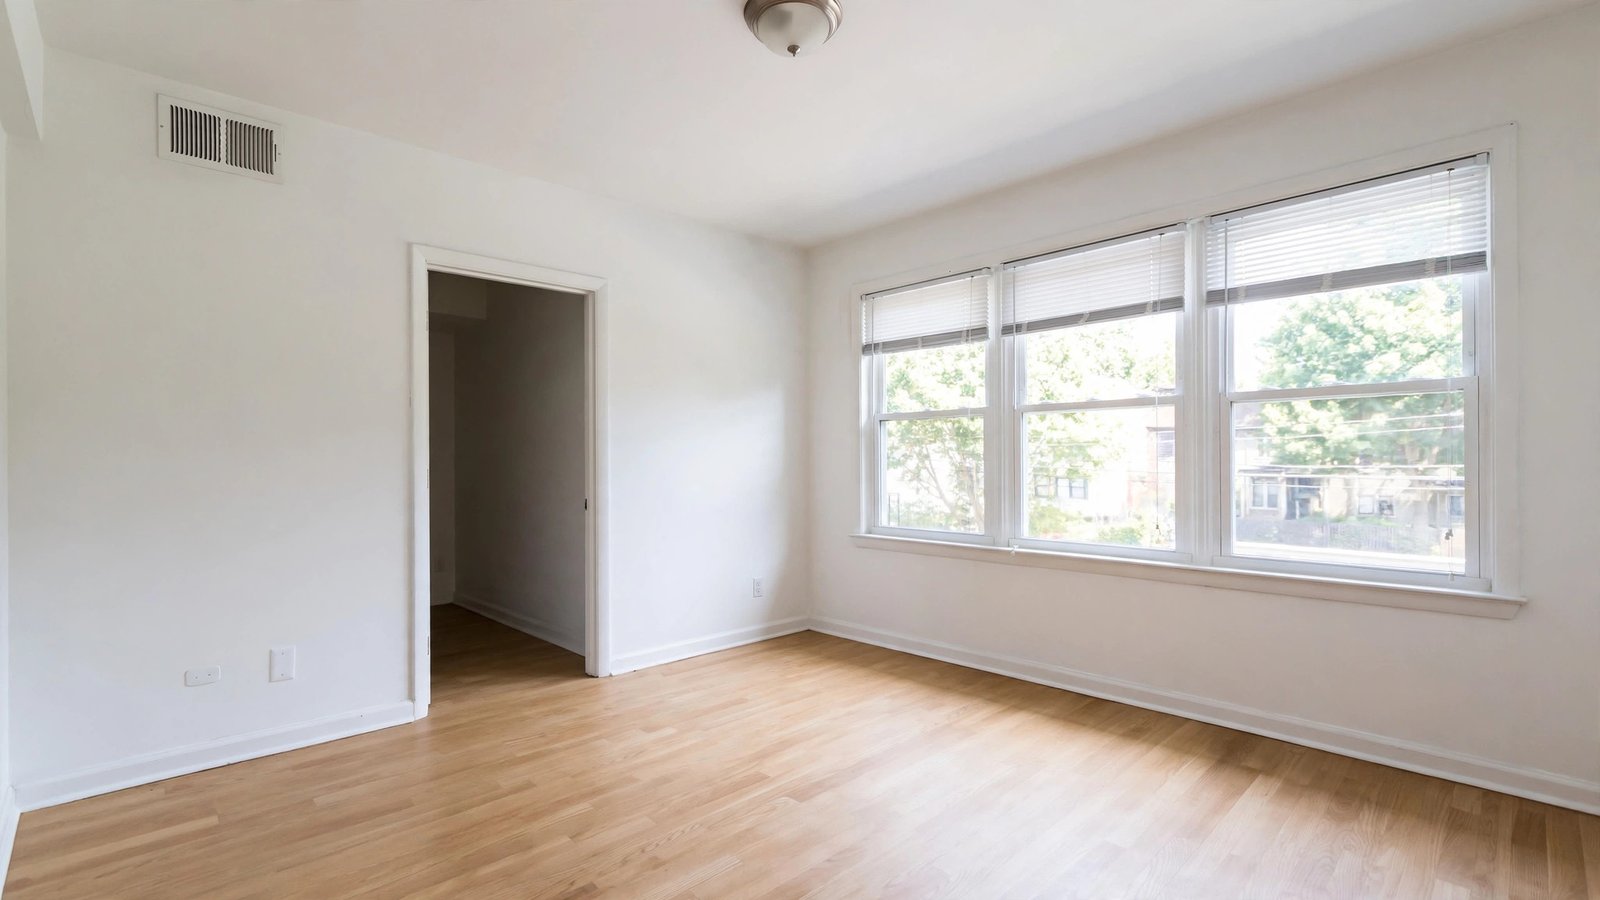
Removing peel and stick wallpaper in a rental is mostly about patience, not skill. Heat loosens the adhesive so the paper lets go, a warm soapy wipe takes the residue, and a small spackle patch plus matched touch-up paint fixes the occasional paint pull. Do the work a few days before your walkthrough and photograph everything in daylight, and you’ll hand the keys back with a deposit-ready wall — and one less end-of-lease worry. If this peel and stick wallpaper removal rental guide saved you a deduction, share it with another first-time renter facing move-out.

Maren started MyFirstLease after a rough first lease taught him everything the internet didn’t. He covers the logistical side of renting — move-in checklists, utilities, and the unglamorous first-week stuff nobody explains — and oversees everything published on the site.